

Creating a schedule
Open the agent in Agent Builder and open its scheduler settings. The Scheduler Configuration panel opens.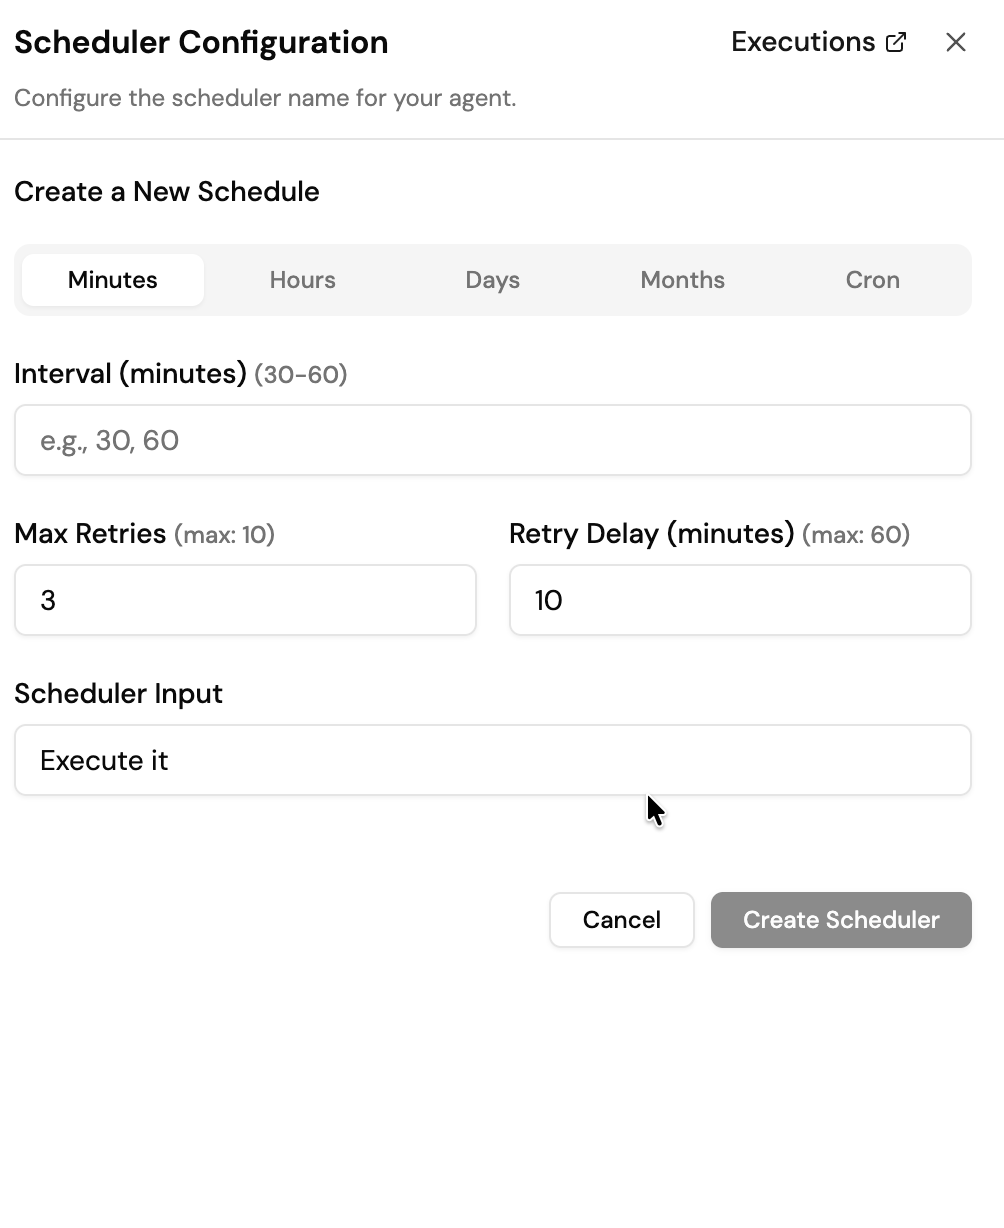
- Pick how often the agent runs using one of the timing tabs described below.
- Set Max Retries and Retry Delay to control what happens when a run fails.
- Enter the Scheduler Input: the message the agent receives on every run, for example
Summarize yesterday's support tickets and flag anything urgent. - Select Create Scheduler.
Timing options
A cron expression has five fields:
minute hour day-of-month month day-of-week. Day of week runs from 0 (Sunday) to 6 (Saturday).
Retries
Monitoring runs
Select Executions in the panel header to open the run history for the agent’s schedules. Each entry shows:- Status: whether the run succeeded or failed.
- Error: the reason a run failed, for example a request timeout.
- Time: when the run happened, so you can confirm the schedule is firing on its intended cadence.
Managing schedules with the API
Everything in this panel is also available over REST, including pausing, resuming, and running a schedule immediately for testing. See the Schedules API. If you need to call an arbitrary URL on a schedule rather than an agent, use HTTP Schedules.The API measures
retry_delay in seconds and allows 0-5 retries, which differs from the limits shown in the Studio panel.Related
- Webhook Trigger: run an agent when an external system sends it an event, instead of on a timer.