Create an agent
Navigate to Agents in the sidebar and select New Agent.Required fields
Name is the internal identifier shown in the agents list and in API responses. Model is the LLM provider and model. Select based on latency, cost, reasoning depth, and compliance requirements. Once you have written the agent’s instructions, you can select the auto-select model icon instead of choosing a model yourself. Auto-select reads the instructions, gauges the complexity of the task, and picks an appropriate model for it. Role sets the agent’s domain and persona. A specific role produces better output than a generic one. Goal is the agent’s high-level objective. Keep it to one clear sentence. Instructions define behavior, output format, edge cases, constraints, and step-by-step logic.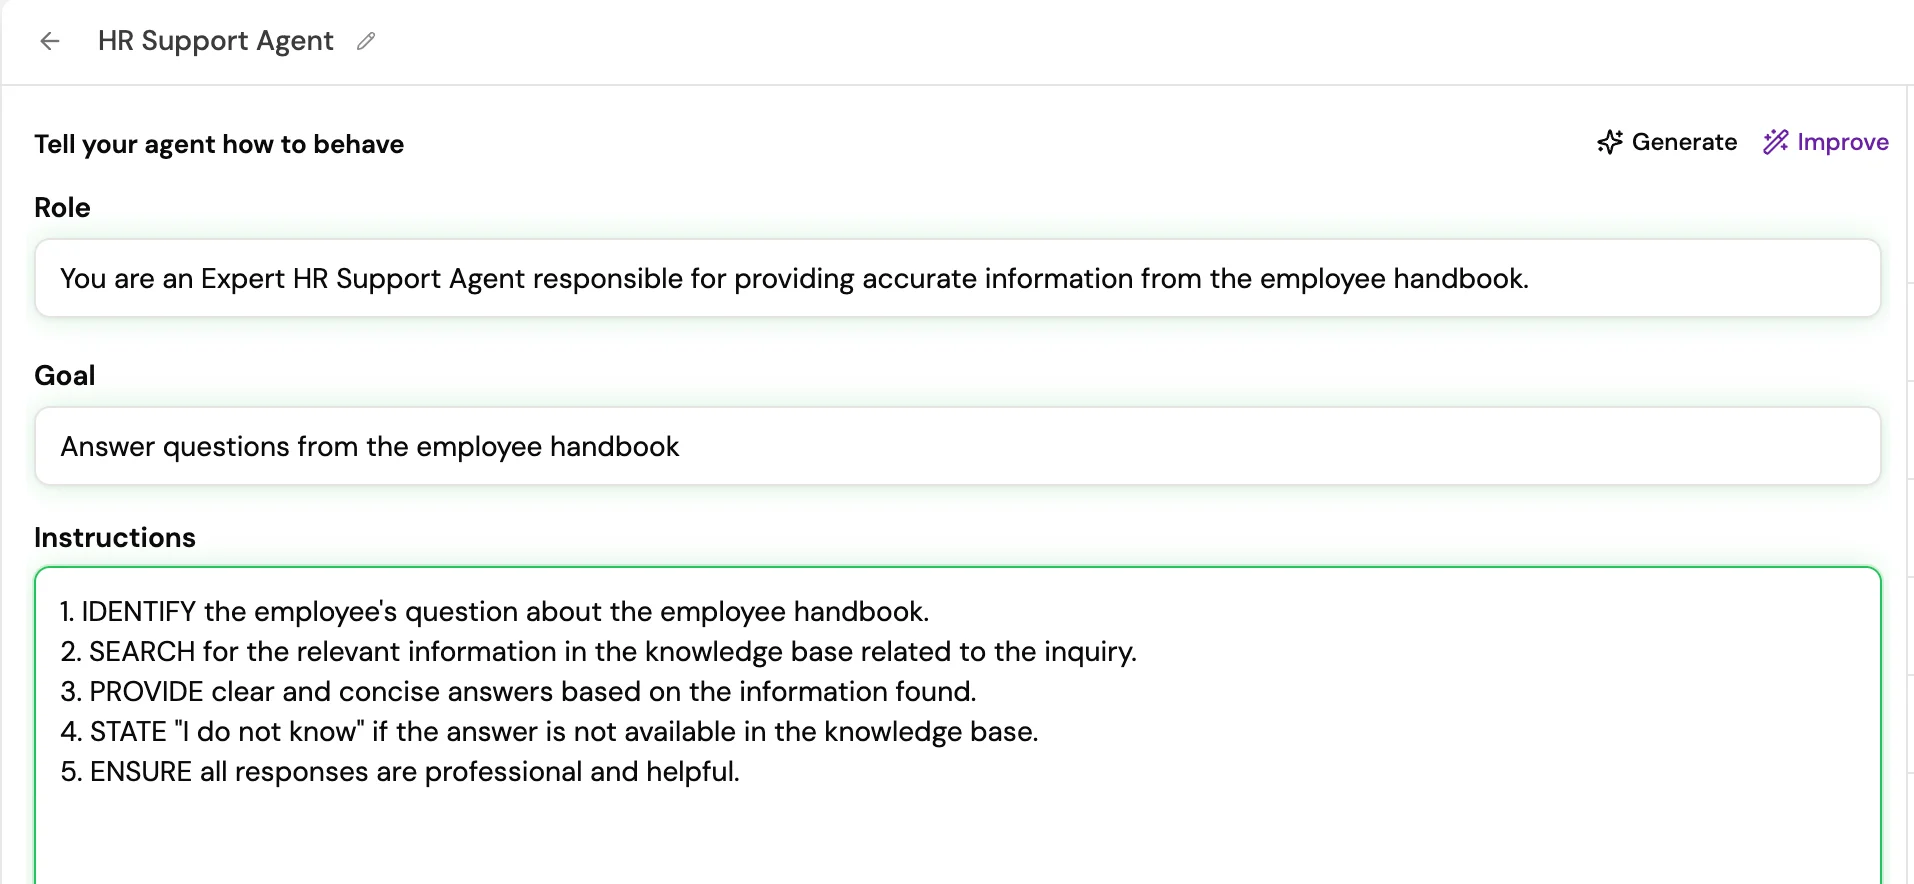
Optional features
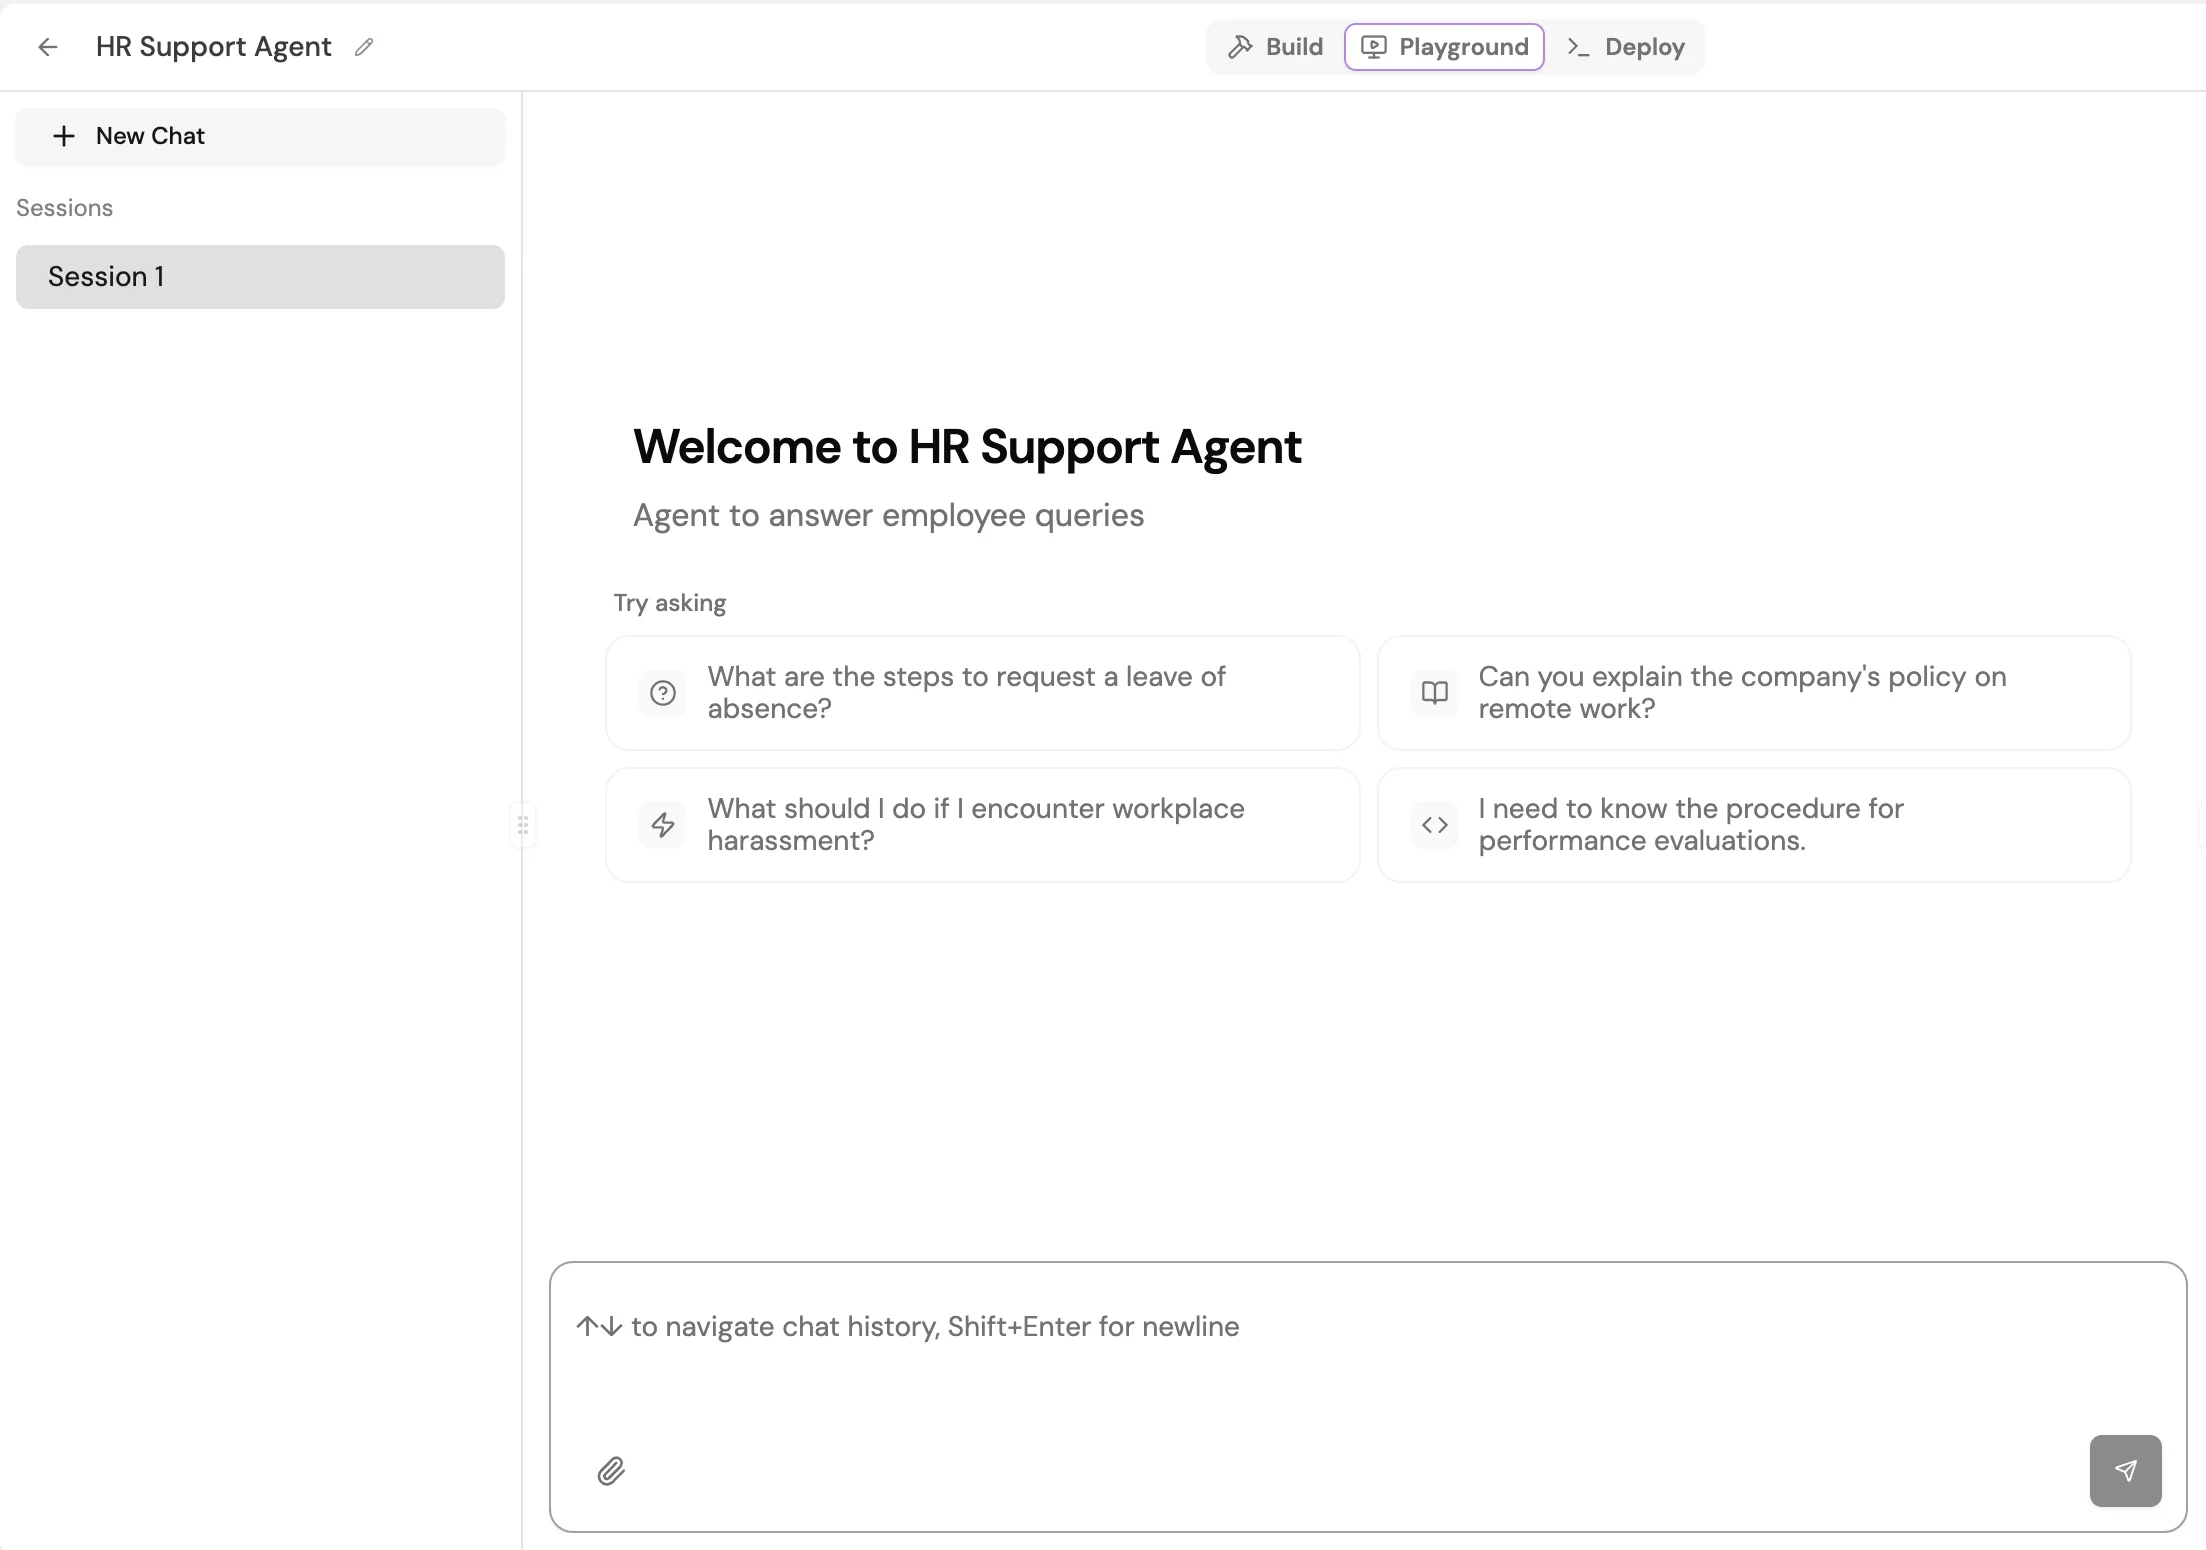
Test your agent in the Playground
The Playground lets you send messages, upload files, and iterate on instructions before deployment. Cover the following scenarios before going to production:- The primary use case with a typical user input
- Ambiguous or underspecified inputs to check graceful handling
- Requests the agent should decline, such as unsafe or out-of-scope queries
- Tool calls: verify the agent selects the correct tool and passes valid arguments
- Knowledge retrieval: verify the agent returns grounded, cited answers from the connected KB
Save and versions
Every save creates a new version snapshot. You can review and restore previous versions from the Version History panel, accessible via the history icon in the top-right of the agent builder.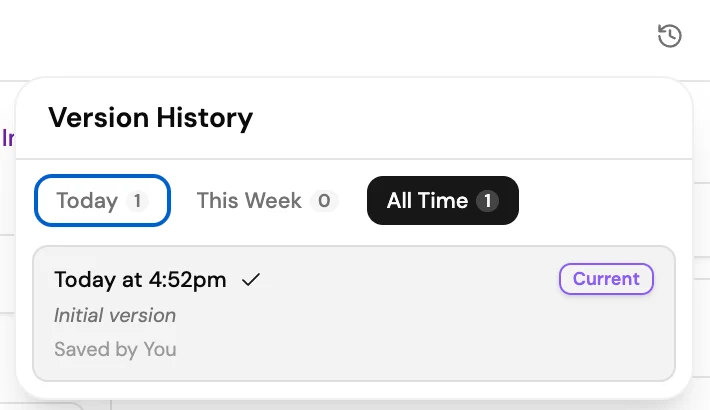
Deploy your agent
Once you are satisfied with the Playground results, select Deploy in the top navigation. The Deploy tab confirms the agent is live and gives you everything you need to integrate it.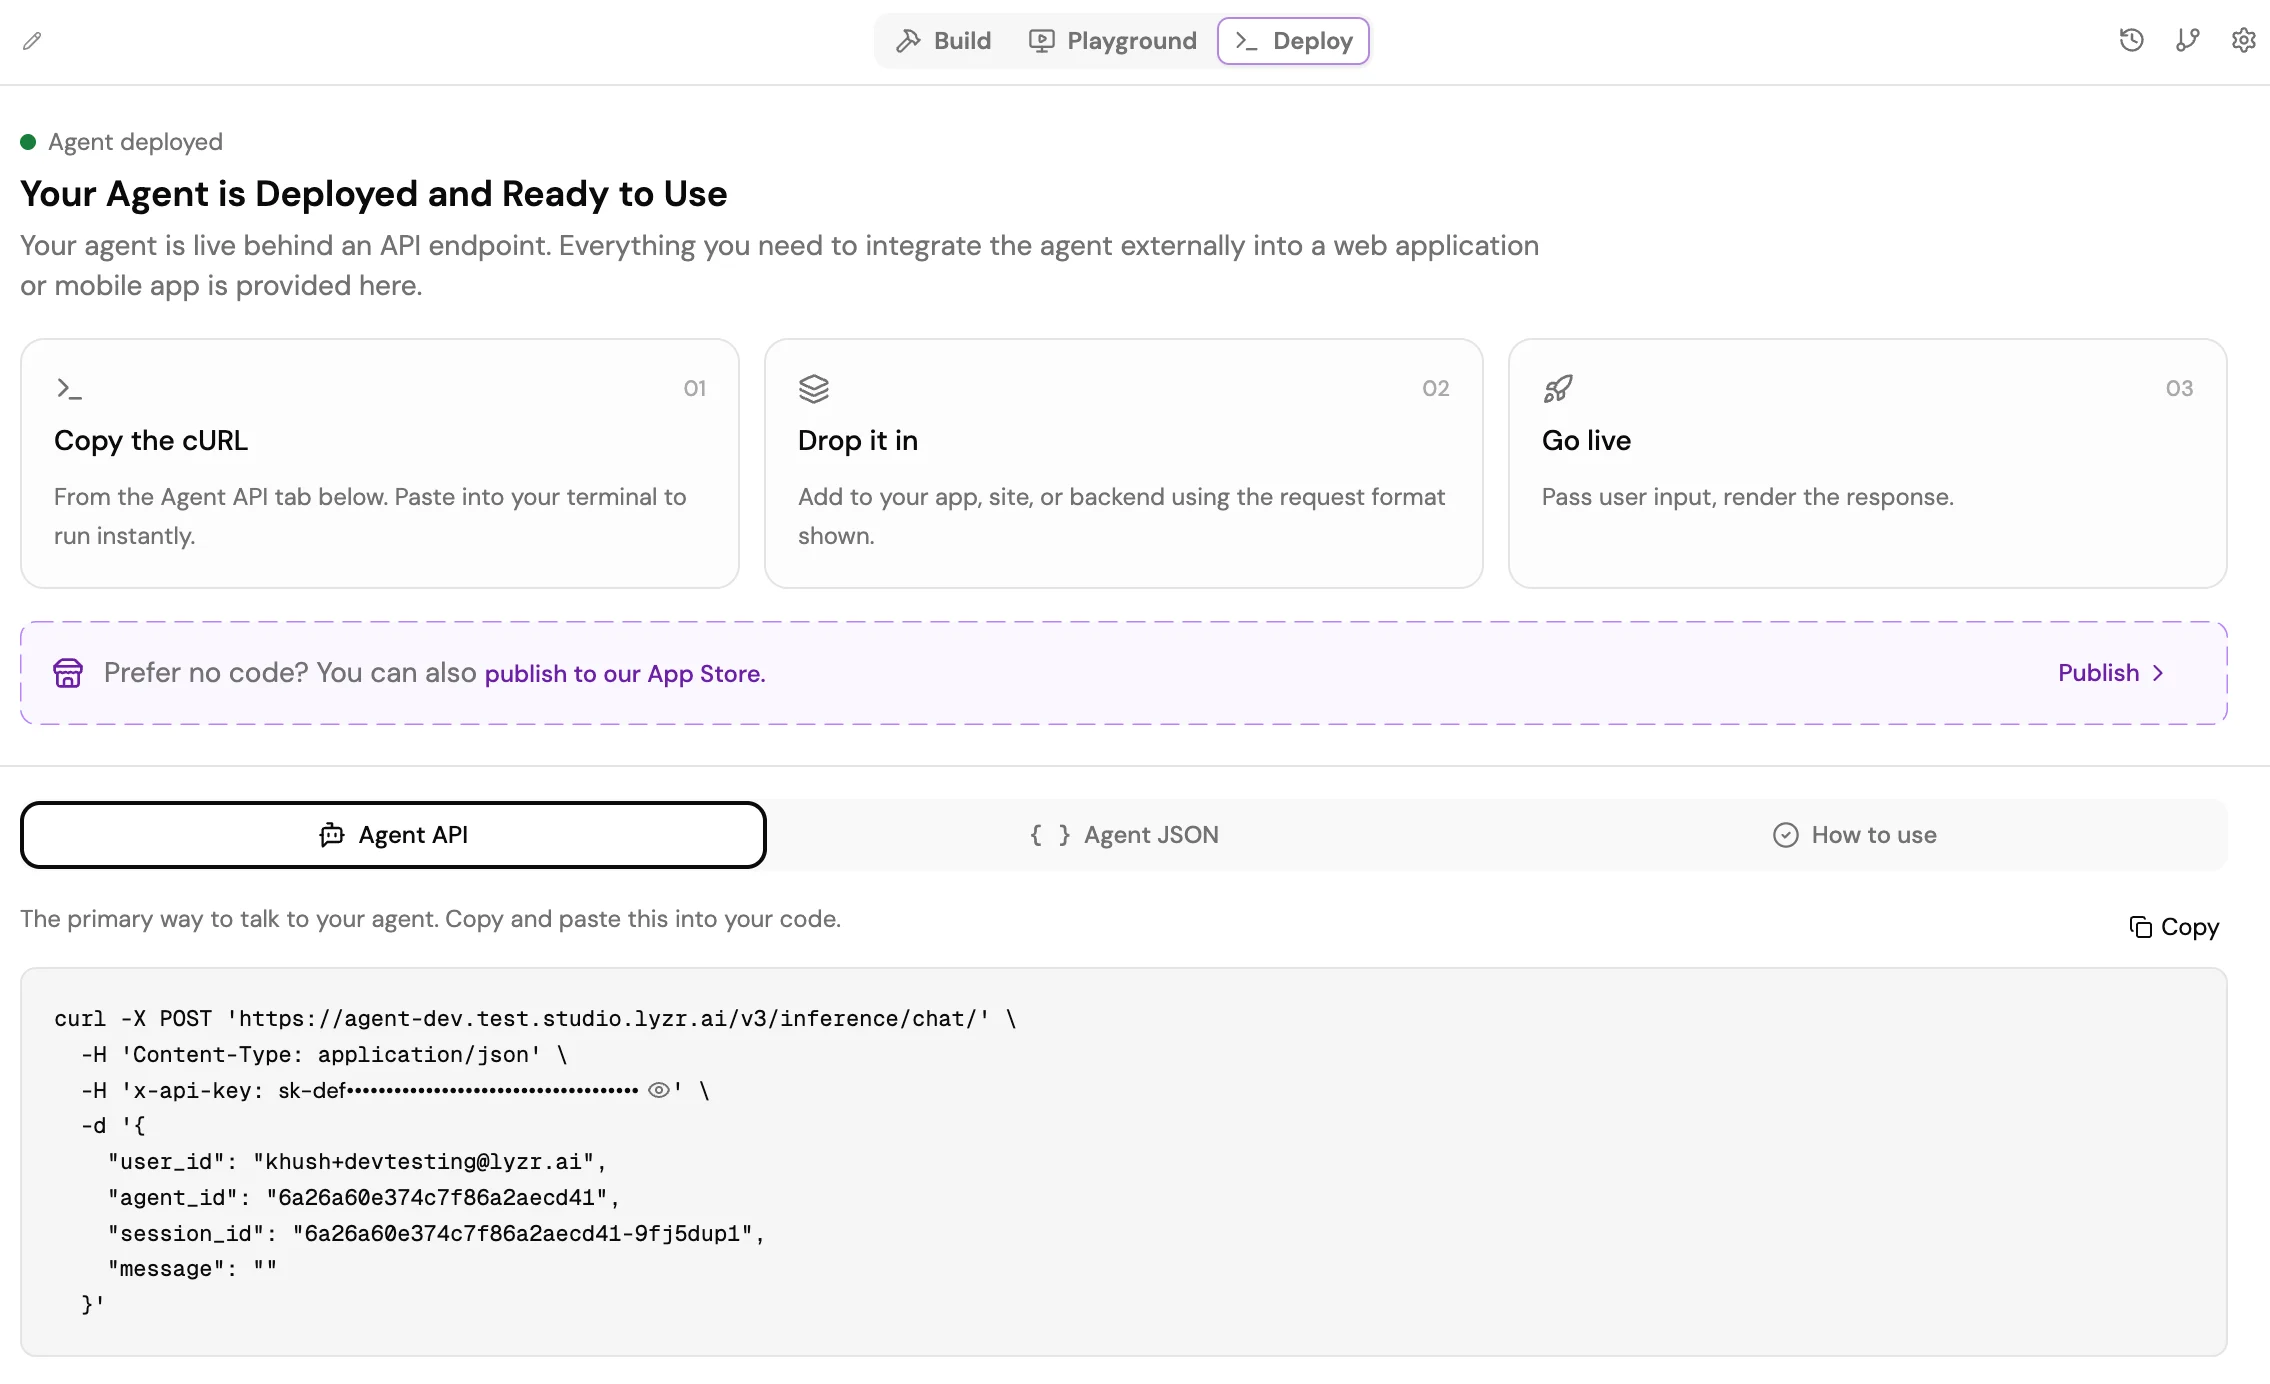
- Agent API: The primary cURL command for calling your agent. Copy it and paste it into your app, site, or backend using the request format shown.
- Agent JSON: The full agent configuration as JSON, for importing or version-controlling the agent definition.
- How to use: Inline guidance on passing user input and rendering the response.
Update an agent
Select the agent from the Agents list to open its configuration. Modify any field and select Update to apply the changes. Re-run tests in the Playground to confirm the updates produce the intended behavior.Tags and metadata
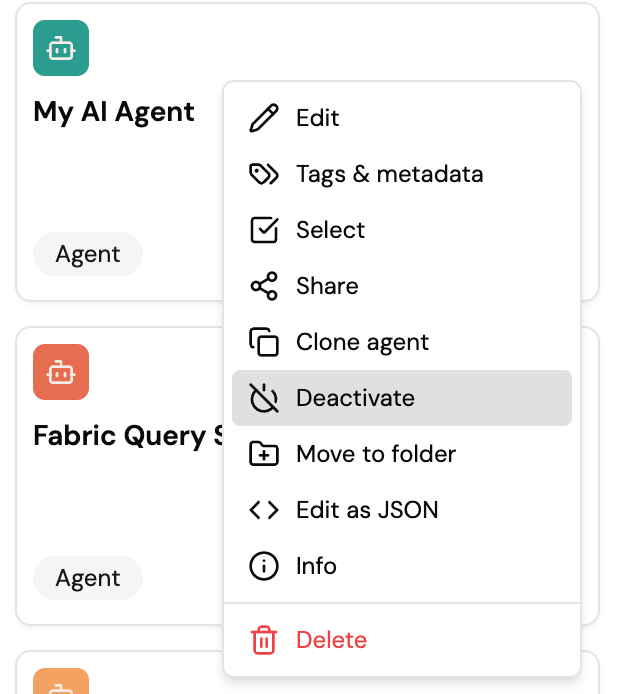
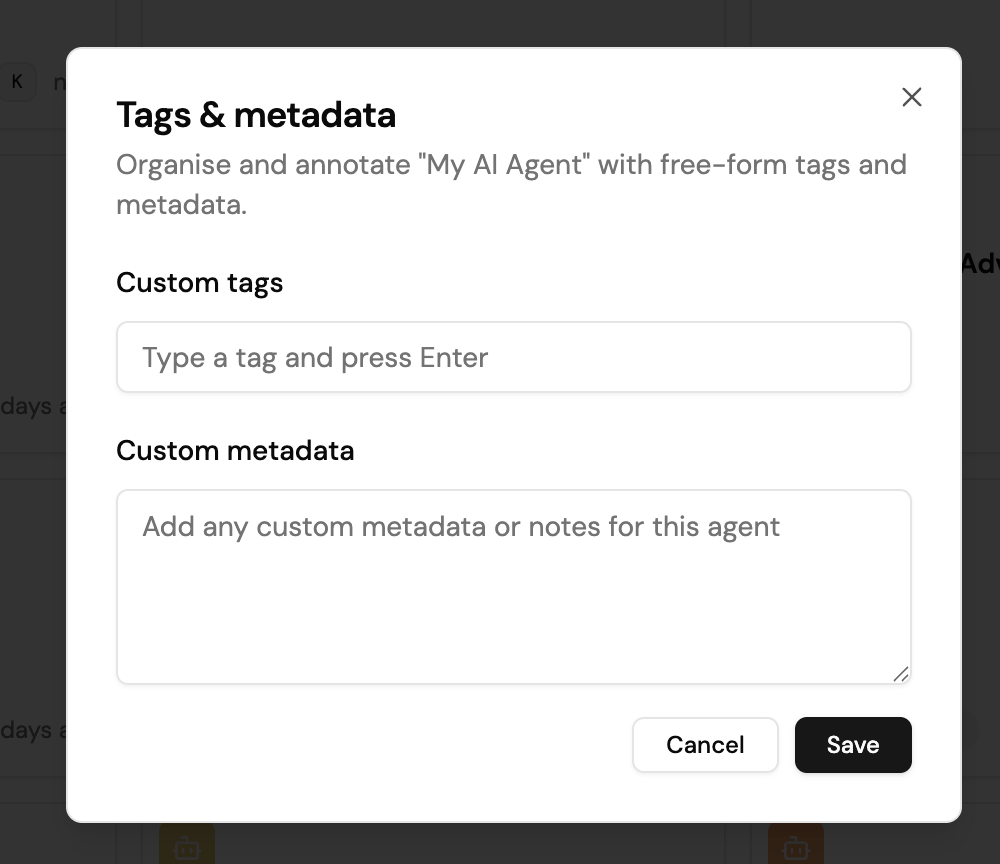
You can annotate an agent with free-form tags and metadata to organize it and make it searchable. Open the agent’s … menu in the Agent Registry and select Tags & metadata.- Custom tags are labels you add one at a time. Type a tag and press Enter to add it. Tags appear on the agent’s card in the Agent Registry and make the agent searchable, which helps you find a specific agent in an organization that runs many of them.
- Custom metadata is a free-form field for any notes or structured metadata you want to attach to the agent.
Deactivate an agent
You can deactivate a productionized agent to take it out of service without deleting it. Open the agent’s … menu in the Agent Registry and select Deactivate. While an agent is deactivated, any user who queries it receives a message that the agent is inactive and cannot respond. Reactivate the agent from the same menu to restore normal behavior.