Environments is an org-level branching strategy where you define the steps required before an agent can be deployed to a particular stage. Each environment corresponds to a branch (for example, 
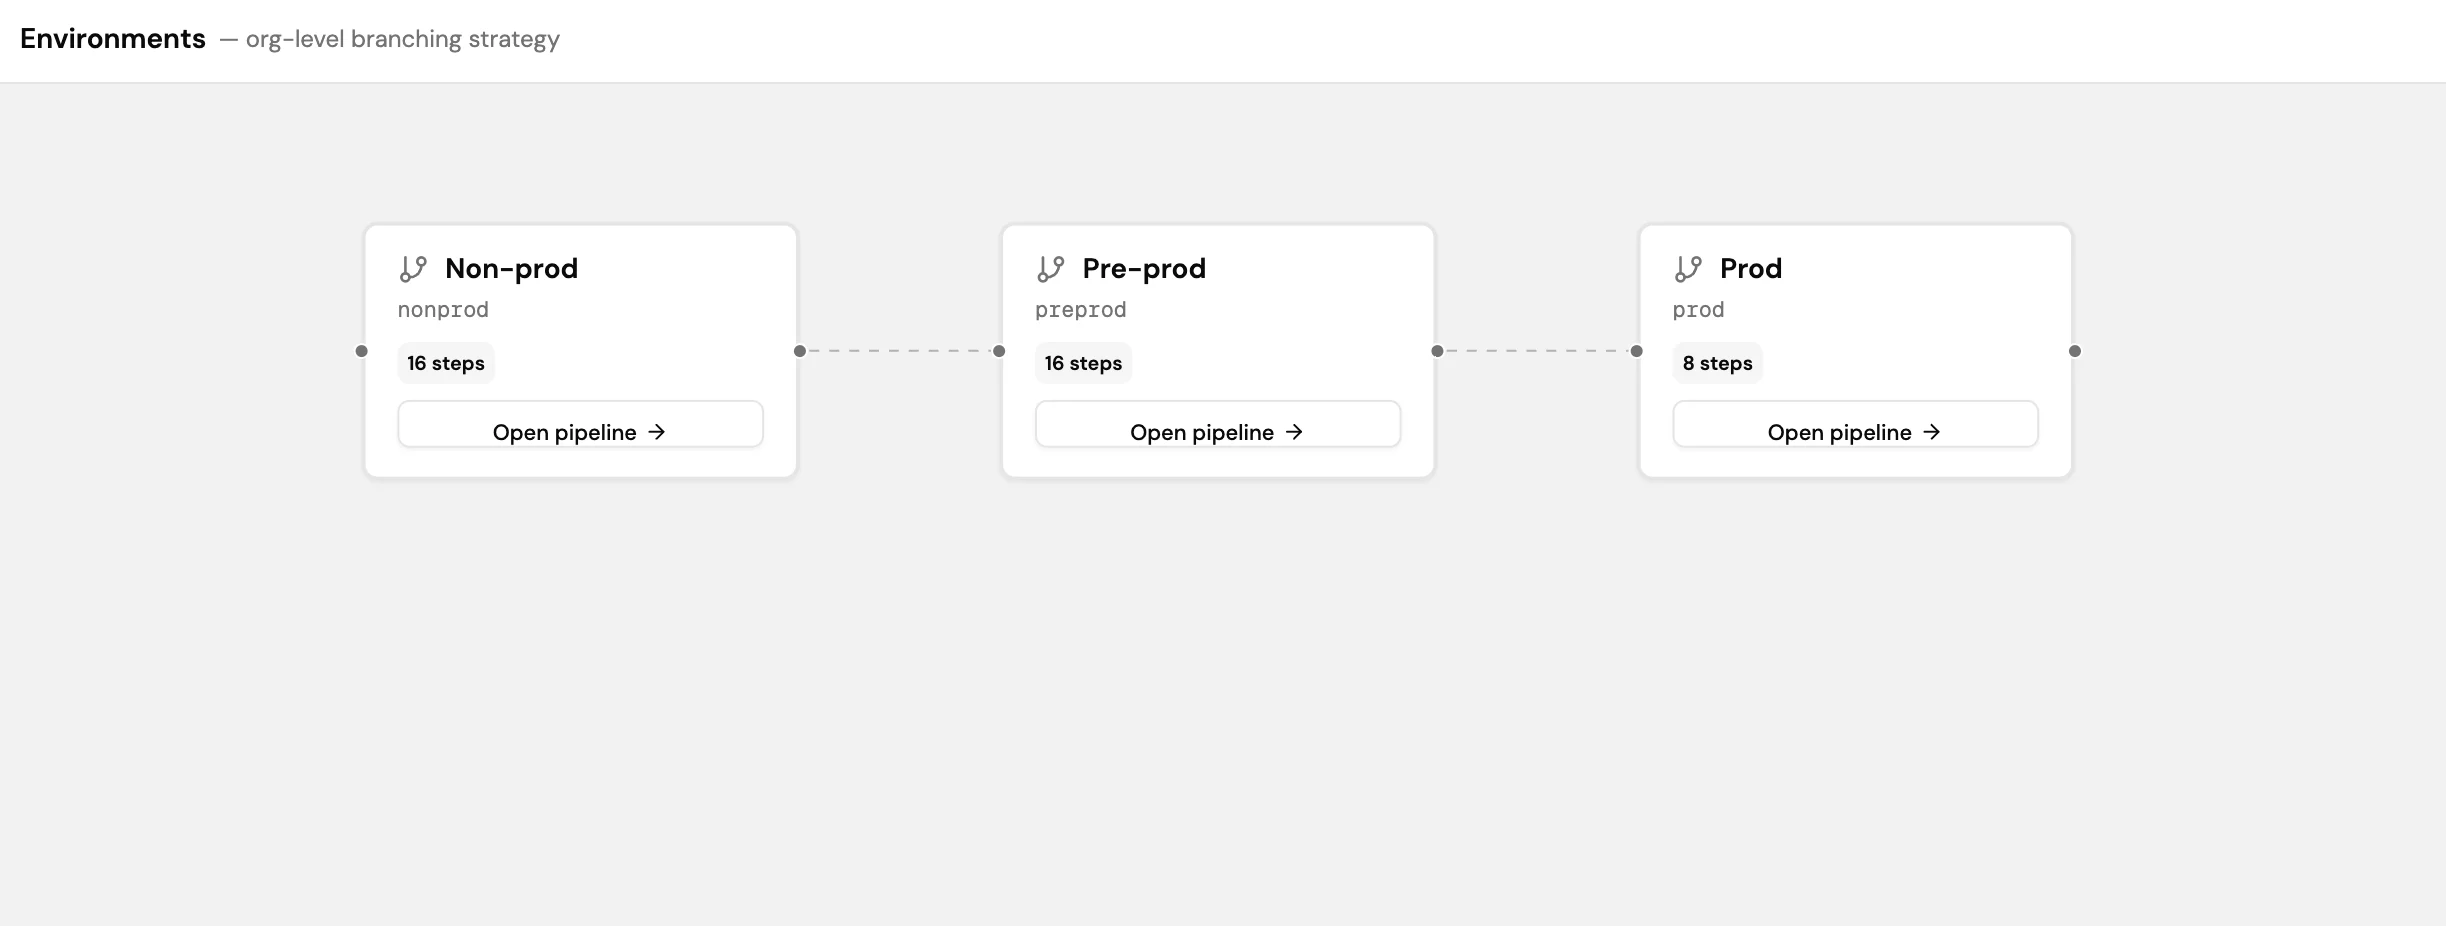
nonprod, preprod, prod) and has its own pipeline of steps that must be completed before an agent is considered ready for that stage. This keeps production deployments separated from development, gives teams visibility into what stage each agent version is at, and ensures the right checks happen before an agent reaches real users. Screenshot of the Environments page in Lyzr Studio showing three environments: Non-prod (nonprod, 16 steps), Pre-prod (preprod, 16 steps), and Prod (prod, 8 steps), each with an Open pipeline button.

Creating an environment

  1. Go to Control Plane > Environments.
  2. Select Add branch to create a new environment.
  3. Give the environment a name and branch identifier.
  4. Select Save.
  5. Select Open pipeline on the new environment to define the steps and approval gates for that stage.

Pipelines

Each environment has a pipeline that defines what must happen before an agent version is promoted to that branch. Pipelines are configured in the Approval Flows view. See Approval Flows for how to set up gates, required approvals, reviewers, and merge rules.

Environment ordering

Environments are displayed left to right in the order of promotion. An agent version typically moves from the leftmost environment (development) to the rightmost (production) after passing the required steps and approvals at each gate.

Next steps