Connecting Lyzr Agents to Slack: A Cookbook
This guide walks you through deploying a Lyzr AI agent as a Slack bot. Once configured, users can DM your bot directly and get responses from your agent.Prerequisites
- A Lyzr Studio account with at least one agent created
- A Slack workspace where you have permission to install apps
How It Works
Step 1: Create a Slack App
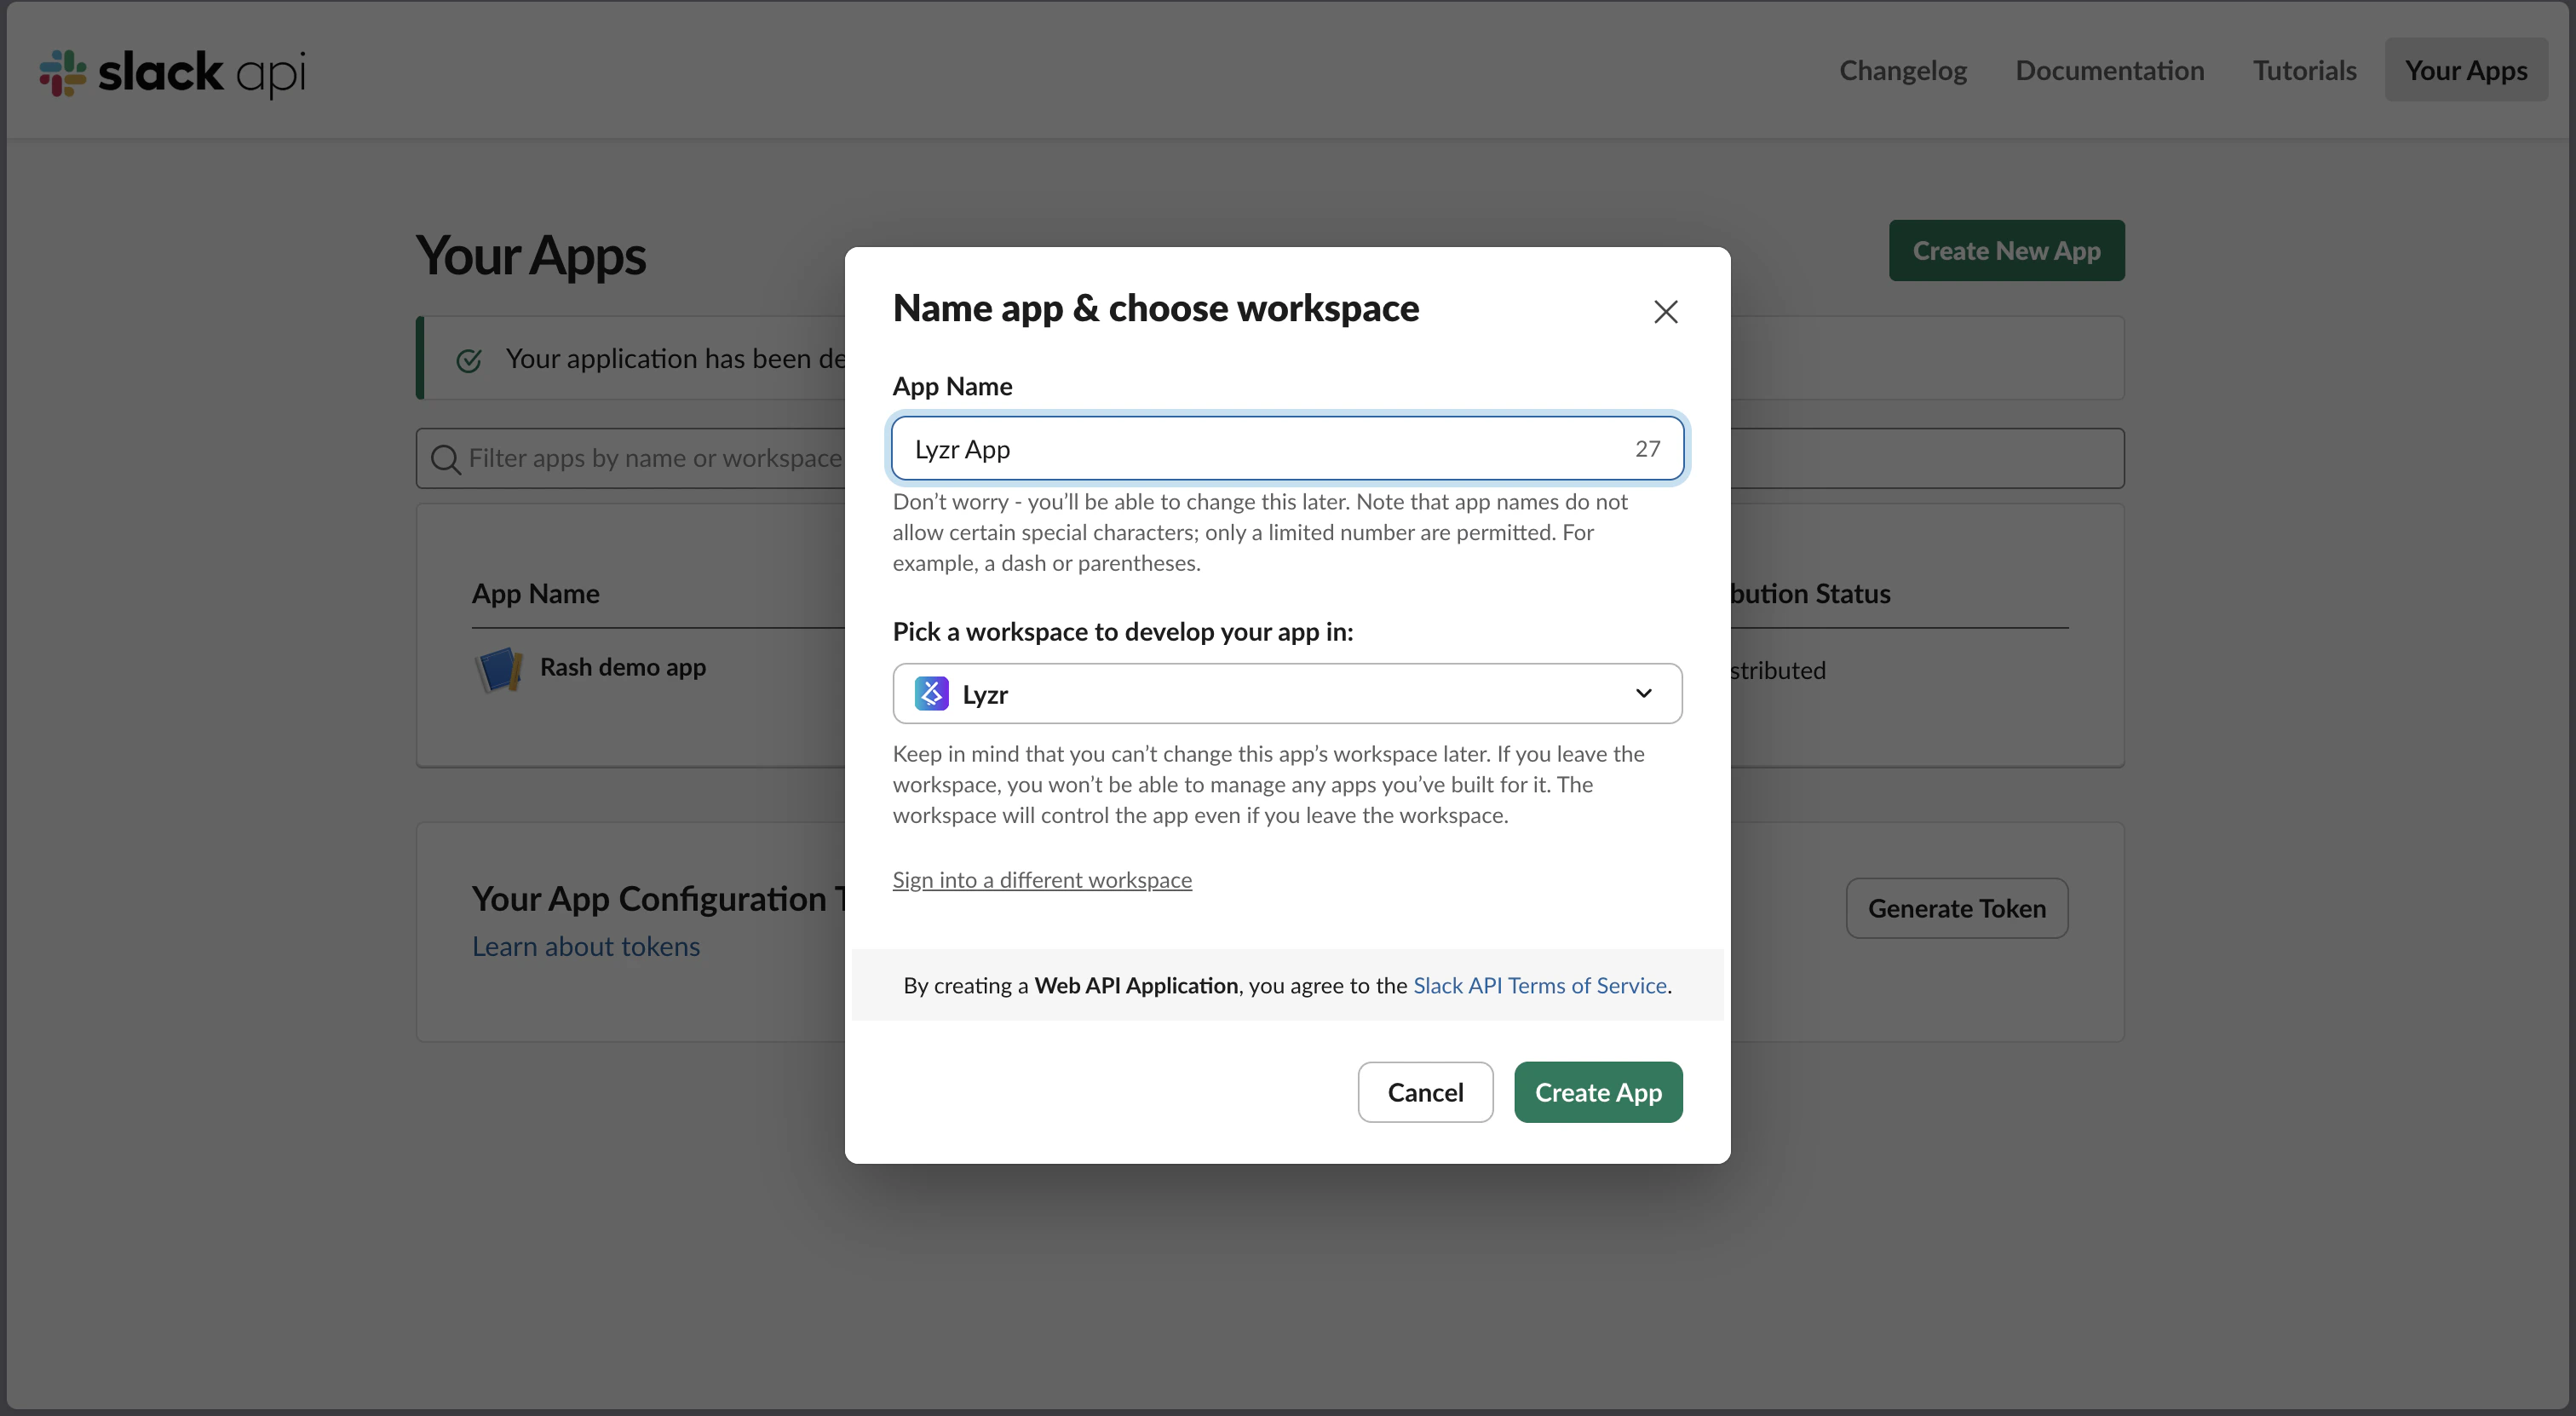
- Go to api.slack.com/apps and click Create New App
- Choose From scratch
- Enter an app name and select your Slack workspace
- Click Create App
Step 2: Configure OAuth Scopes
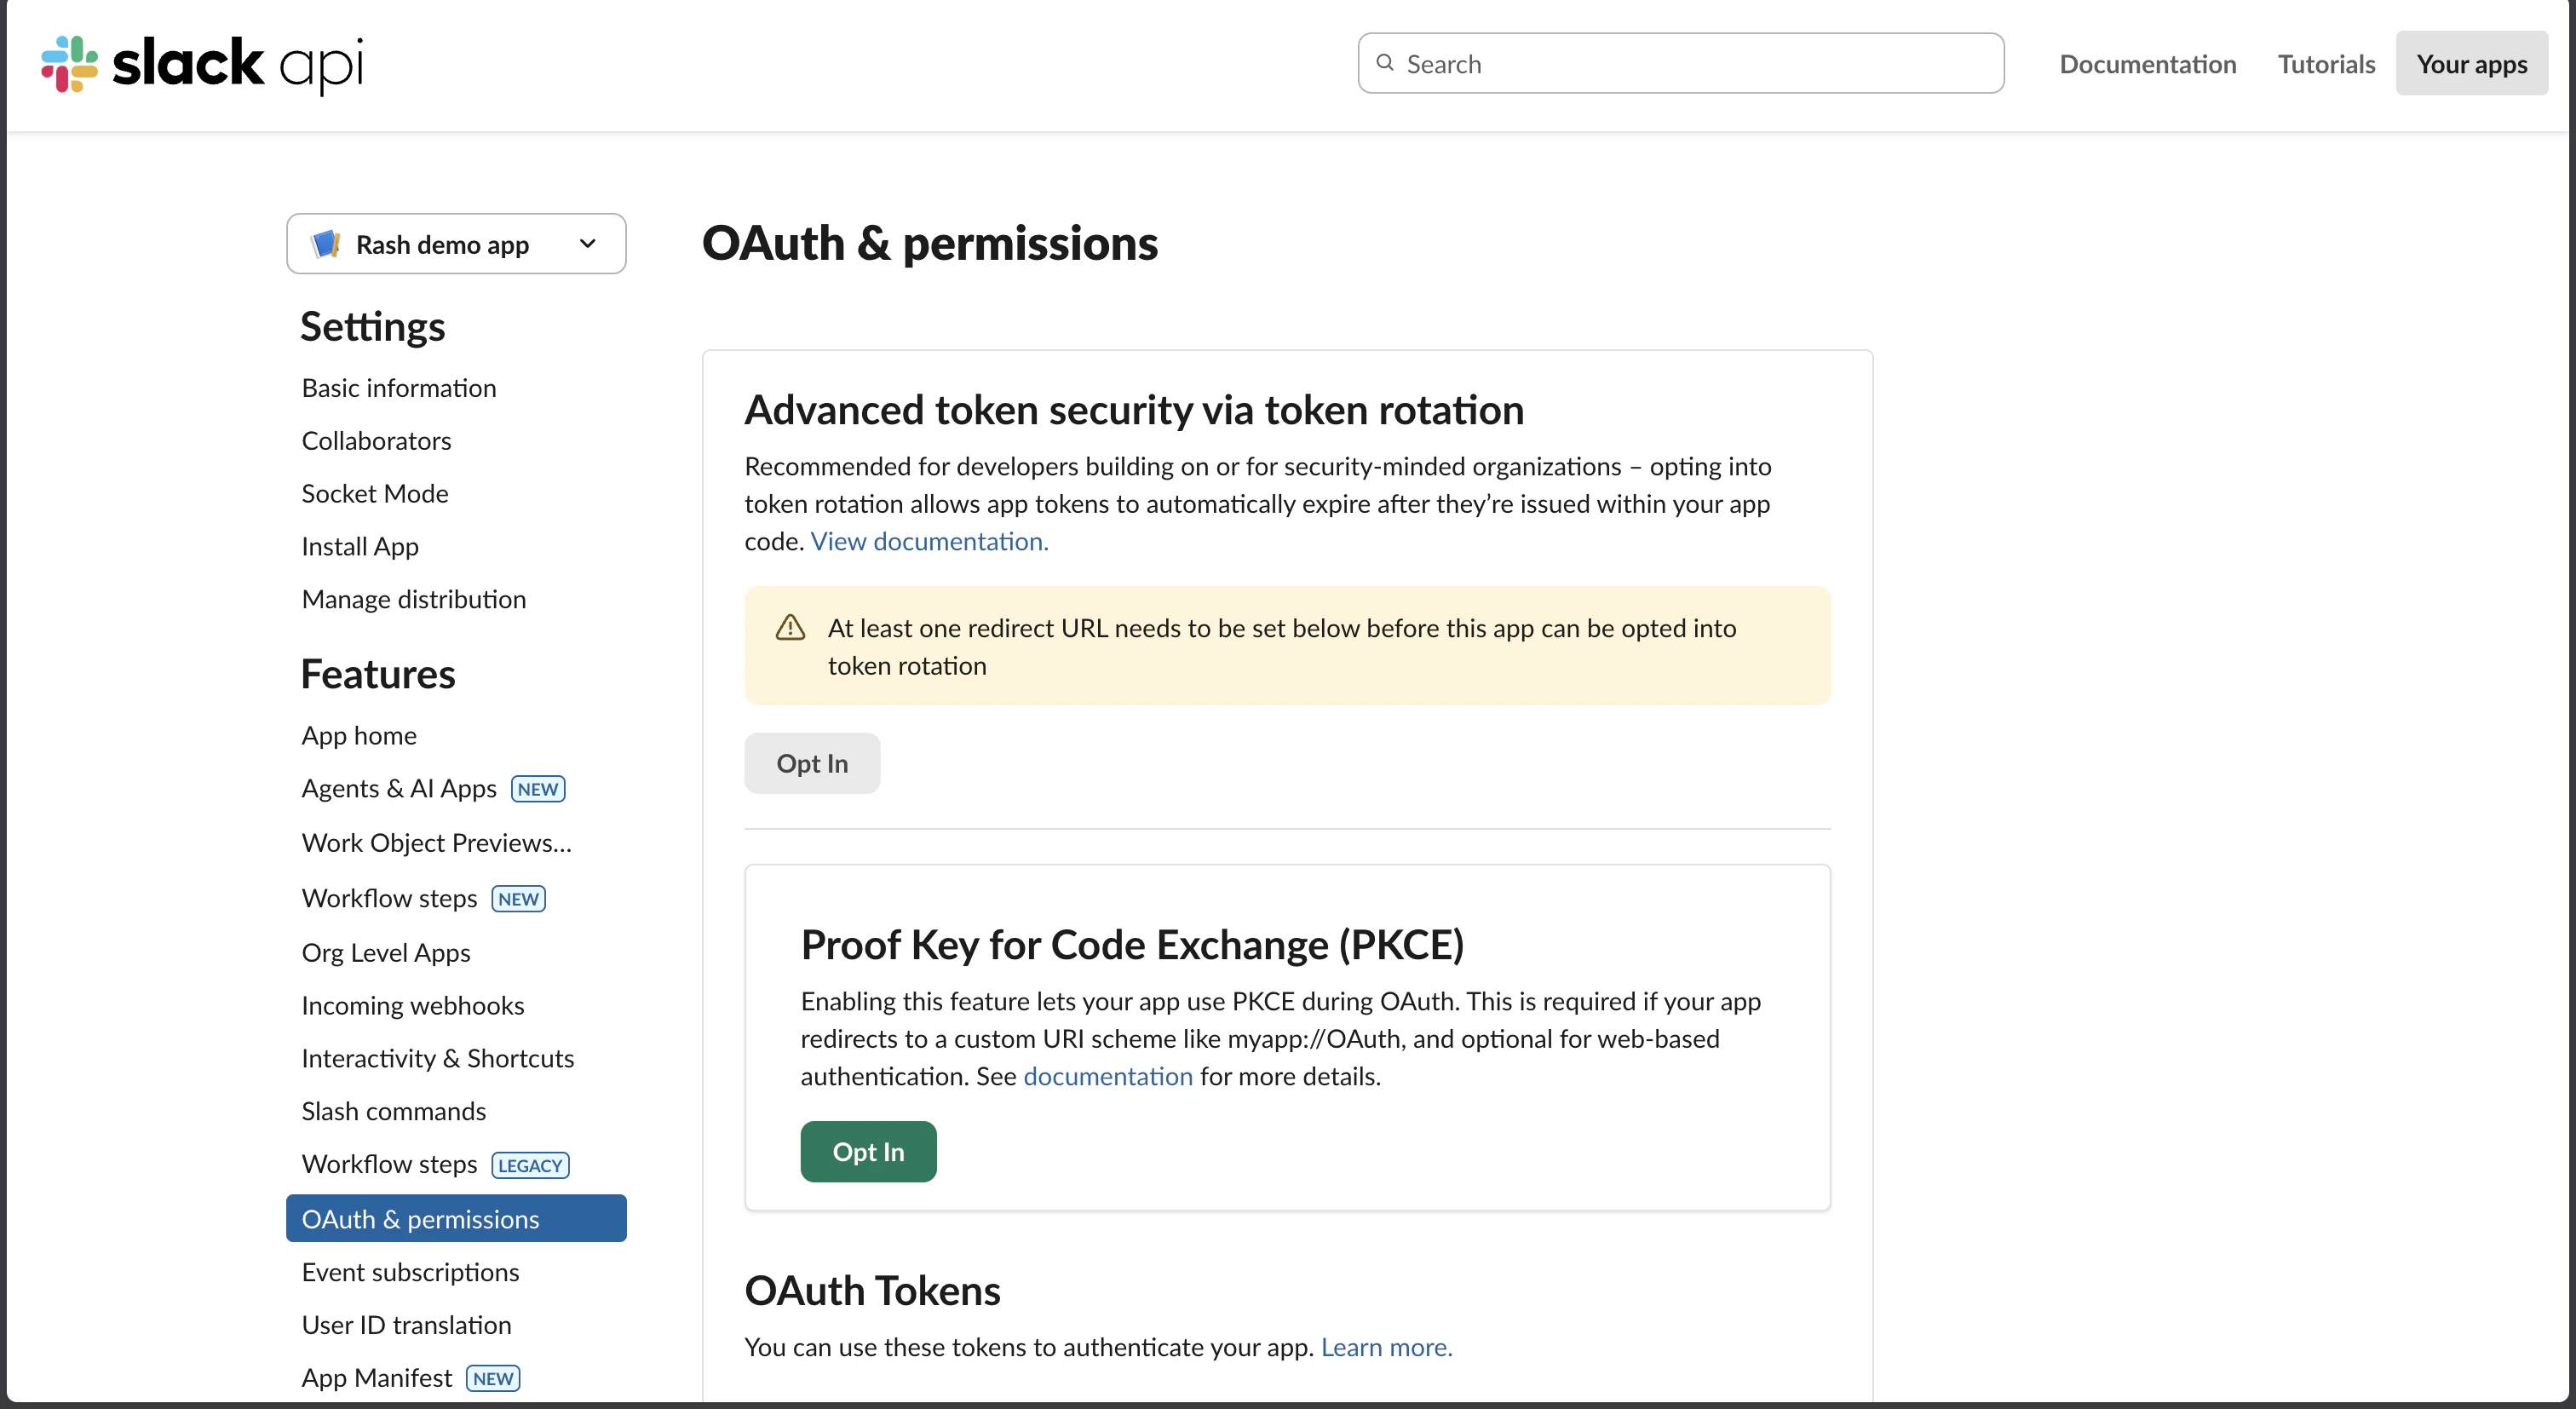
- In your app settings, go to OAuth & Permissions in the left sidebar
-
Scroll down to Bot Token Scopes and add the following scopes:
Scope Purpose chat:writeSend messages back to users im:readRead direct messages im:historyAccess DM message history - Scroll up and click Install to Workspace
- Click Allow on the permission screen
-
Copy the Bot User OAuth Token — it starts with
xoxb-:
💡 Save this as your bot_token.
Step 3: Get Your Signing Secret
- Go to Basic Information in the left sidebar
- Scroll down to App Credentials
- Copy the Signing Secret
💡 Save this as your signing_secret.
Step 4: Enable App Home Messaging
⚠️ This step is required. Without it, users will see “Sending messages to this app has been turned off” when trying to DM the bot.
- Go to App Home in the left sidebar
- Scroll to Show Tabs
- Enable Allow users to send Slash commands and messages from the messages tab
- Click Save Changes
Step 5: Get Your Bot User ID
- Open Slack
- Open your bot’s profile
- Click the three-dot menu
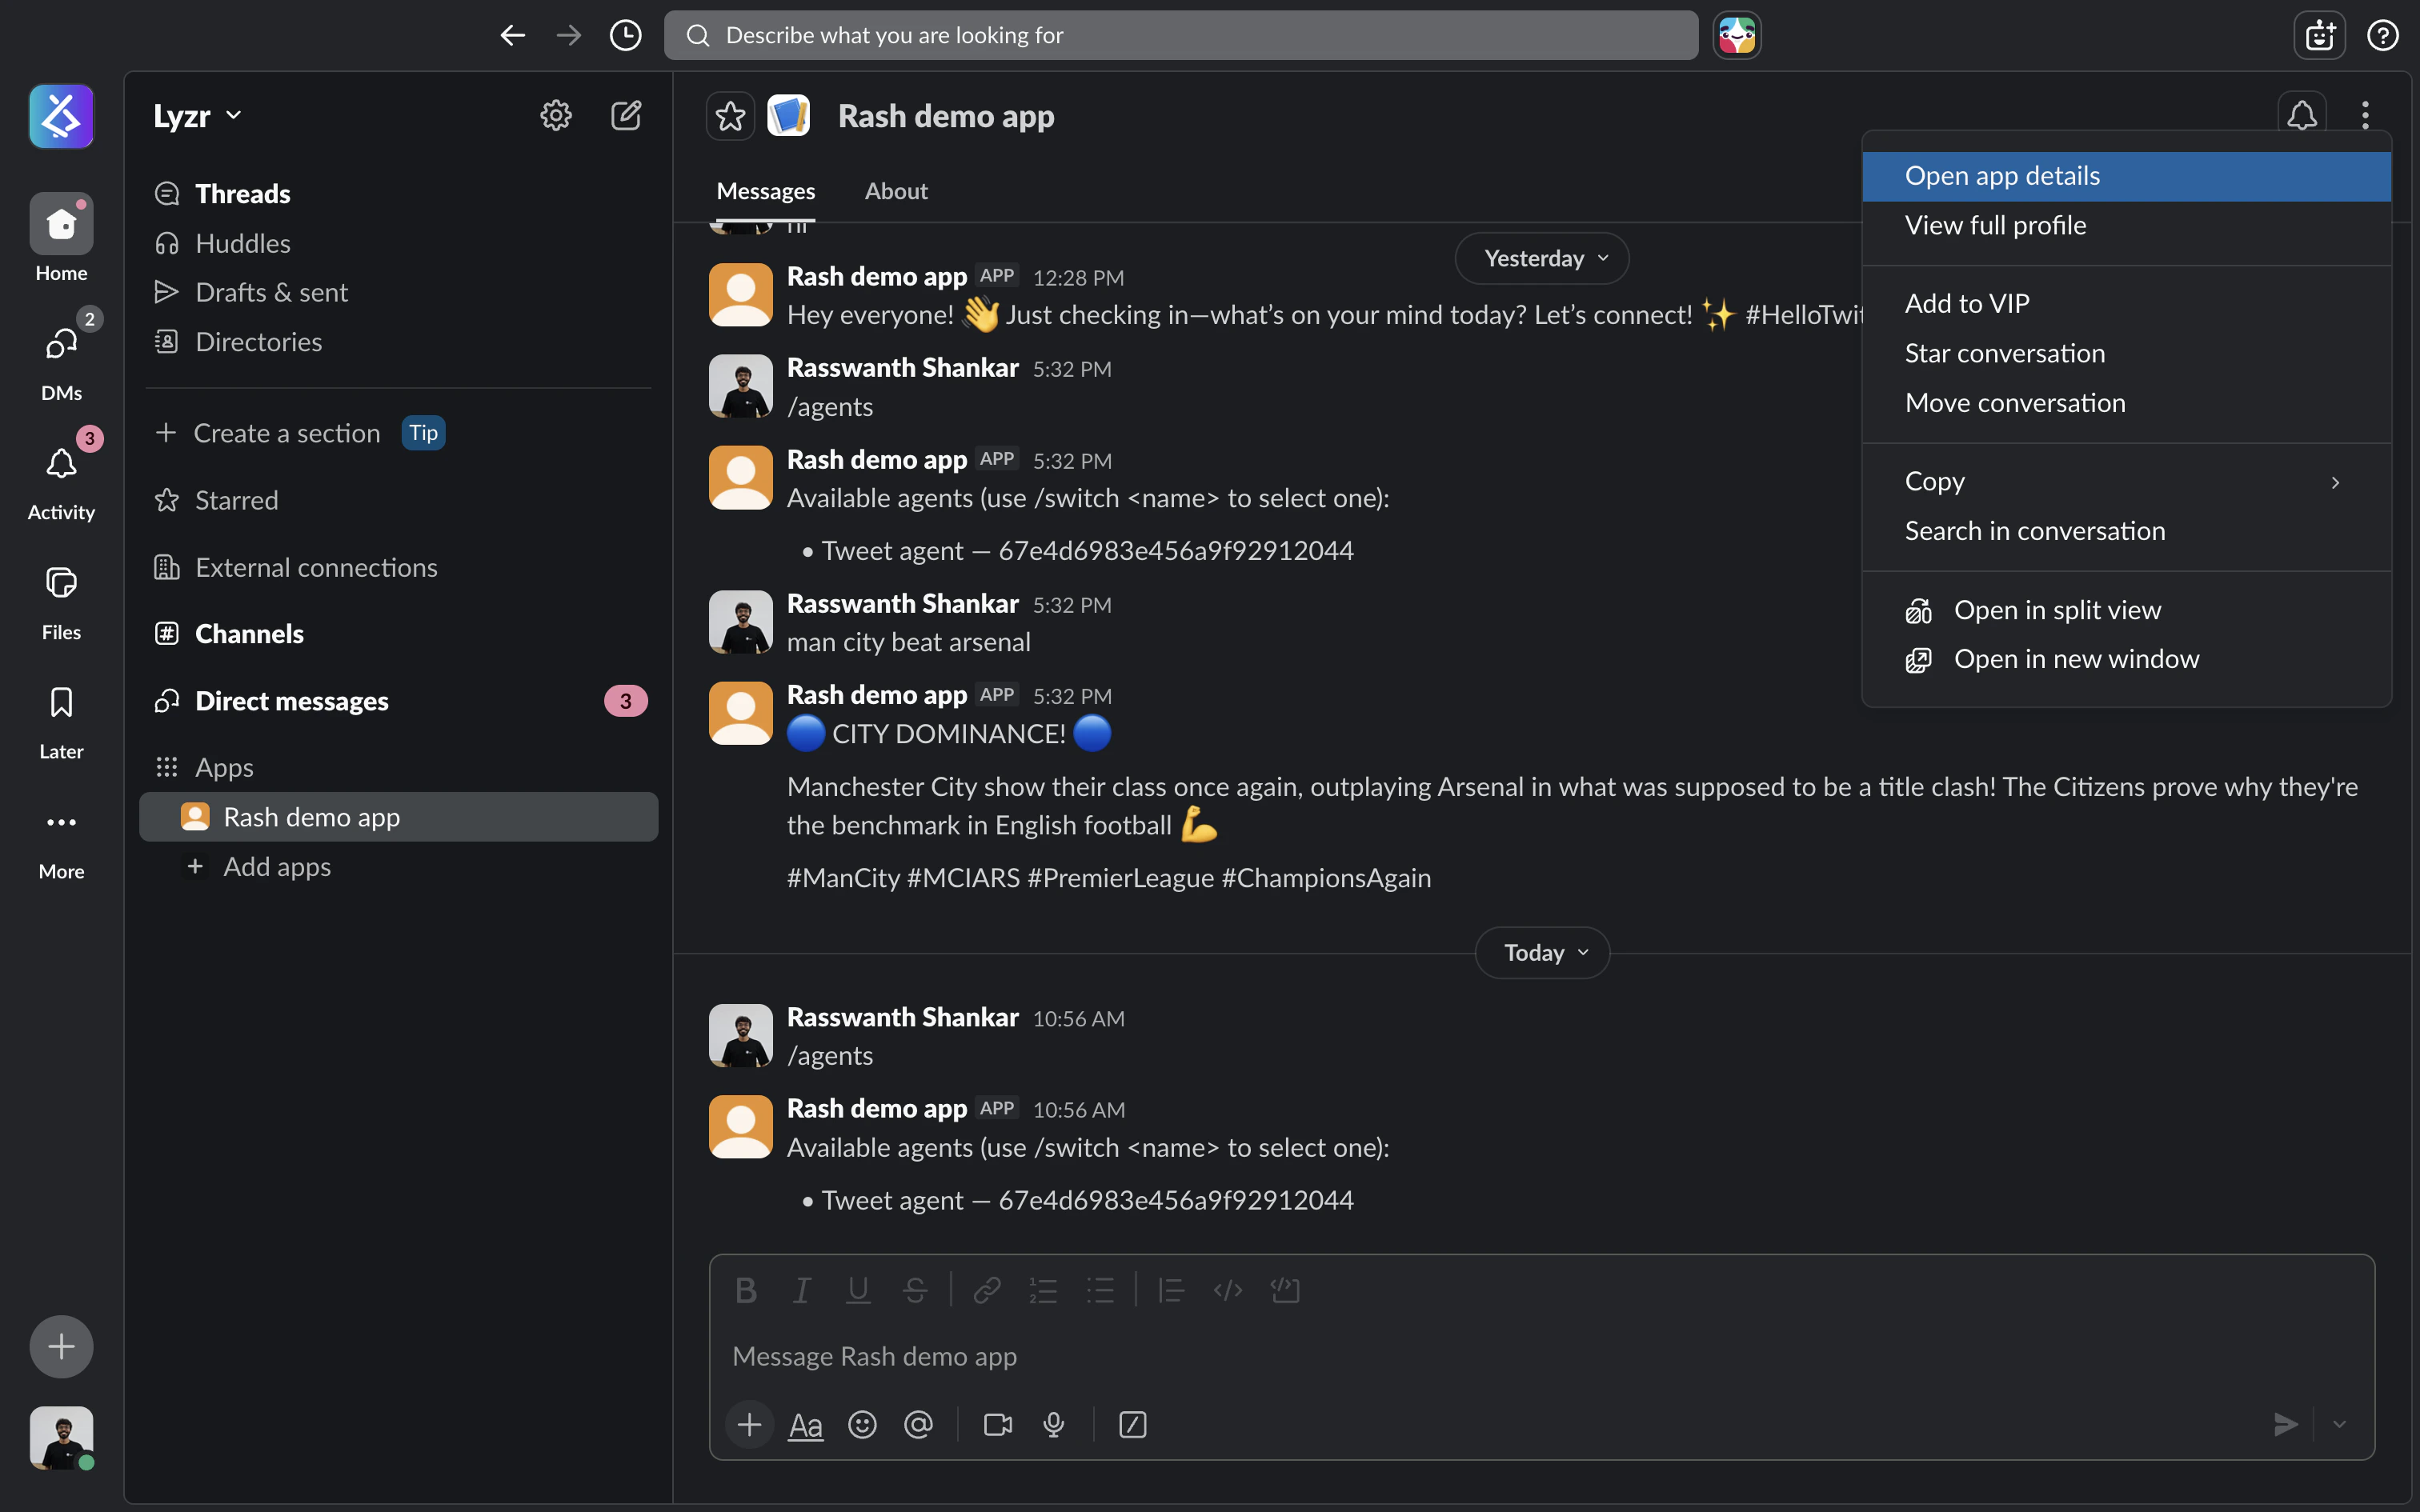
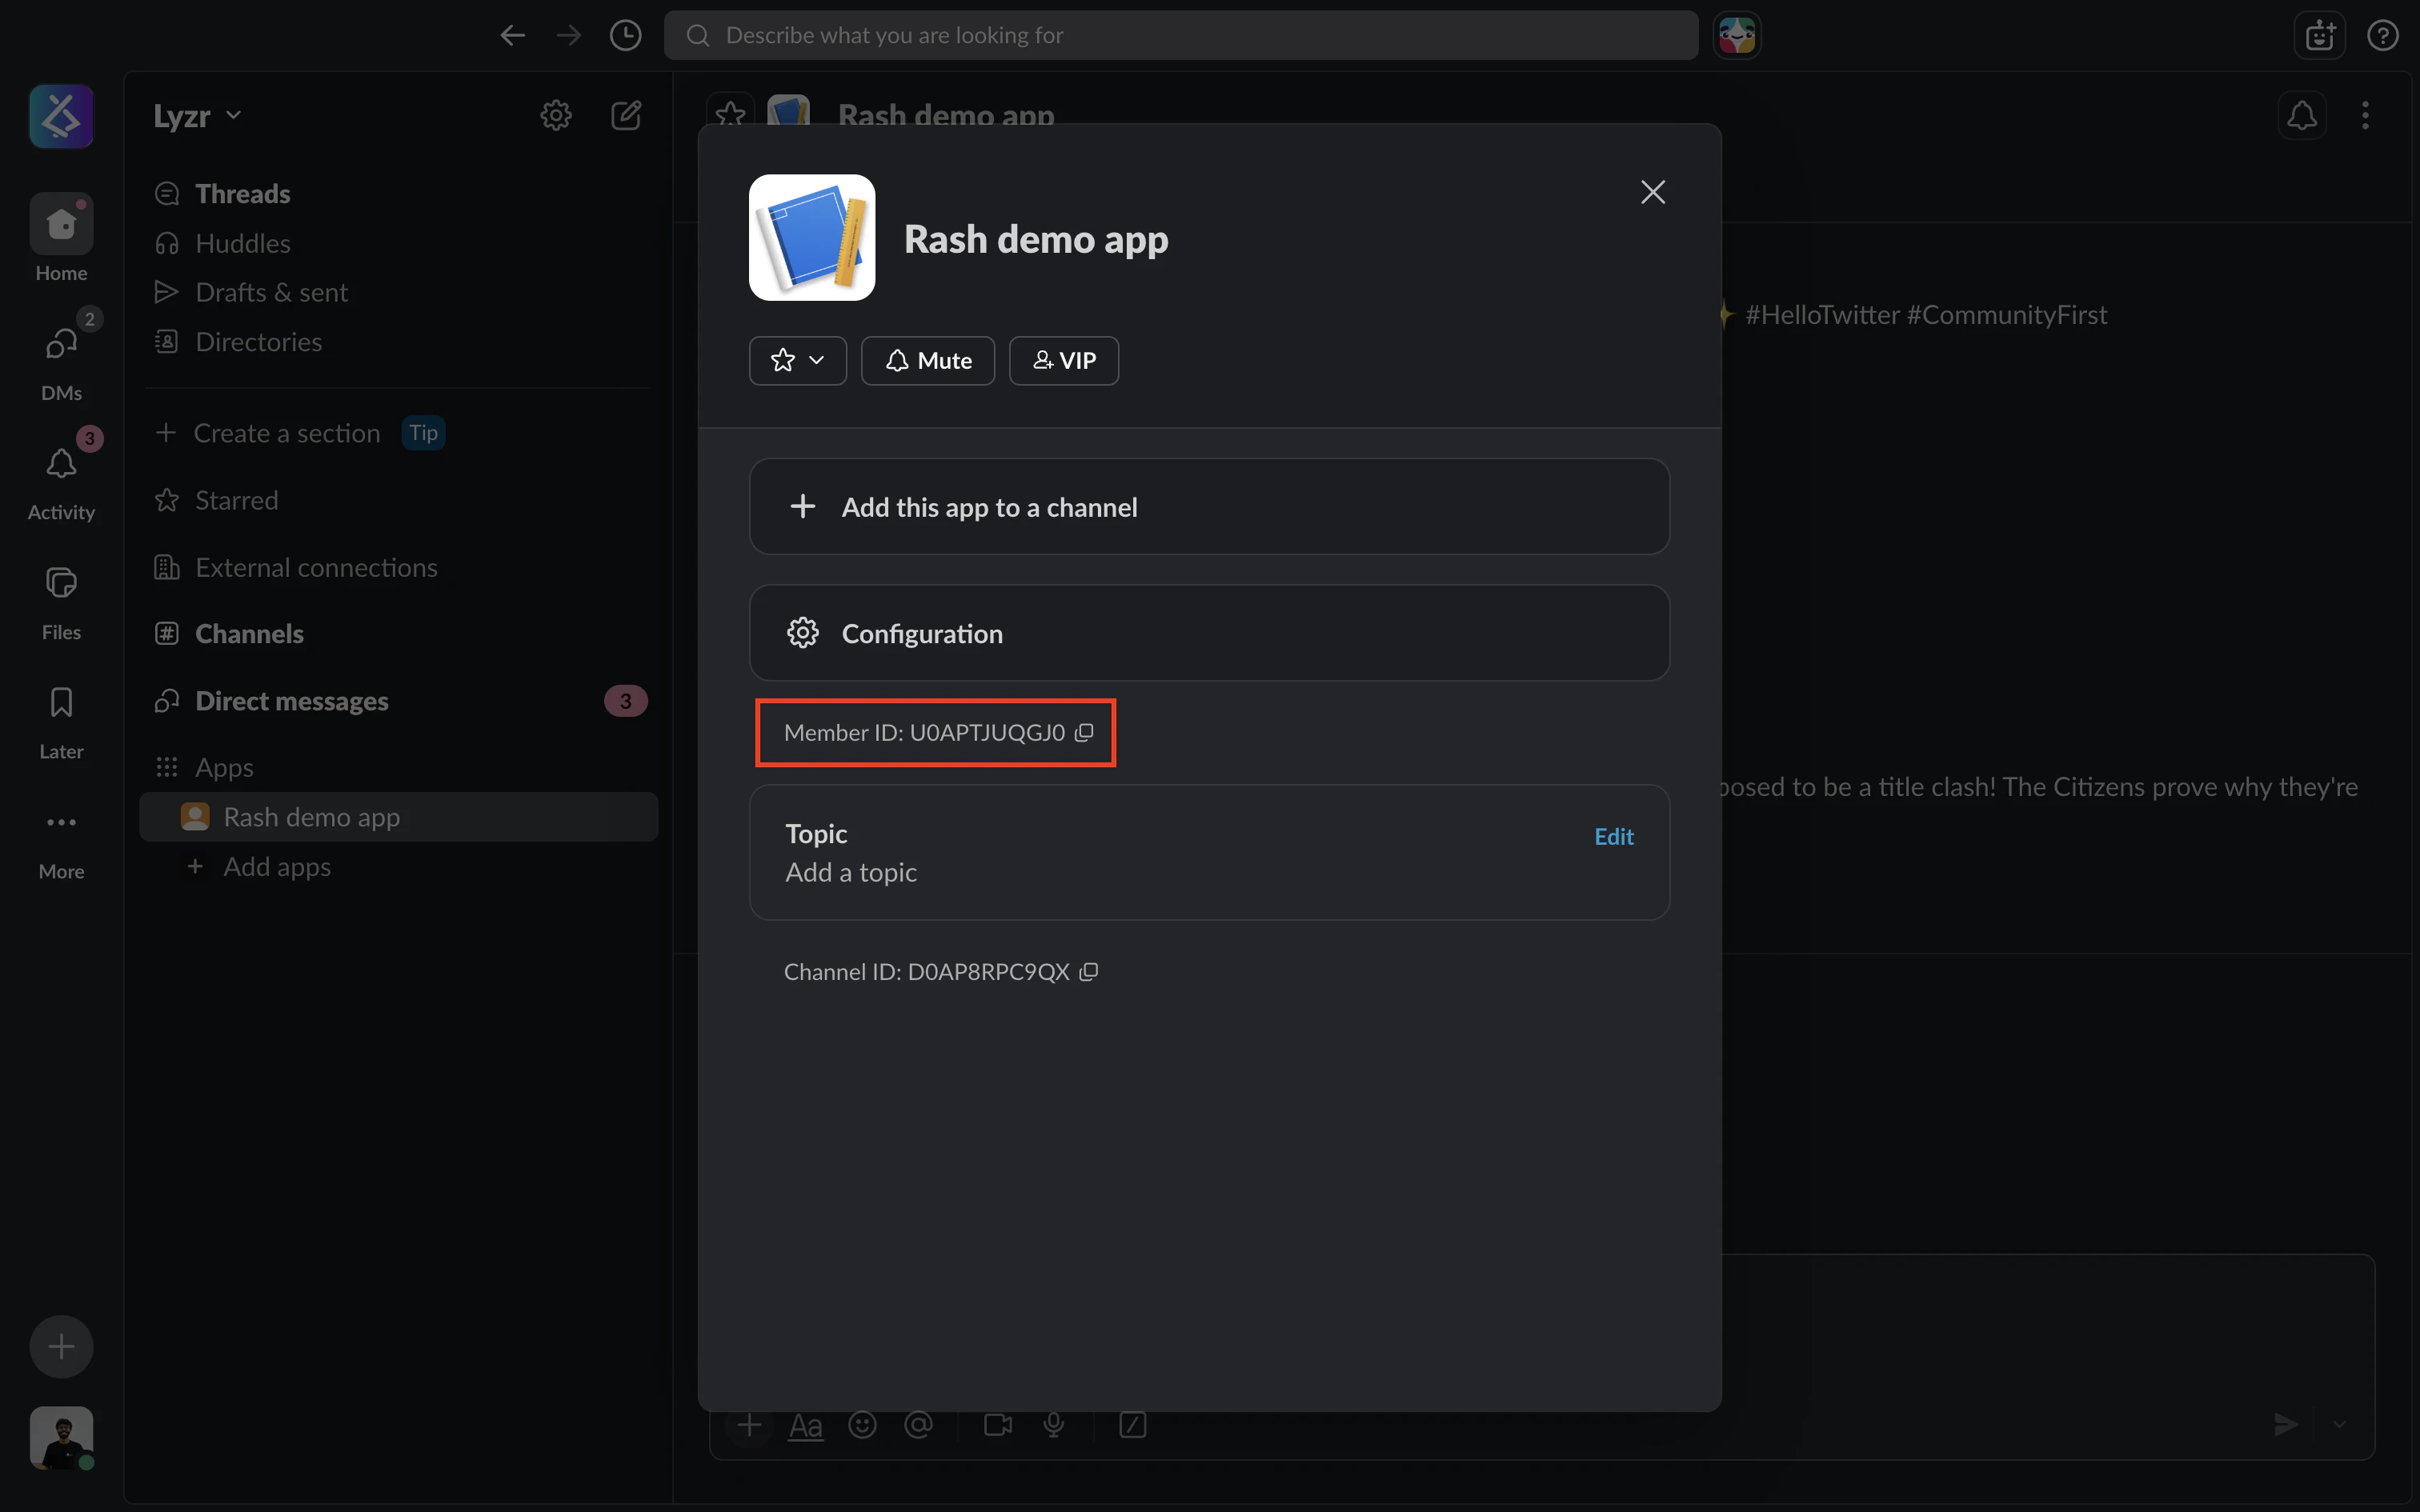
- Open App Details
- Copy member ID
Step 6: Create the Channel in Lyzr
- Open the Agent Builder page in the Lyzr UI
- Click the Channels button
- Click Configure next to Slack
-
Fill in the form:
Field Value Bot Token xoxb-...token from Step 2Signing Secret Secret from Step 3 Bot User ID Member ID from Step 5 Default Agent Select the agent you want to handle messages - Click Create Channel
-
A webhook URL will be displayed — copy it. It looks like:
Step 7: Register the Webhook URL in Slack
- Go back to api.slack.com/apps → your app
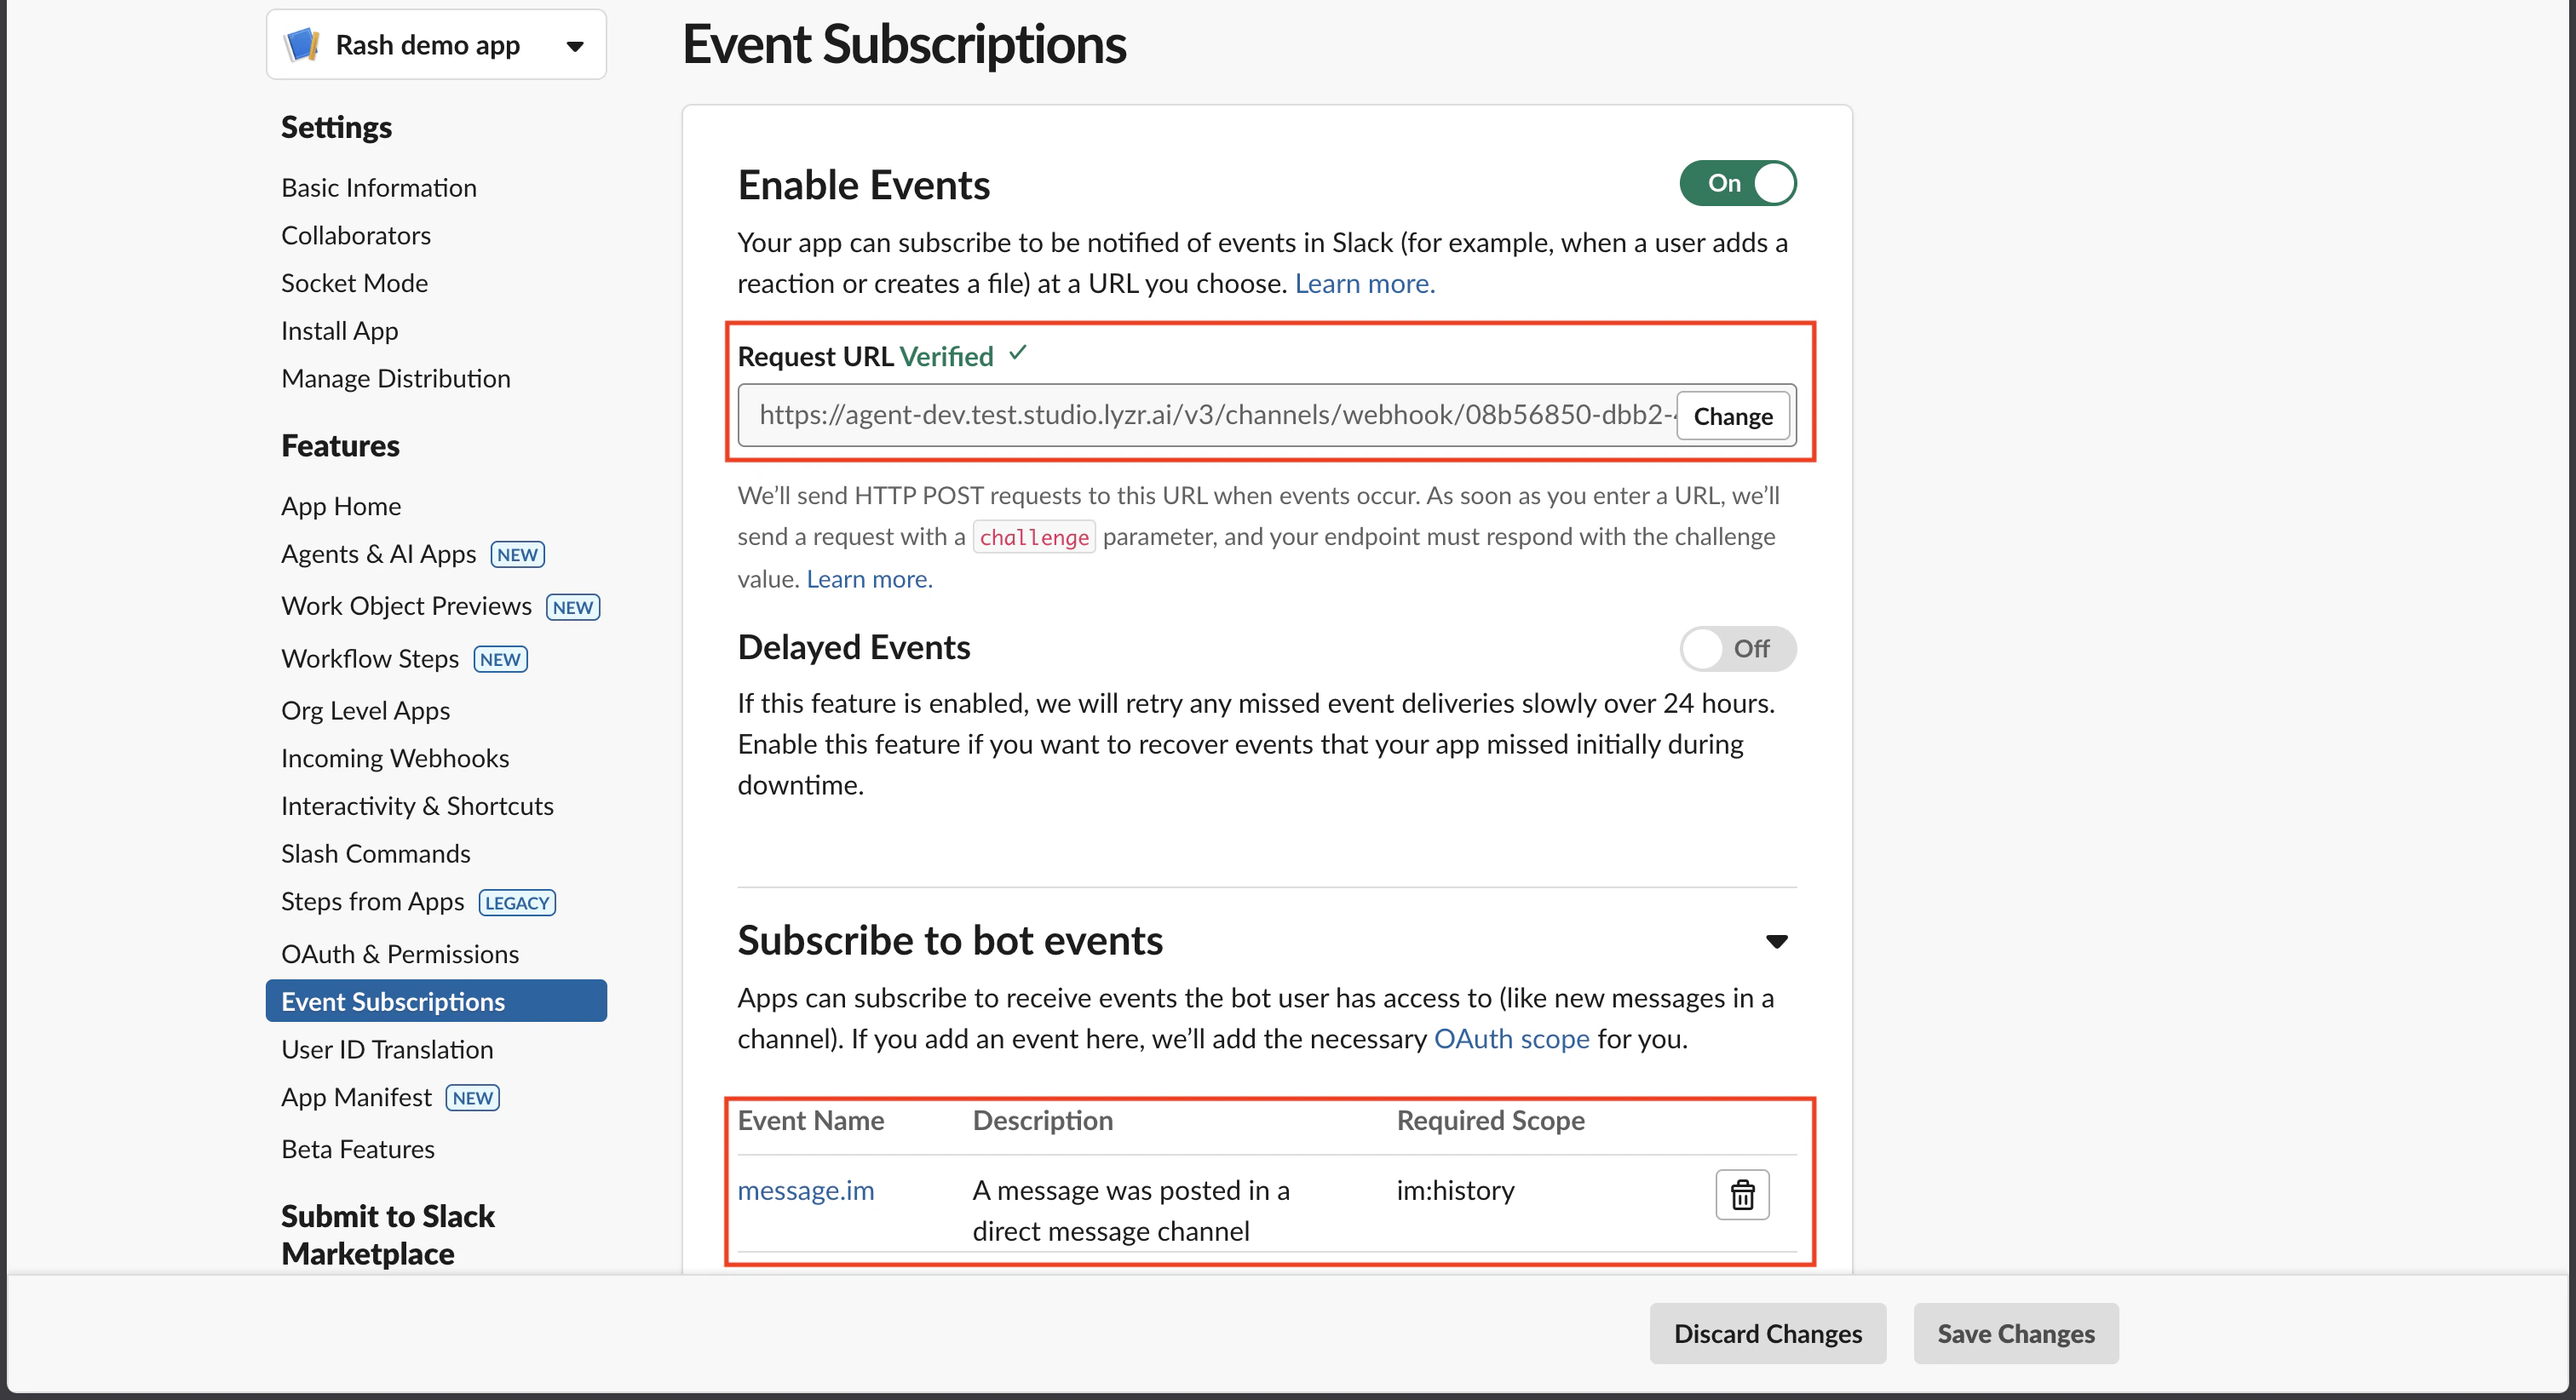
- Go to Event Subscriptions in the left sidebar
- Toggle Enable Events to ON
- Paste the webhook URL from Step 6 into the Request URL field
- Slack will immediately send a verification request — Lyzr handles this automatically. Wait for the ✓ Verified checkmark to appear
- Scroll down to Subscribe to bot events and add:
message.im— to receive direct messages sent to the bot
- Click Save Changes
Step 8: Reinstall the App
Any time you change scopes or events, Slack requires a reinstall to apply the changes.- Go to OAuth & Permissions in the left sidebar
- Click Reinstall to Workspace
- Click Allow
Step 9: Test Your Bot
- In Slack, click Apps in the left sidebar (or search for your app name)
- Click your app to open a DM
- Send any message — your agent should reply within a few seconds
Linking Multiple Agents to a Channel
You can link more than one agent to a single channel. Users can then switch between agents using built-in commands.Via the Lyzr UI
- Open Channels in the Agent Builder
- Click Manage agents on your configured channel
- Toggle agents on/off to link or unlink them
- Each linked agent gets a name used with the
/switchcommand
Via the API
Add an agent:The default agent cannot be removed. To change it, delete the channel and recreate it with a different default agent.
Bot Commands
Once multiple agents are linked, users can interact using these built-in commands:| Command | Description |
|---|---|
/agents | List all agents linked to this channel |
/list | Same as /agents |
/switch <name> | Switch to a different agent by name |
Troubleshooting
”Sending messages to this app has been turned off”
Go to App Home → Show Tabs, enable Allow users to send Slash commands and messages from the messages tab, then reinstall the app.Commands not working
Press an empty space before typing /agents or other commands. Slash (/) is considered as an inbuilt slack command otherwiseBot receives messages but doesn’t reply
Yourbot_token is likely invalid or the chat:write scope is missing. Go to OAuth & Permissions, verify chat:write is listed under Bot Token Scopes, reinstall the app, and copy the fresh xoxb- token into Lyzr.
Slack verification fails when pasting the webhook URL
Server must be publicly reachable at the moment you paste the URL — Slack sends a challenge request immediately.”Your URL didn’t respond with the value of the challenge parameter”
The server is not running or not reachable.
/switch command not working
Agent names are case-insensitive but must match exactly (ignoring leading/trailing spaces). Run /agents first to see the exact names available.