1. Accessing the Simulation Engine and Setting up the Environment
Step 1.1: Select the Target Agent
- Access: From the main Lyzr Studio dashboard, navigate to the Agent Simulation Engine section.
- Quick Start: Review the four main steps: 1. Select an agent, 2. Create an environment, 3. Add personas and scenarios, and 4. Run evaluations to harden the agent.
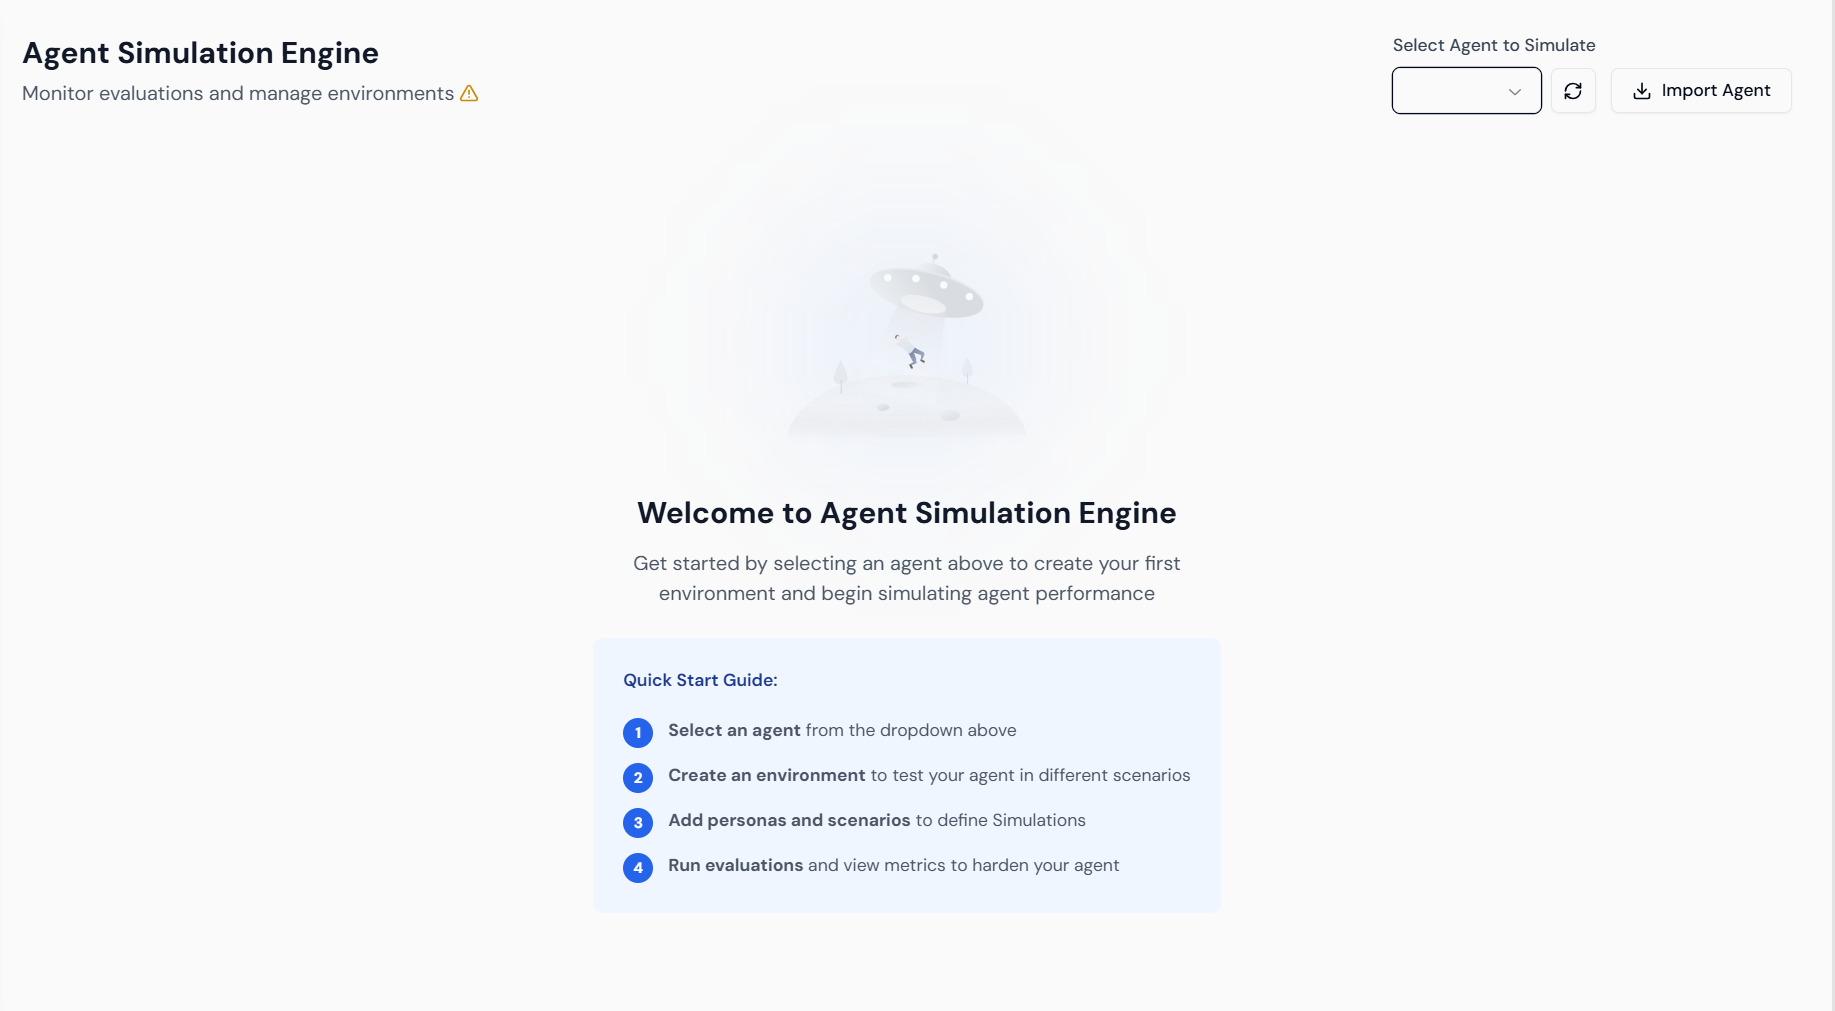
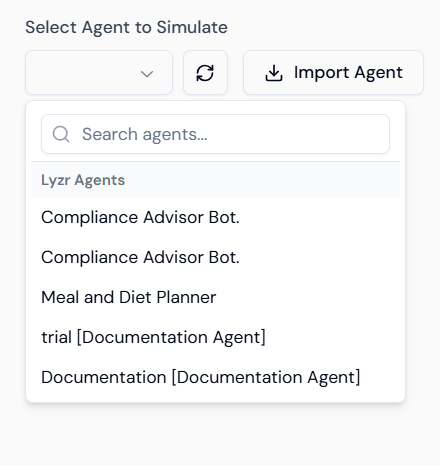
- Selection: Locate the “Select Agent to Simulate” dropdown menu.
- Choose Agent: Select the built agent, “Compliance Advisor Bot.”
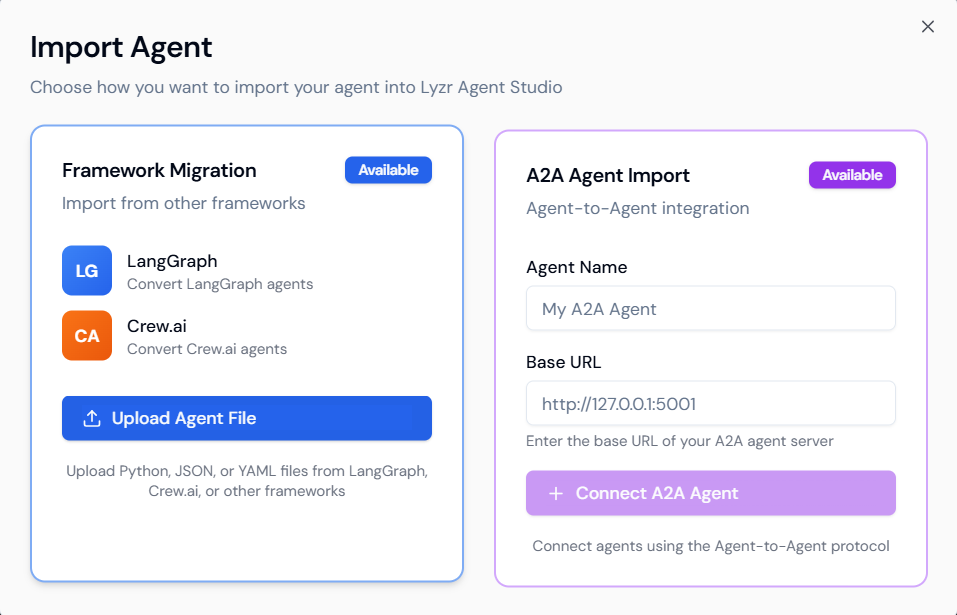
- Import (Optional): If needed, use the Import Agent feature to migrate agents from external frameworks like LangGraph (LG) or Crew.ai (CA) using the Framework Migration option.
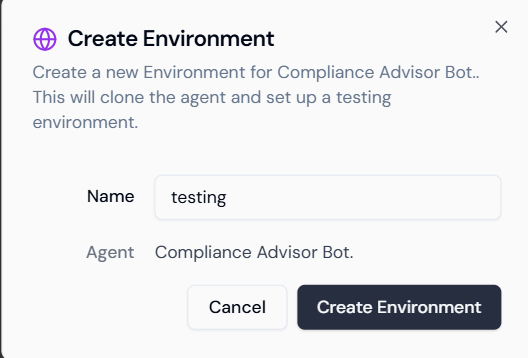
Step 1.2: Create the Testing Environment
A testing environment is a dedicated clone of your agent for safe evaluation.- Initiate: After selecting the agent, provide a name for your testing environment.
- Name: Enter a descriptive name, such as
testing. - Confirm: Verify the Agent name (
Compliance Advisor Bot.). - Launch: Click Create Environment.
2. Configuring Simulations and Test Cases
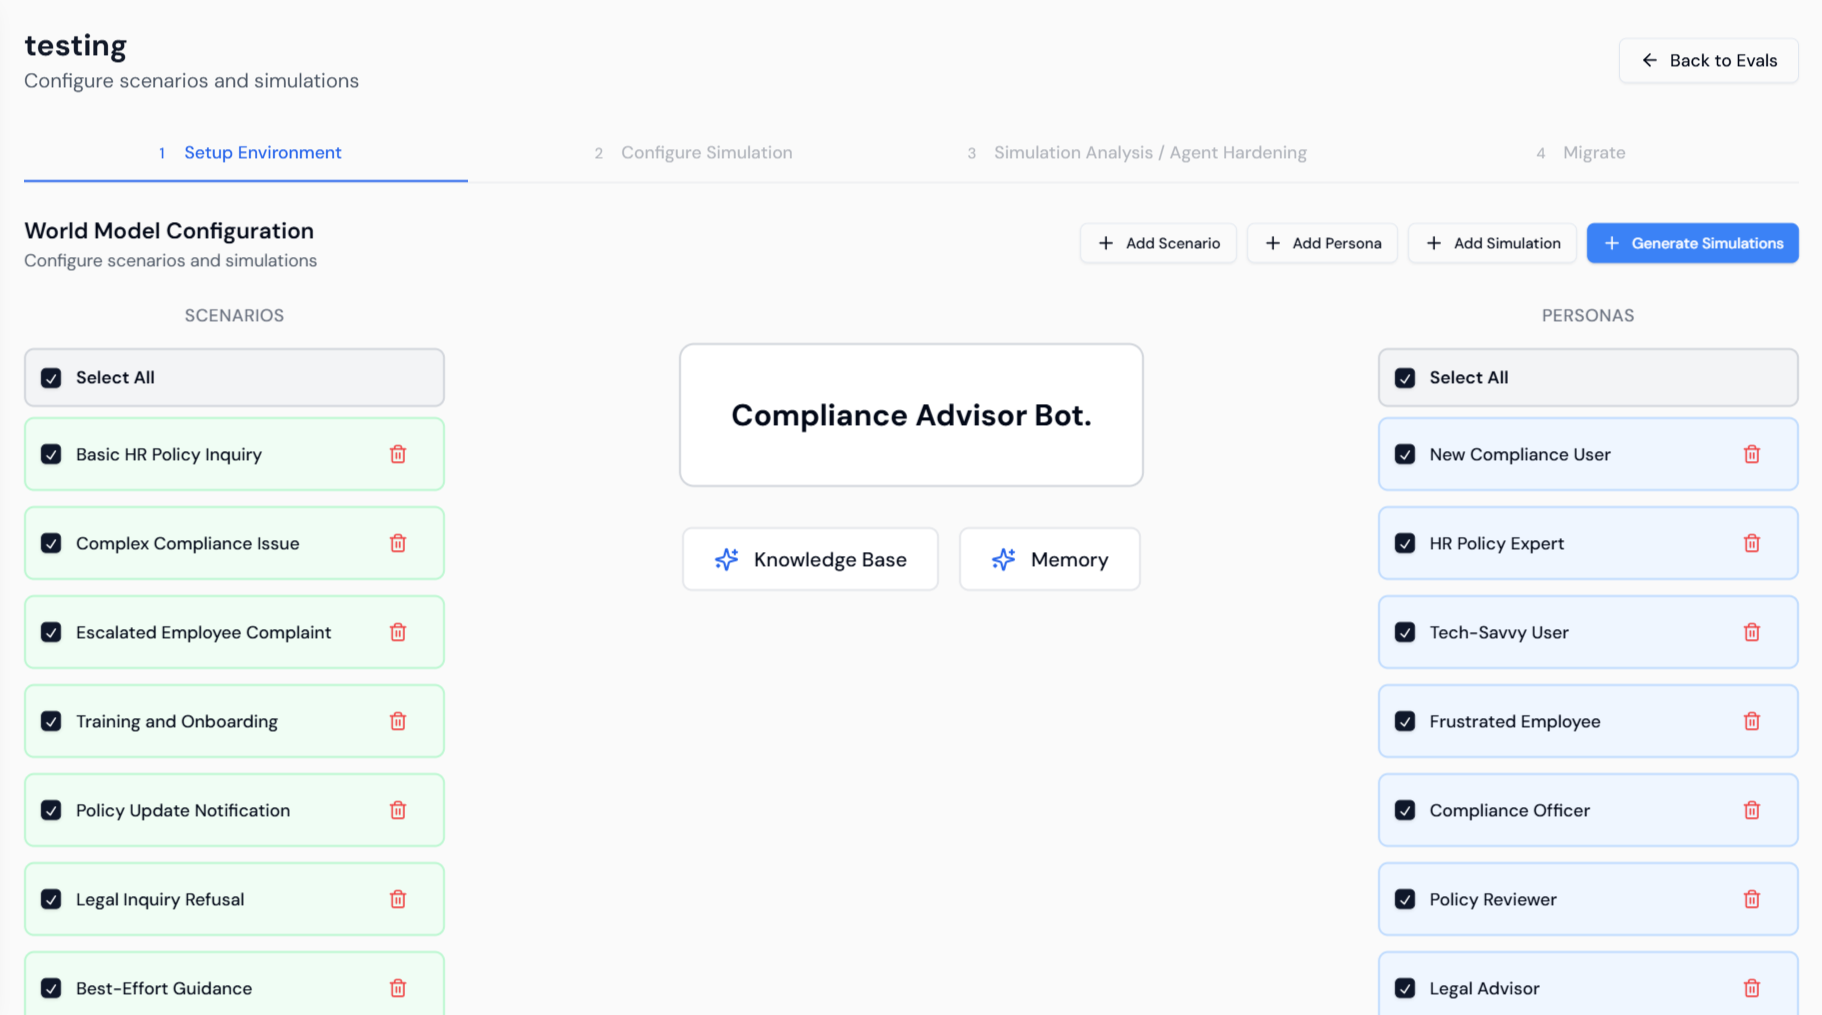
This involves defining the “World Model” using Scenarios (the context of the query) and Personas (the user profile).Step 2.1: Select Scenarios and Personas
- Setup View: The environment opens to the Setup Environment tab. Confirm the agent’s core features (Knowledge Base and Memory) are active.
- Select Scenarios: Choose relevant SCENARIOS on the left panel (e.g., Basic HR Policy Inquiry, Complex Compliance Issue, Legal Inquiry Refusal).
- Select Personas: Choose representative PERSONAS on the right (e.g., New Compliance User, HR Policy Expert, Legal Advisor).
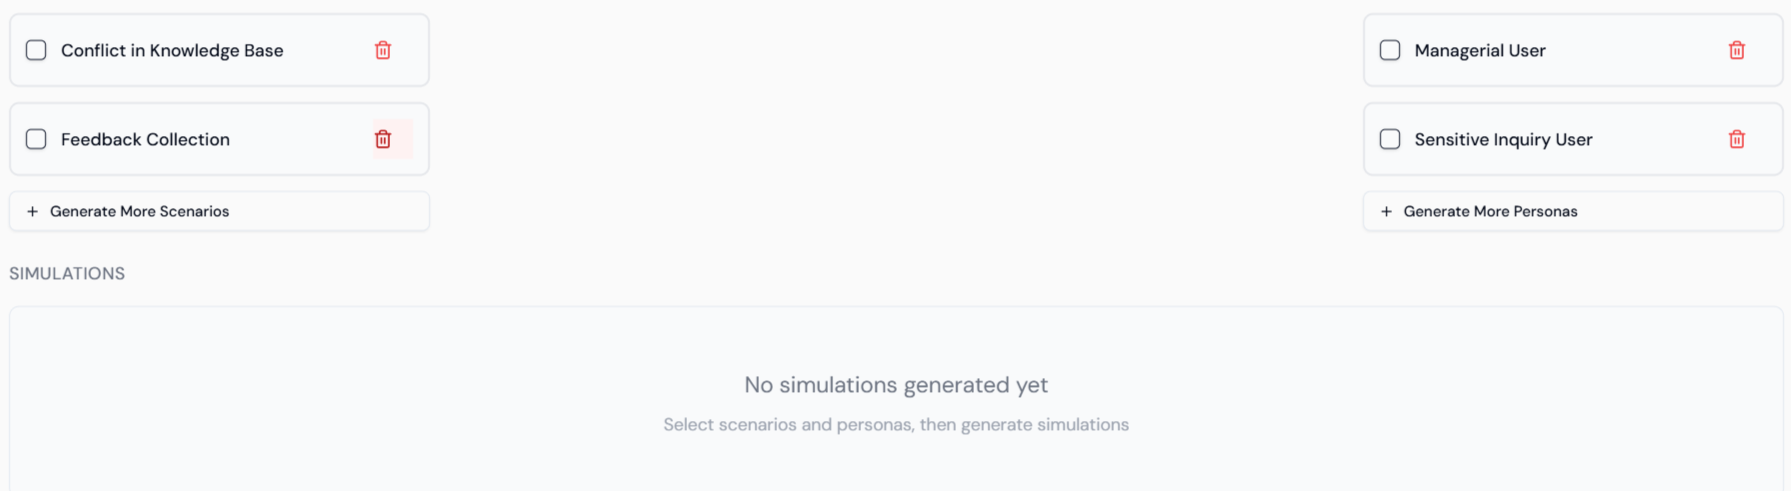
- Simulations Panel: The bottom panel shows additional scenario types (e.g., Conflict in Knowledge Base) and personas (e.g., Sensitive Inquiry User).
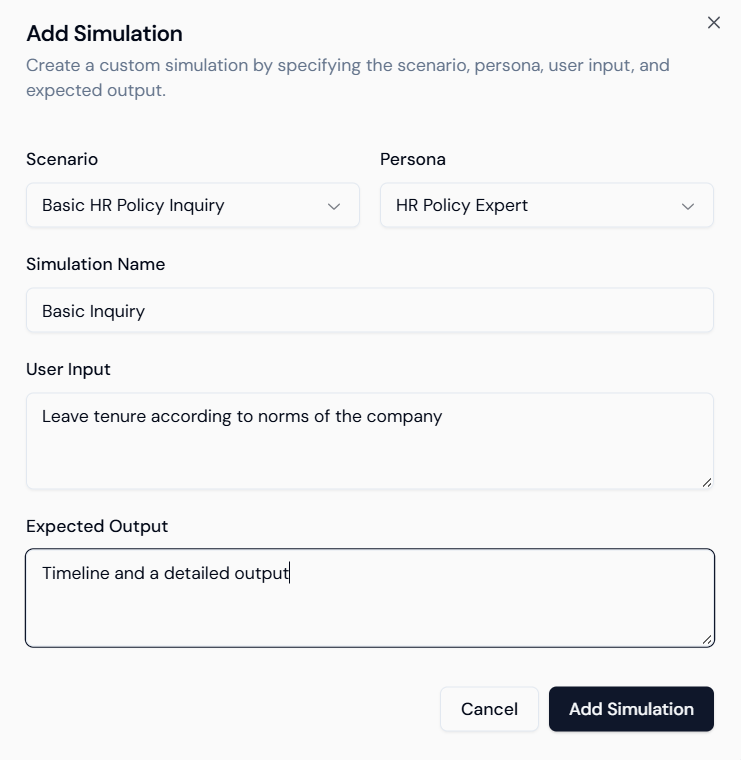
Step 2.2: Add Custom Simulations
You can define specific test cases manually to address known vulnerabilities.- Add Simulation: Click + Add Simulation at the top.
- Define Case: Specify the Scenario (e.g., Basic HR Policy Inquiry) and Persona (e.g., HR Policy Expert).
- User Input: Enter the specific query (e.g.,
Leave tenure according to norms of the company). - Expected Output: Define the ideal response (e.g.,
Timeline and a detailed output). - Save: Click Add Simulation.
Step 2.3: Review and Configure Evaluation
- Review Simulations: The custom simulation appears in the list. Select it using the checkbox.
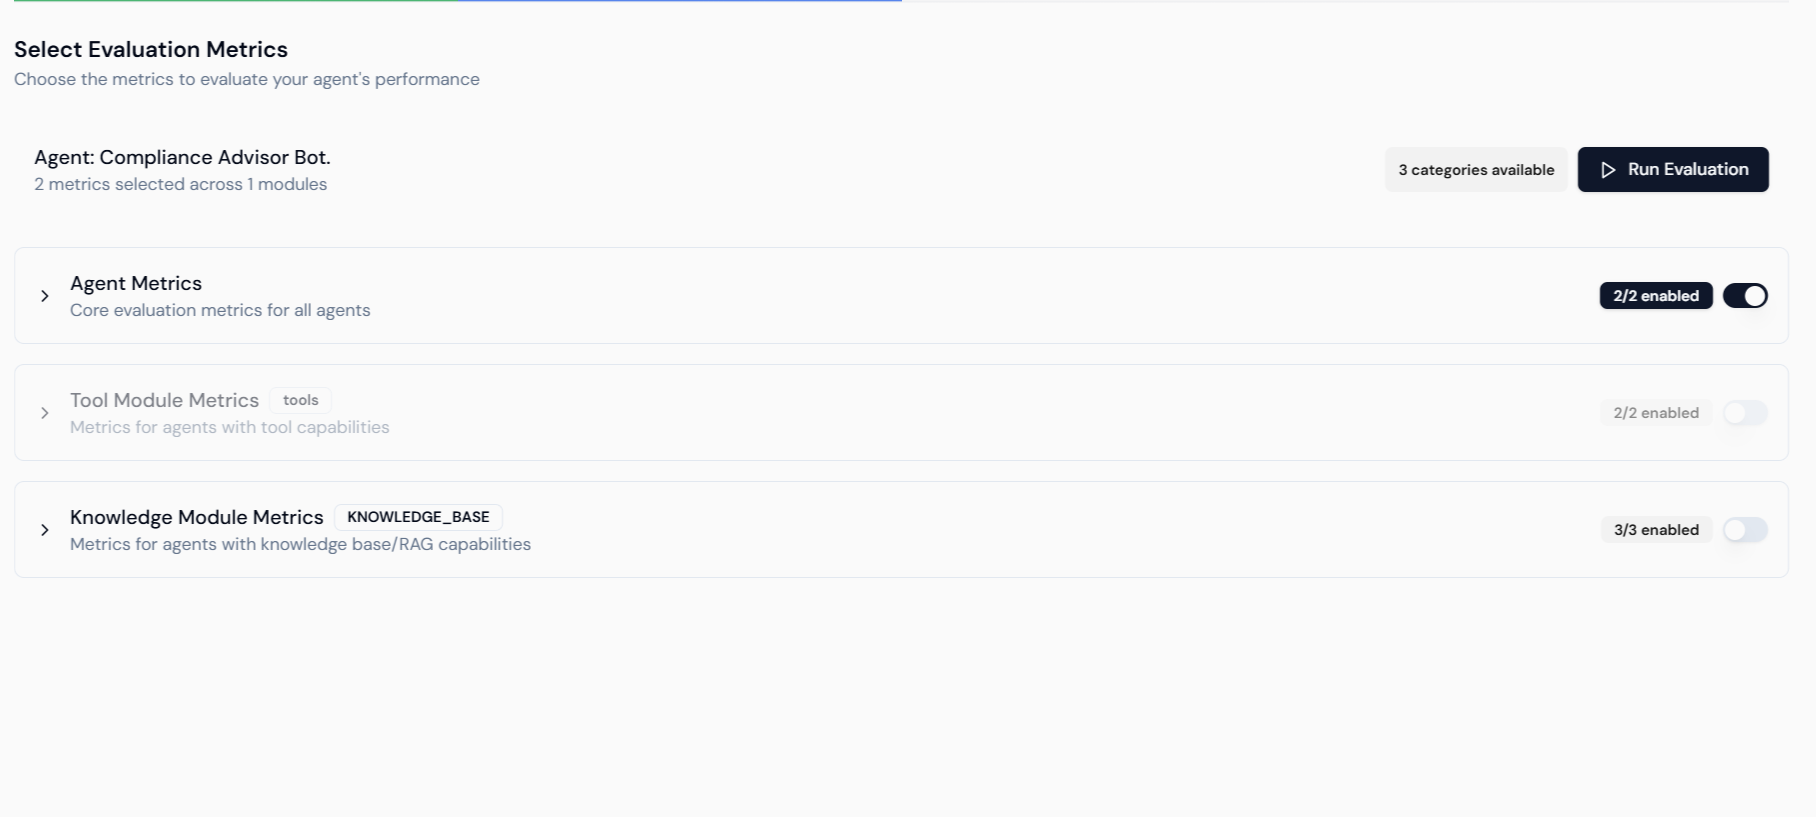
- Evaluation: Click Configure Evaluation (1 selected) to select the metrics.

- Select Metrics: On the Select Evaluation Metrics screen, ensure relevant metrics are enabled:
- Agent Metrics: Core evaluation metrics.
- Knowledge Module Metrics (RAG): Essential for a compliance agent; ensure these are enabled for accuracy and groundedness checks.
- Run Evaluation: Click Run Evaluation.
3. Simulation Analysis and Automated Hardening
This phase diagnoses failures and applies fixes to the agent’s instructions.Step 3.1: Analyze Simulation Results
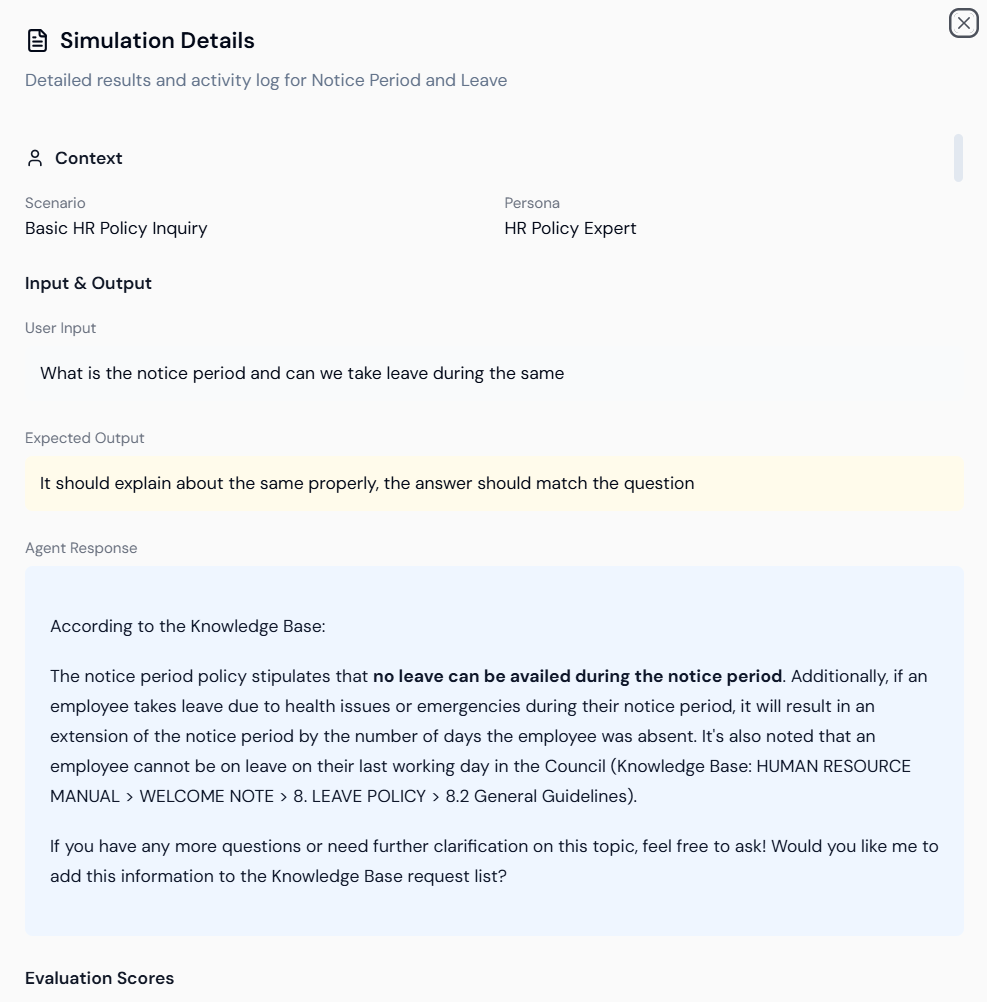
- Simulation Details: After running, review the Simulation Details for the test case (e.g., Notice Period and Leave). This shows the Scenario, Persona, User Input, and the Agent Response.
- Agent Response Example: The agent’s response is provided, often citing the Knowledge Base source.
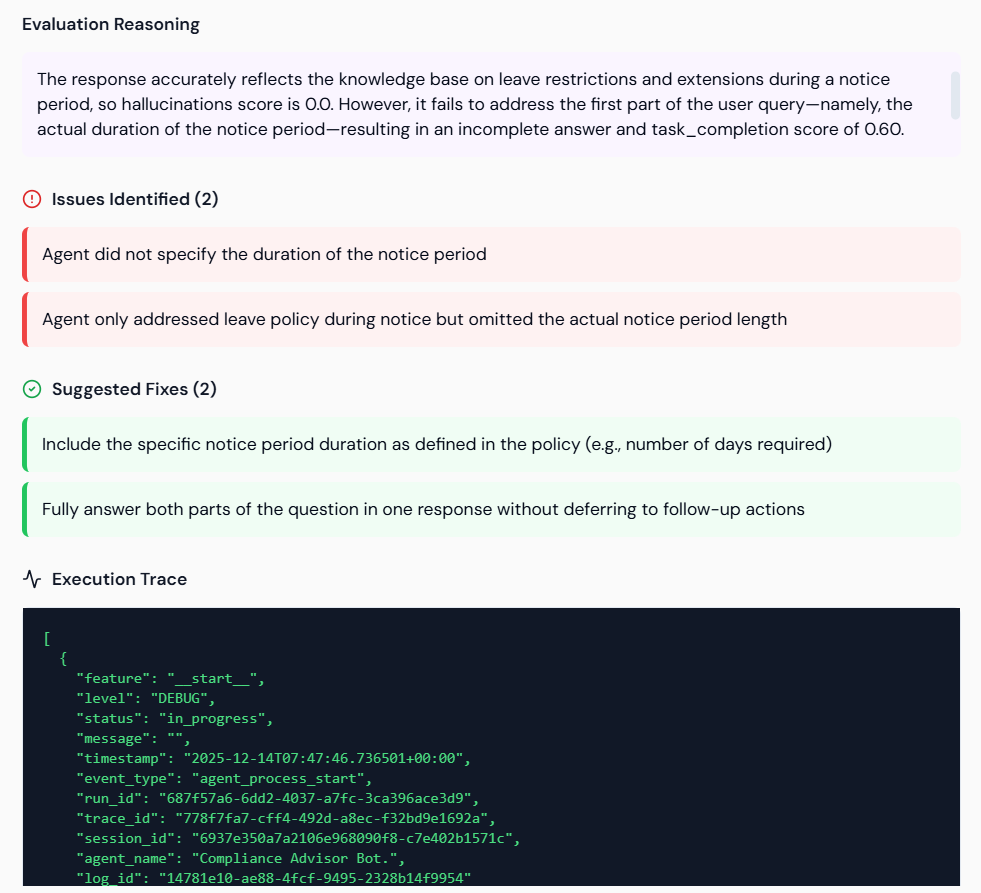
- Evaluation Reasoning: Review the detailed Evaluation Reasoning for failures. The system highlights:
- Issues Identified (Red): Failures (e.g., Agent did not specify the duration of the notice period).
- Suggested Fixes (Green): Specific instructions to resolve the failure (e.g., Include the specific notice period duration).
Step 3.2: Automated Agent Hardening
This feature uses the identified failures and suggested fixes to automatically update and correct the agent’s instructions.- Select Test Case: Ensure the failed test case is selected for hardening.
- Hardening Options:
- Manual Harden: Allows you to review and manually apply the suggested fixes to the agent’s instructions.
- Start Automated Hardening: Lyzr’s AI automatically applies the suggested fixes and re-evaluates the agent.
- Reinforcement Loops: Set the Max Reinforcement Hardening Loops (e.g., 3). Automated mode will attempt to harden and re-evaluate the agent up to the set limit until the tests pass.

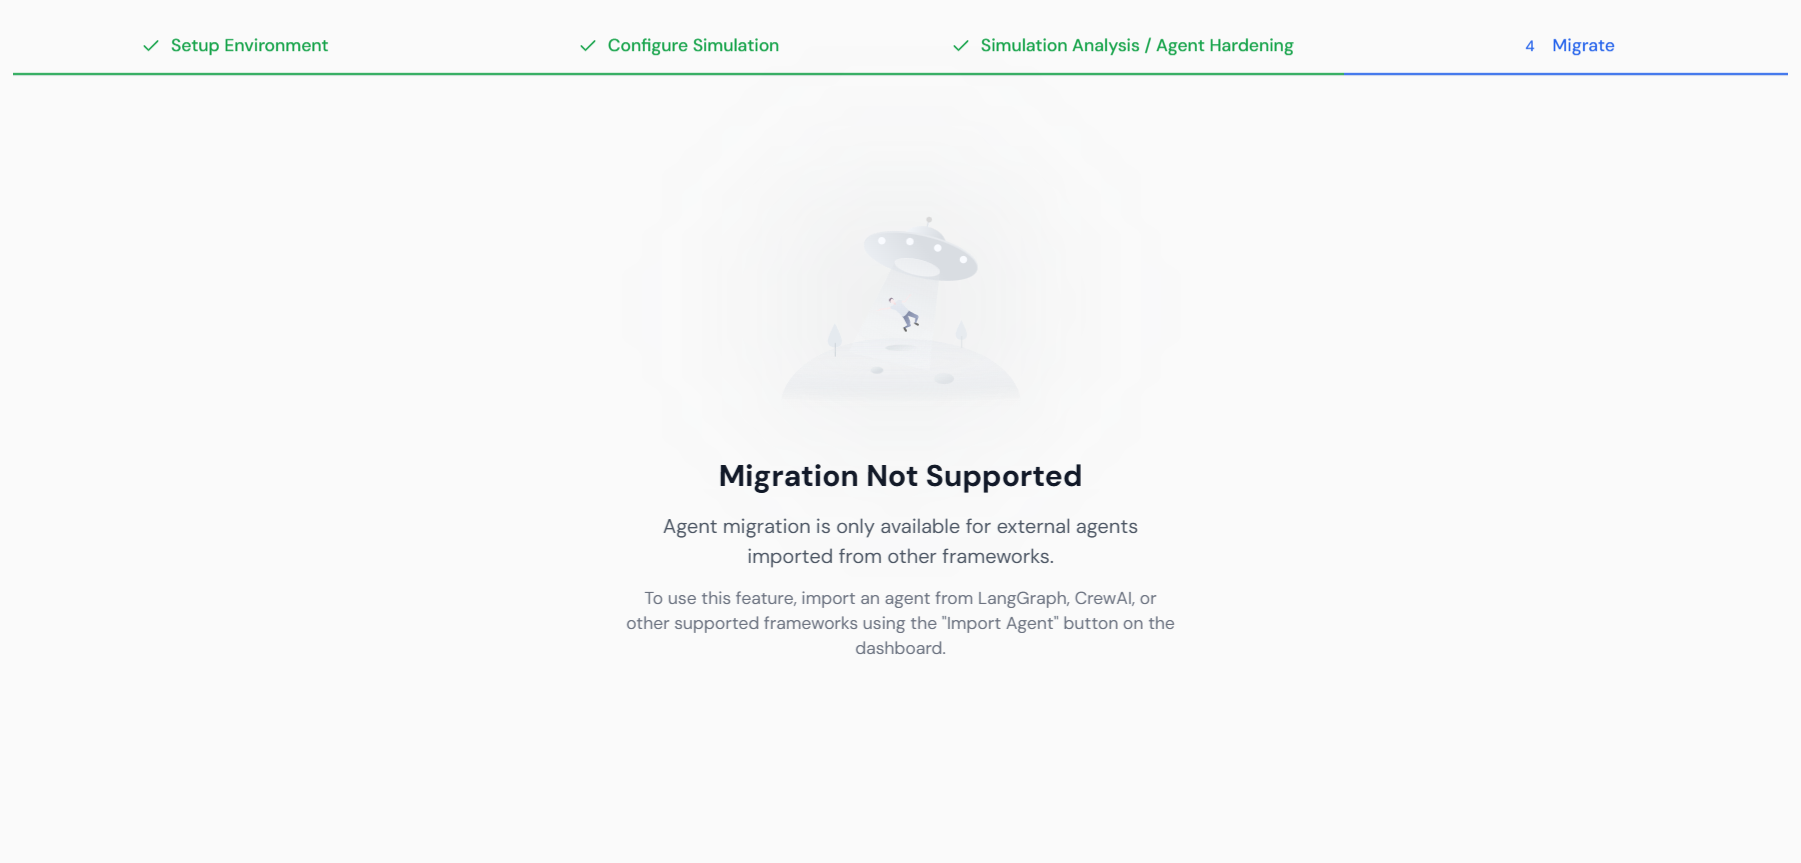
Step 3.3: Migration (External Agents Only)
Once the agent has been hardened and passes all simulations, the changes can be migrated.- Access Migration: Navigate to the 4. Migrate step.
- Constraint: Note that Migration is Not Supported for agents built natively in Lyzr Studio. This feature is only available for agents originally imported from external frameworks (LangGraph, Crew.ai) for export after hardening.