1. Workflow Canvas: Your Design Space
The core of the Workflow Builder is the Workflow Canvas. This expansive area is where you visually construct your AI application. You can drag components from the “Drag Components” panel onto this canvas, connect them to define the flow of information and control, and arrange them logically to represent your application’s behavior.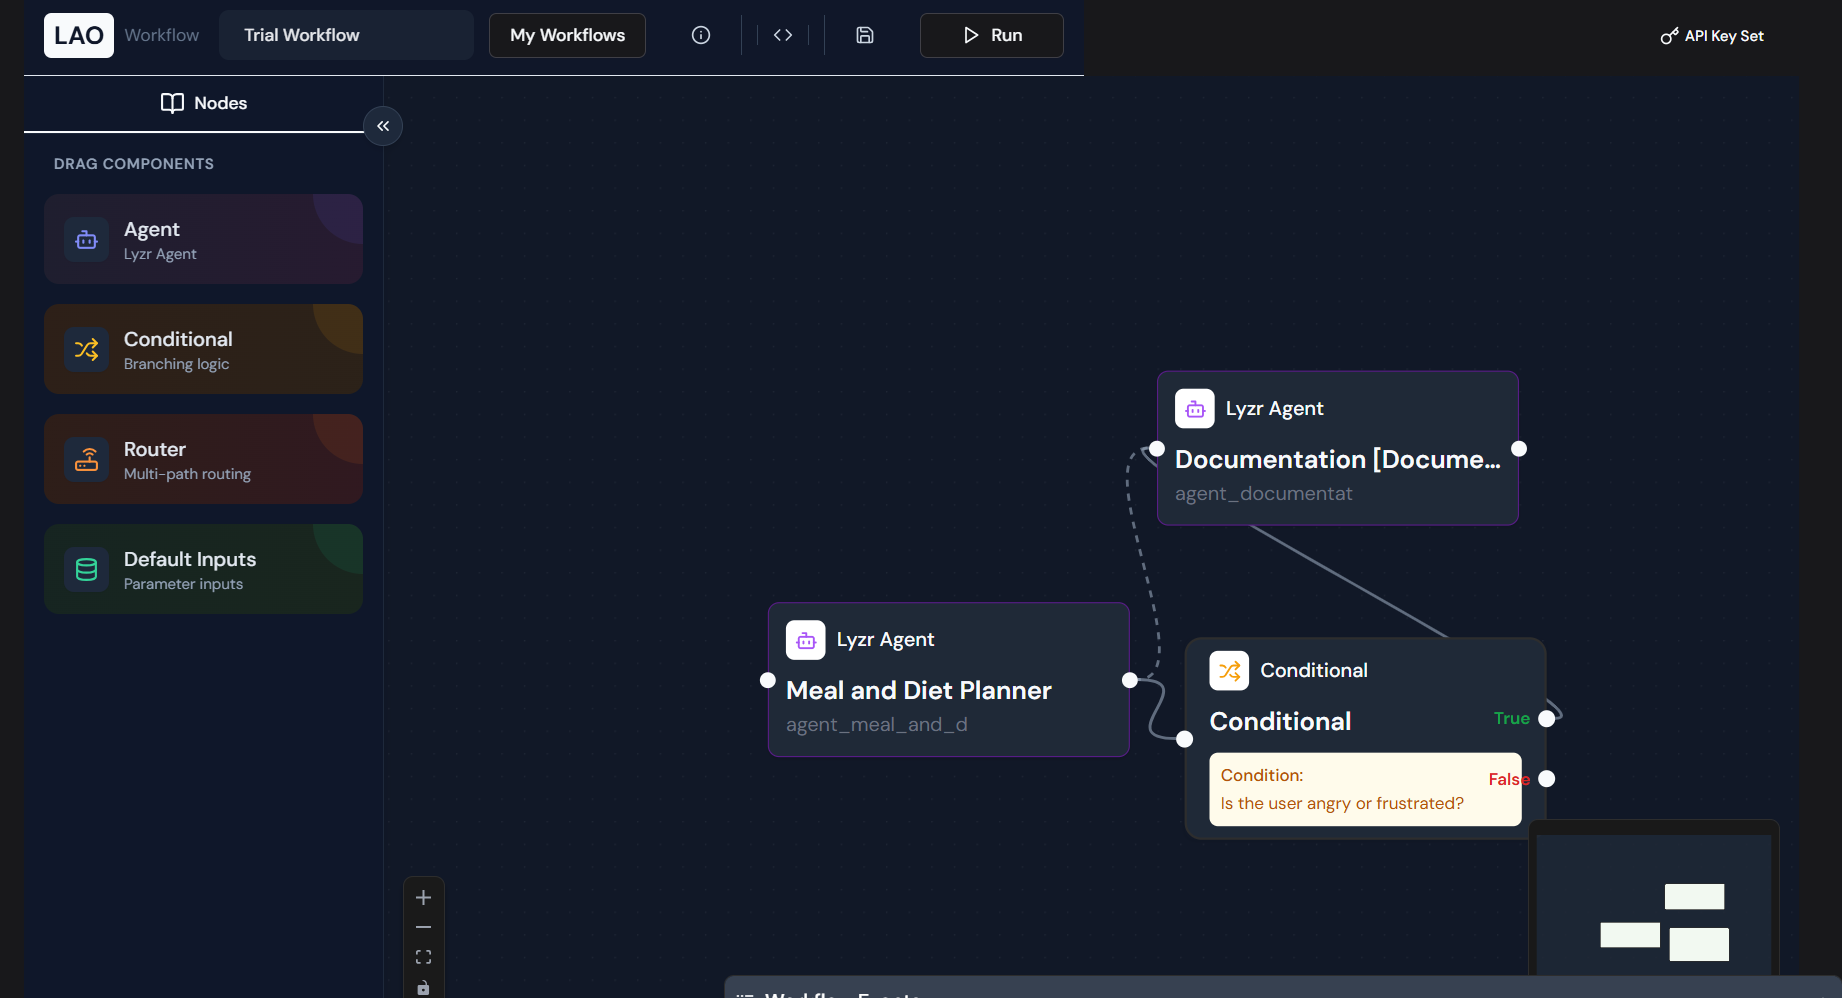
- Visual Flow: See at a glance how different AI agents, decision points, and data inputs interact within your application.
- Intuitive Connections: Draw lines between components to define the sequence of operations, making complex logic easy to understand and debug.
- Real-time Feedback: As you build, the canvas provides a dynamic representation of your workflow, reflecting changes and connections instantly.
2. Drag Components: Building Blocks of Your Workflow
The “Drag Components” panel, located on the left side of the Workflow Builder interface, provides a library of pre-built modules that you can incorporate into your workflow. Each component offers distinct functionality, acting as a specialized building block for your AI application.
2.1. Agent: Integrating Lyzr Agents
The Agent component is fundamental for bringing your Lyzr Agents into a workflow. A Lyzr Agent is a self-contained AI model, fine-tuned or custom-built, designed to perform specific tasks. This could range from answering complex queries, generating creative content, summarizing documents, or executing external actions via tools.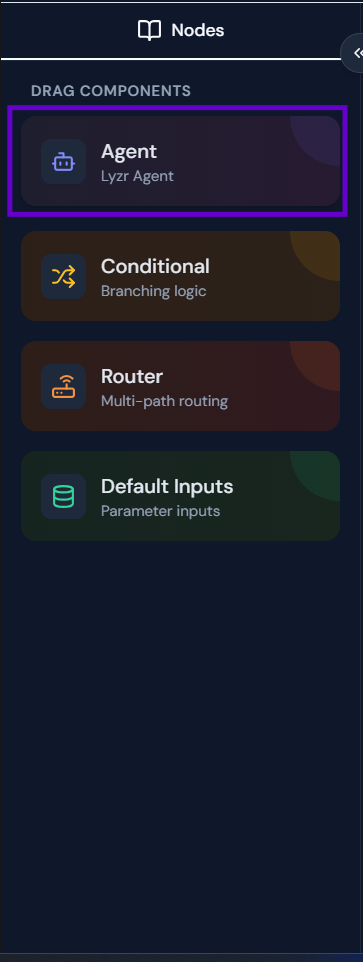 How to Use:
- Drag the “Agent” component from the “Drag Components” panel onto the Workflow Canvas.
- Click on the newly added Agent node on the canvas to open its “Node Configuration” panel.
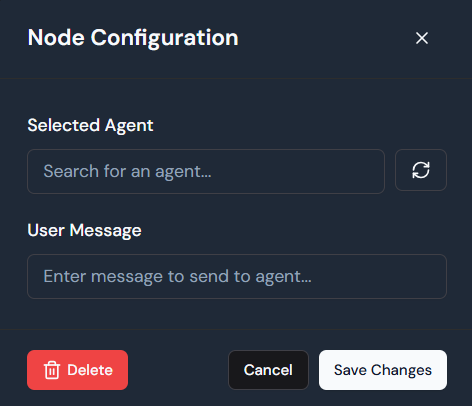
- Selected Agent: This field allows you to search for and select an existing Lyzr Agent from your account. Begin typing the name of your agent, and the system will provide suggestions. Once selected, this agent will be activated when the workflow reaches this node.
- User Message: Here, you define the input or prompt that will be sent to the selected agent. This can be a static message, or it can dynamically pull information from previous nodes in the workflow (e.g., using placeholders or variables from a “Default Inputs” node). This message serves as the primary instruction or context for the agent’s operation.
2.2. Conditional: Branching Logic for Dynamic Workflows
The Conditional component introduces powerful branching logic into your workflow. It allows your AI application to make decisions based on specific criteria, directing the flow of execution down different paths (a “True” path or a “False” path). This is crucial for creating adaptive and responsive AI experiences. How to Use:
- Drag the “Conditional” component from the “Drag Components” panel onto the Workflow Canvas.
- Click on the Conditional node to open its “Node Configuration” panel.
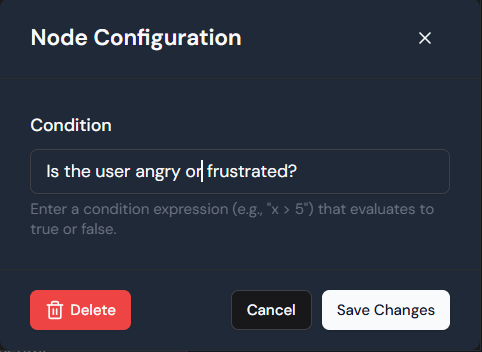
- Condition: This is the core of the Conditional node. You must enter an expression that evaluates to either
trueorfalse. This expression can be based on user input, the output of a previous agent, or predefined system variables.- Examples of Conditions:
is_user_angry_or_frustrated?(as shown in the image)user_query.length > 100sentiment_score > 0.5user_request == "reset password"
- Based on whether this condition evaluates to true or false, the workflow will proceed along the corresponding “True” or “False” output path connected from this node.
- Examples of Conditions:
2.3. Router: Multi-Path Routing for Intelligent Dispatch
The Router component is designed for multi-path routing, enabling your workflow to intelligently direct incoming queries or data to the most appropriate subsequent component. This is particularly useful when you have multiple specialized agents or sub-workflows, and you need to determine which one should handle a given input. The Router uses an underlying intelligent model (like a GPT Router) to analyze input and match it to predefined routes.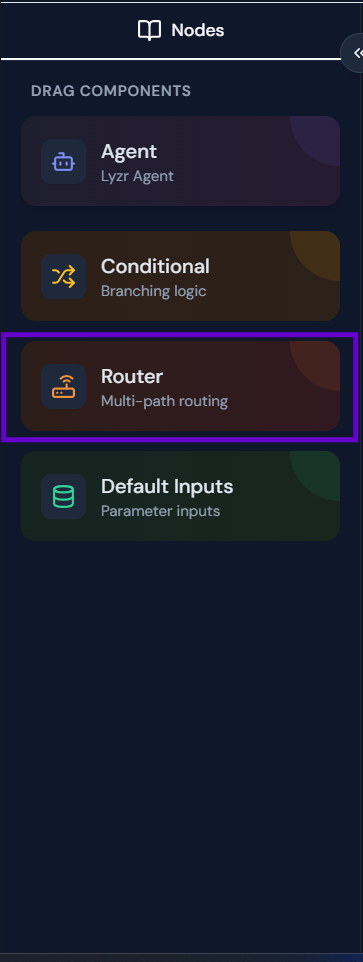 How to Use:
- Drag the “Router” component from the “Drag Components” panel onto the Workflow Canvas.
- Click on the Router node to open its “Configure Router Routes” panel.
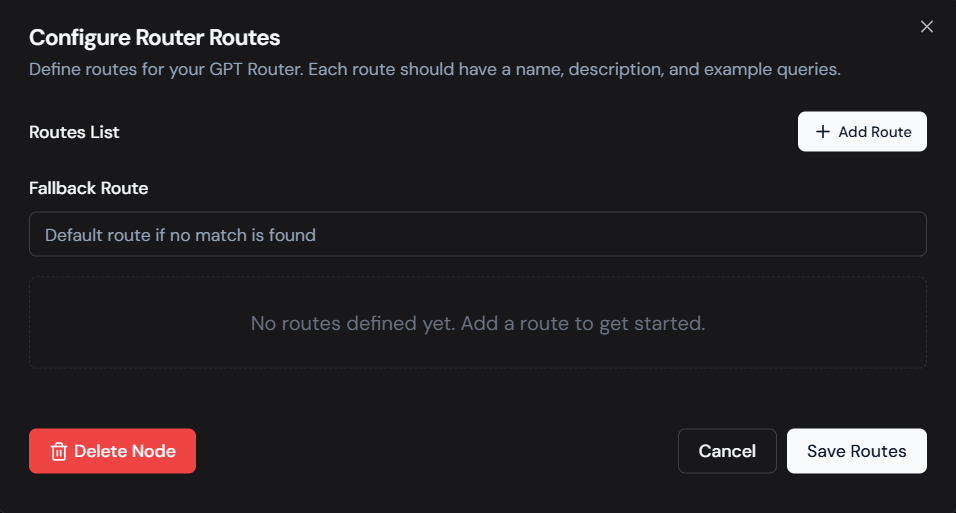
- Routes List: This section provides an overview of all the routes you have defined for this router. Each route represents a specific type of query or intent that the router can handle.
- Fallback Route: This is a critical setting. The “Fallback Route” defines the default path the workflow will take if the incoming query does not sufficiently match any of the explicitly defined routes in your “Routes List.” This ensures your workflow always has a graceful way to handle unexpected or unclassifiable inputs. You can select an Agent or another workflow component as the fallback.
-
Add Route: Click this button to define a new routing rule. This will open a detailed configuration dialog for the new route:
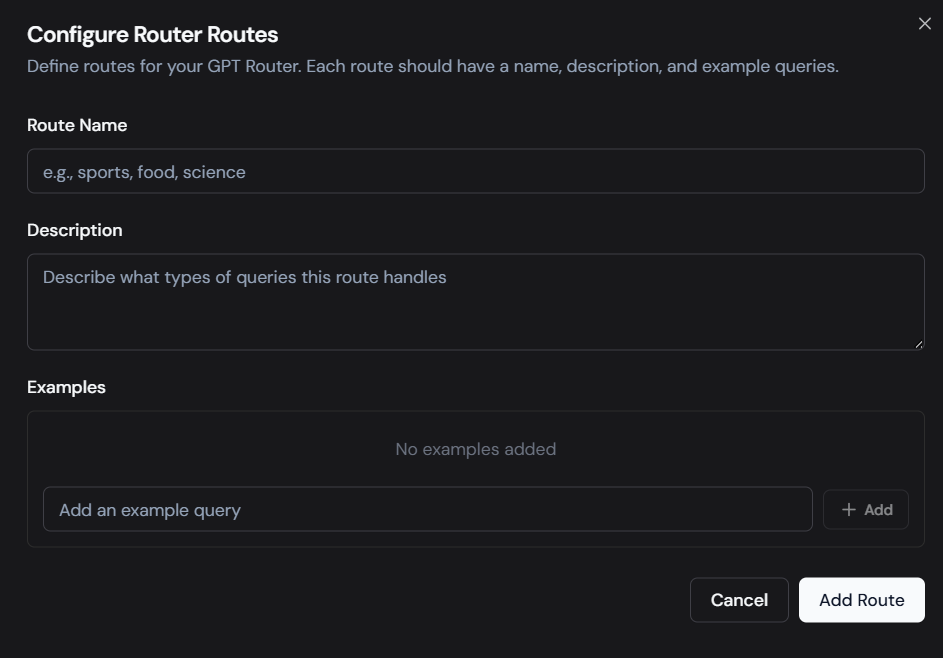
- Route Name: Provide a clear, concise name for this specific route (e.g., “Customer Support Queries,” “Product Information Requests,” “Technical Troubleshooting”). This name helps you identify the purpose of the route at a glance.
- Description: Elaborate on what types of queries or user intents this route is designed to handle. A good description helps the underlying routing model understand the scope of the route.
- Examples: This is crucial for training the router. Provide several diverse example queries that should be directed to this route. The more comprehensive and varied your examples, the better the router will be at accurately classifying future inputs. Click “Add” after typing each example query.
2.4. Default Inputs: Parameterizing Your Workflows
The Default Inputs component serves as an entry point for defining and managing parameters or initial data that your workflow will utilize. Think of it as providing global variables or configuration settings that can be accessed and consumed by various agents and conditional logic throughout your workflow.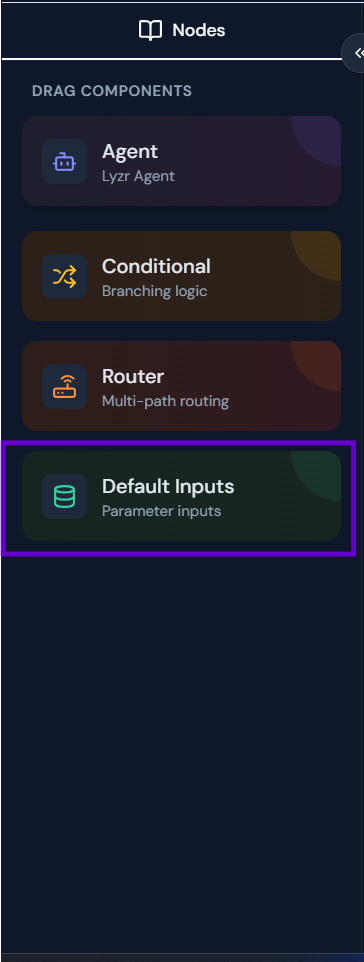 How to Use:
- Drag the “Default Inputs” component from the “Drag Components” panel onto the Workflow Canvas.
- Click on the Default Inputs node to open its “Node Configuration” panel.
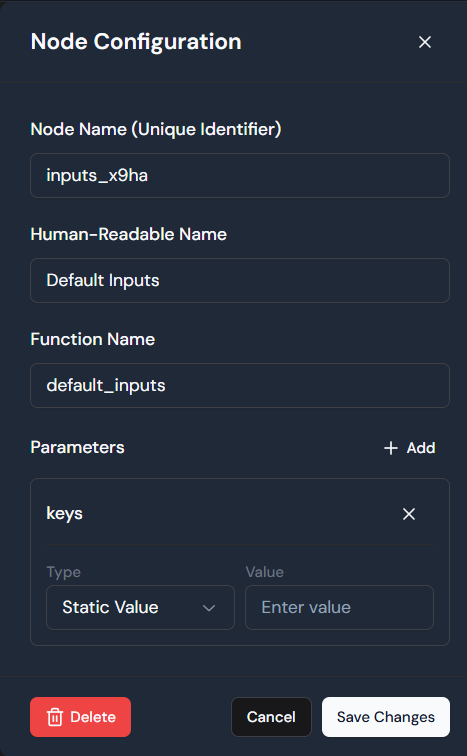
- Node Name (Unique Identifier): This is an automatically generated, unique ID for the node within the workflow (e.g.,
inputs_x9ha). While you generally don’t need to change this, it can be useful for advanced debugging or programmatic interaction. - Human-Readable Name: This is the display name for the node on the workflow canvas (e.g., “Default Inputs”). You can customize this to be more descriptive if needed for clarity within your workflow.
- Function Name: This field typically defines the internal function or identifier associated with this input node. It’s often automatically populated and generally doesn’t require user modification.
- Parameters: This section is where you define the actual input parameters for your workflow.
- Click + Add to add a new parameter.
- For each parameter, you’ll see:
- Key: This is the name of the parameter (e.g.,
user_query,context_data). This “key” is how other nodes in your workflow will reference and access this input’s value. - Type: Select the type of value this parameter will hold. Common types include:
- Static Value: A fixed value that you enter directly.
- (Other types might include: Workflow Input, Output from another node, etc., depending on Lyzr’s capabilities.)
- Value: Enter the actual value for the parameter. If “Static Value” is selected for “Type,” you will directly type the value here.
- Key: This is the name of the parameter (e.g.,