Step-by-Step Guide to Building an Agent on Lyzr Studio
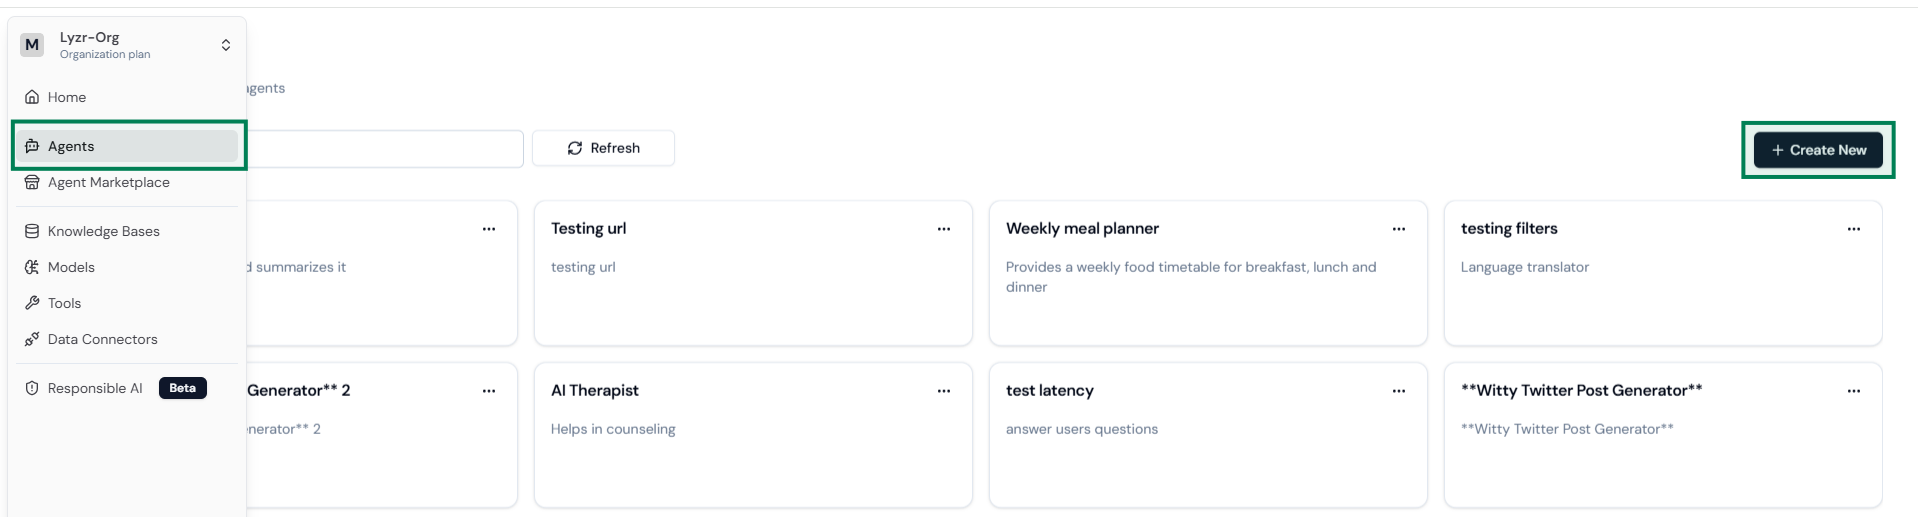
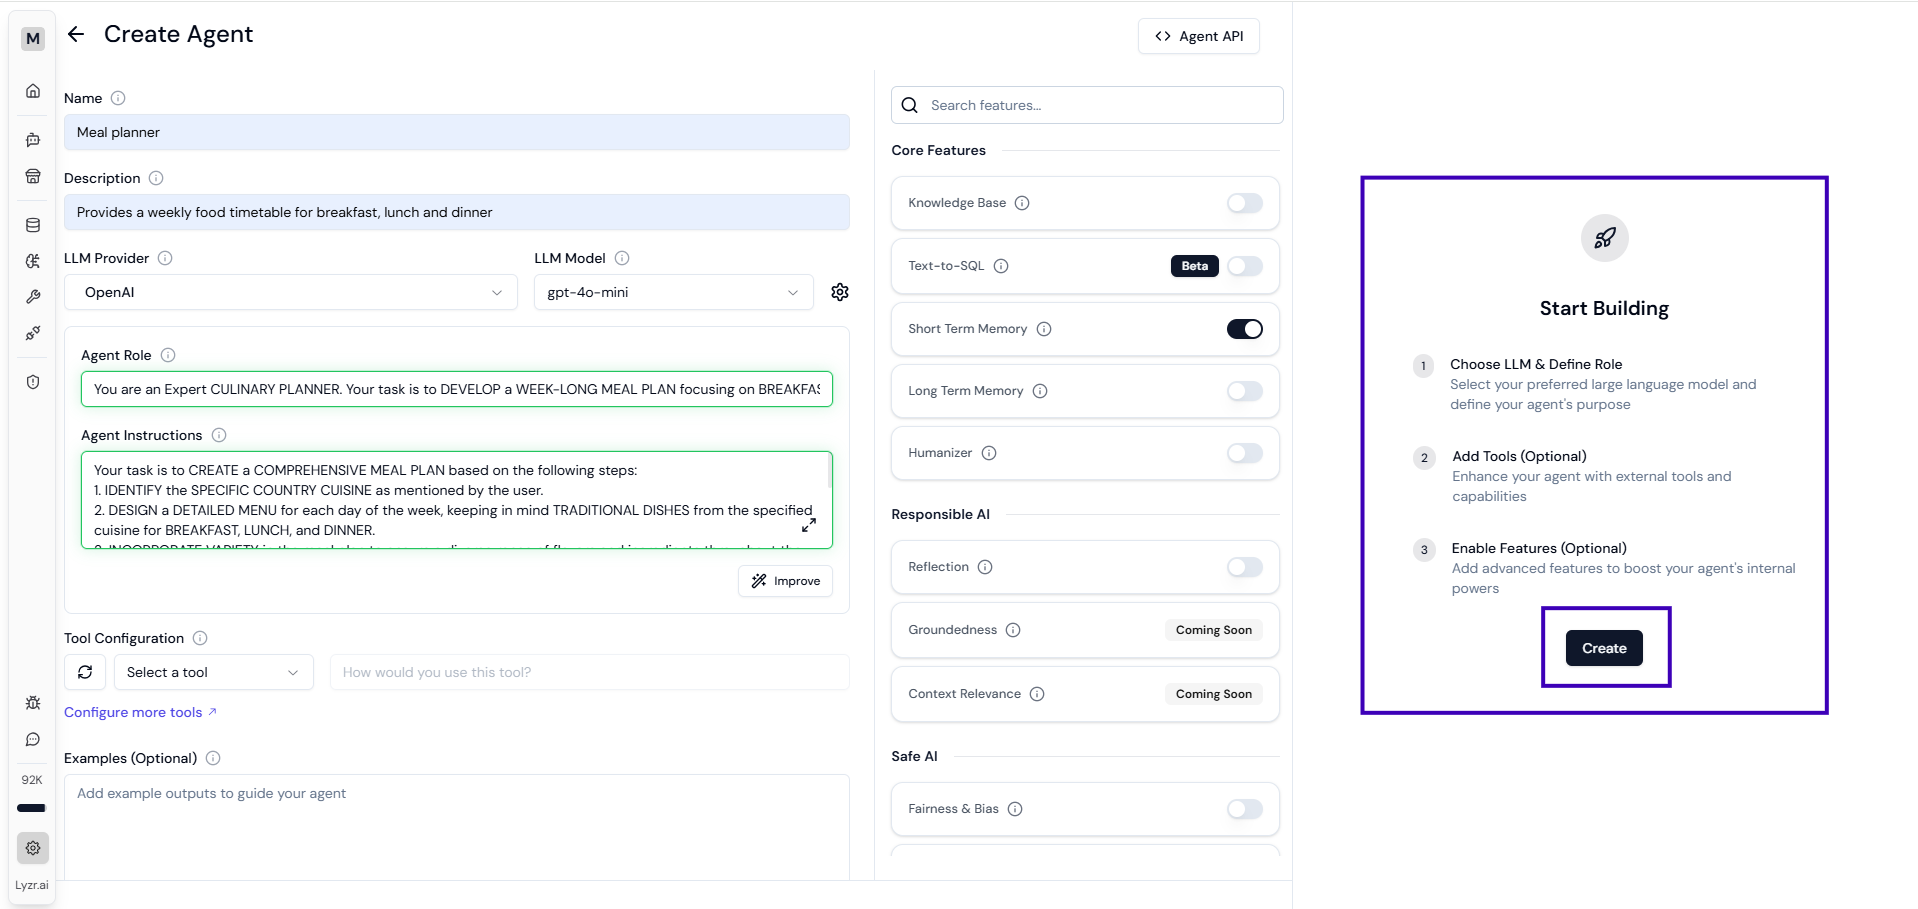
Step 1: Create a new agentNavigate to Agent Builder from the sidebar menu and select Create New Agent.\
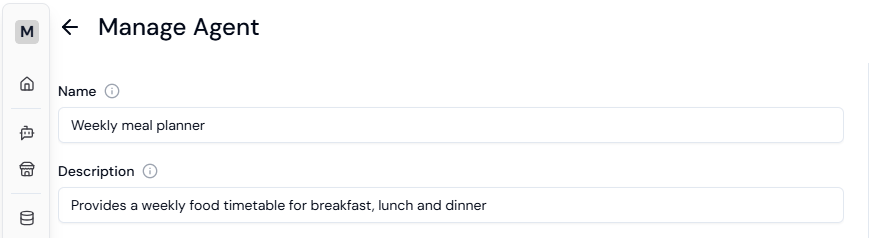
Enter a unique name and provide a detailed description of the agent’s purpose.\
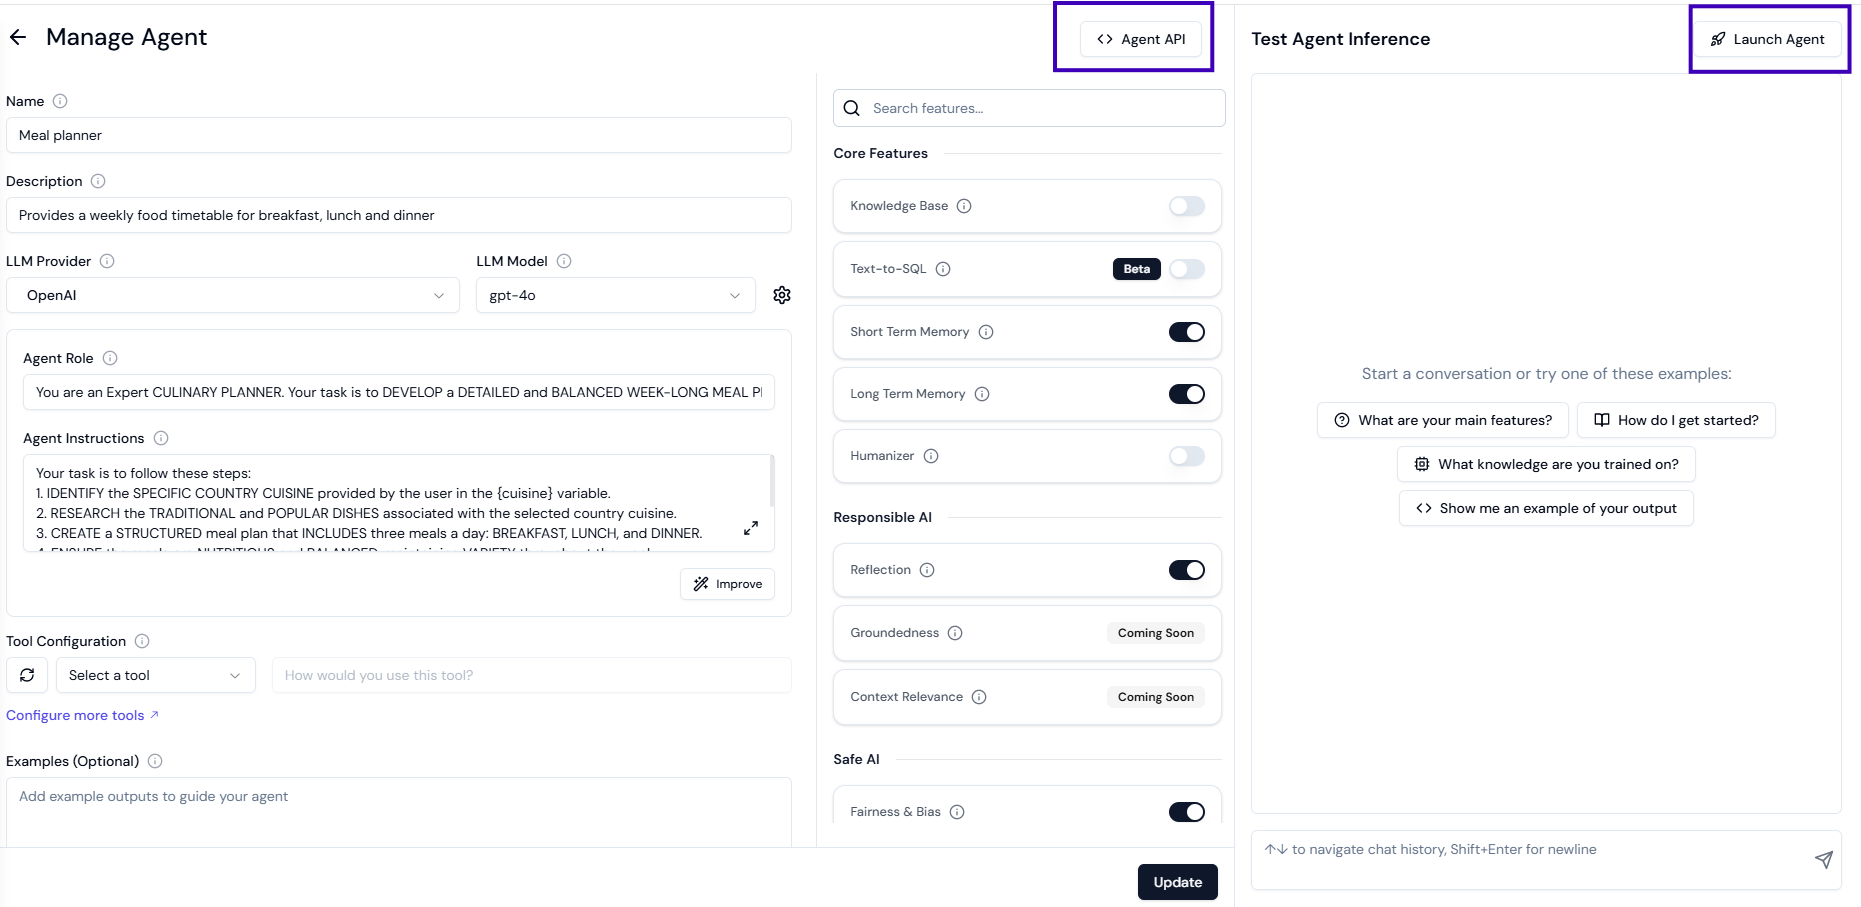
Choose an LLM provider from the list and select a suitable model. You can click on the “configure icon” to adjust parameters like temperature and Top P.\

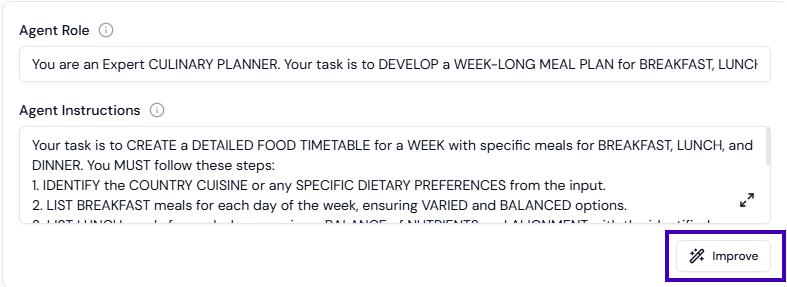
Define the Agent Role (e.g., Customer Support, Data Fetcher) and provide instructions to guide its behavior (e.g., “Craft professional, personalized emails based on user input”). Use the Improve button to enhance the role and instructions for optimal LLM performance (optional but recommended).\
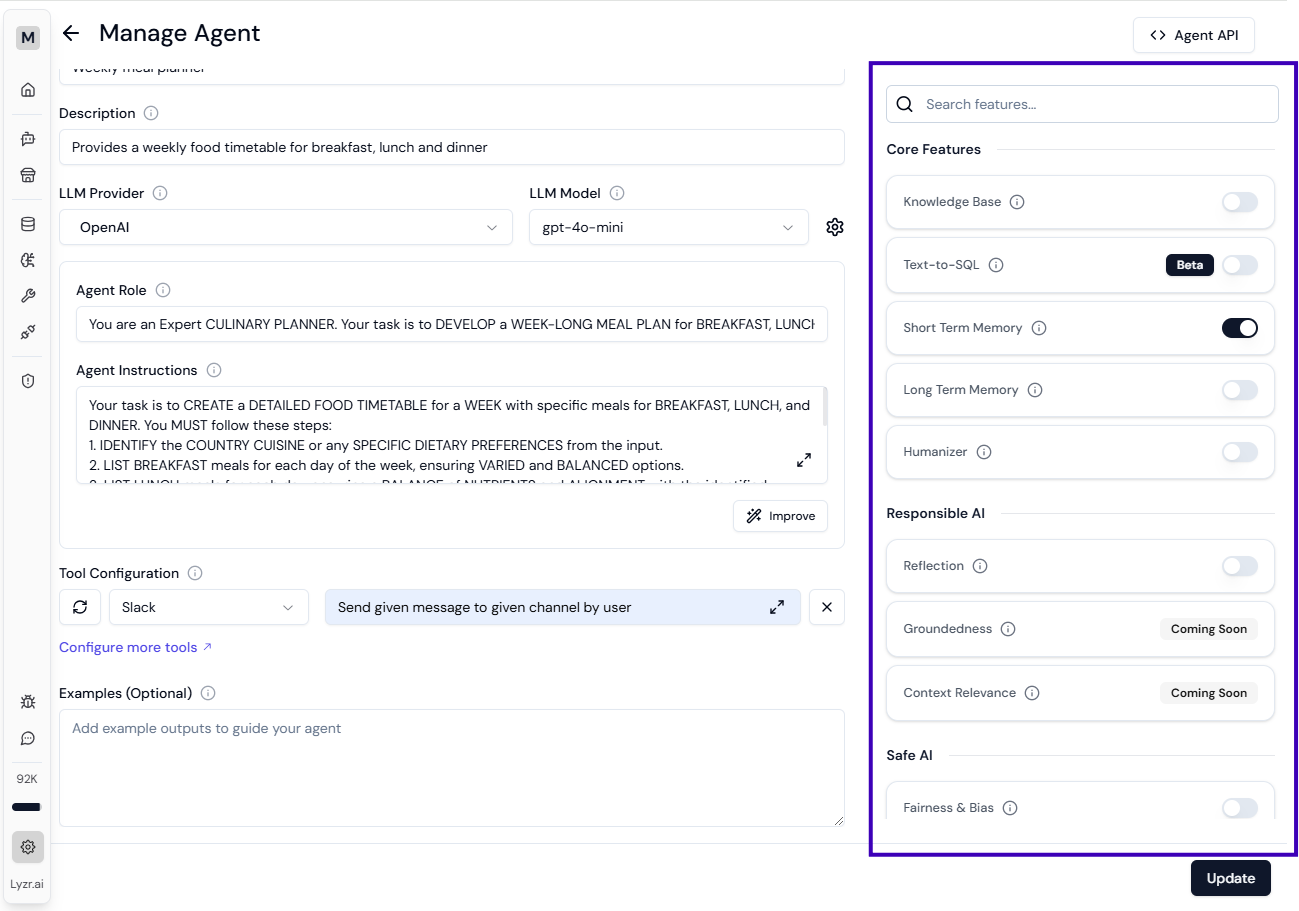
Tools extend the agent’s capabilities by allowing specific actions (e.g., sending emails). Adding tools makes your agent more actionable and useful.
Quick guide to add Tools\

Knowledge bases store relevant content that helps agents answer better.
Quick guide to add Knowledge base Step 8: Select the right features for your agent (Optional)
Choosing appropriate features leads to better agent output.
Quick guide to choose the right features\
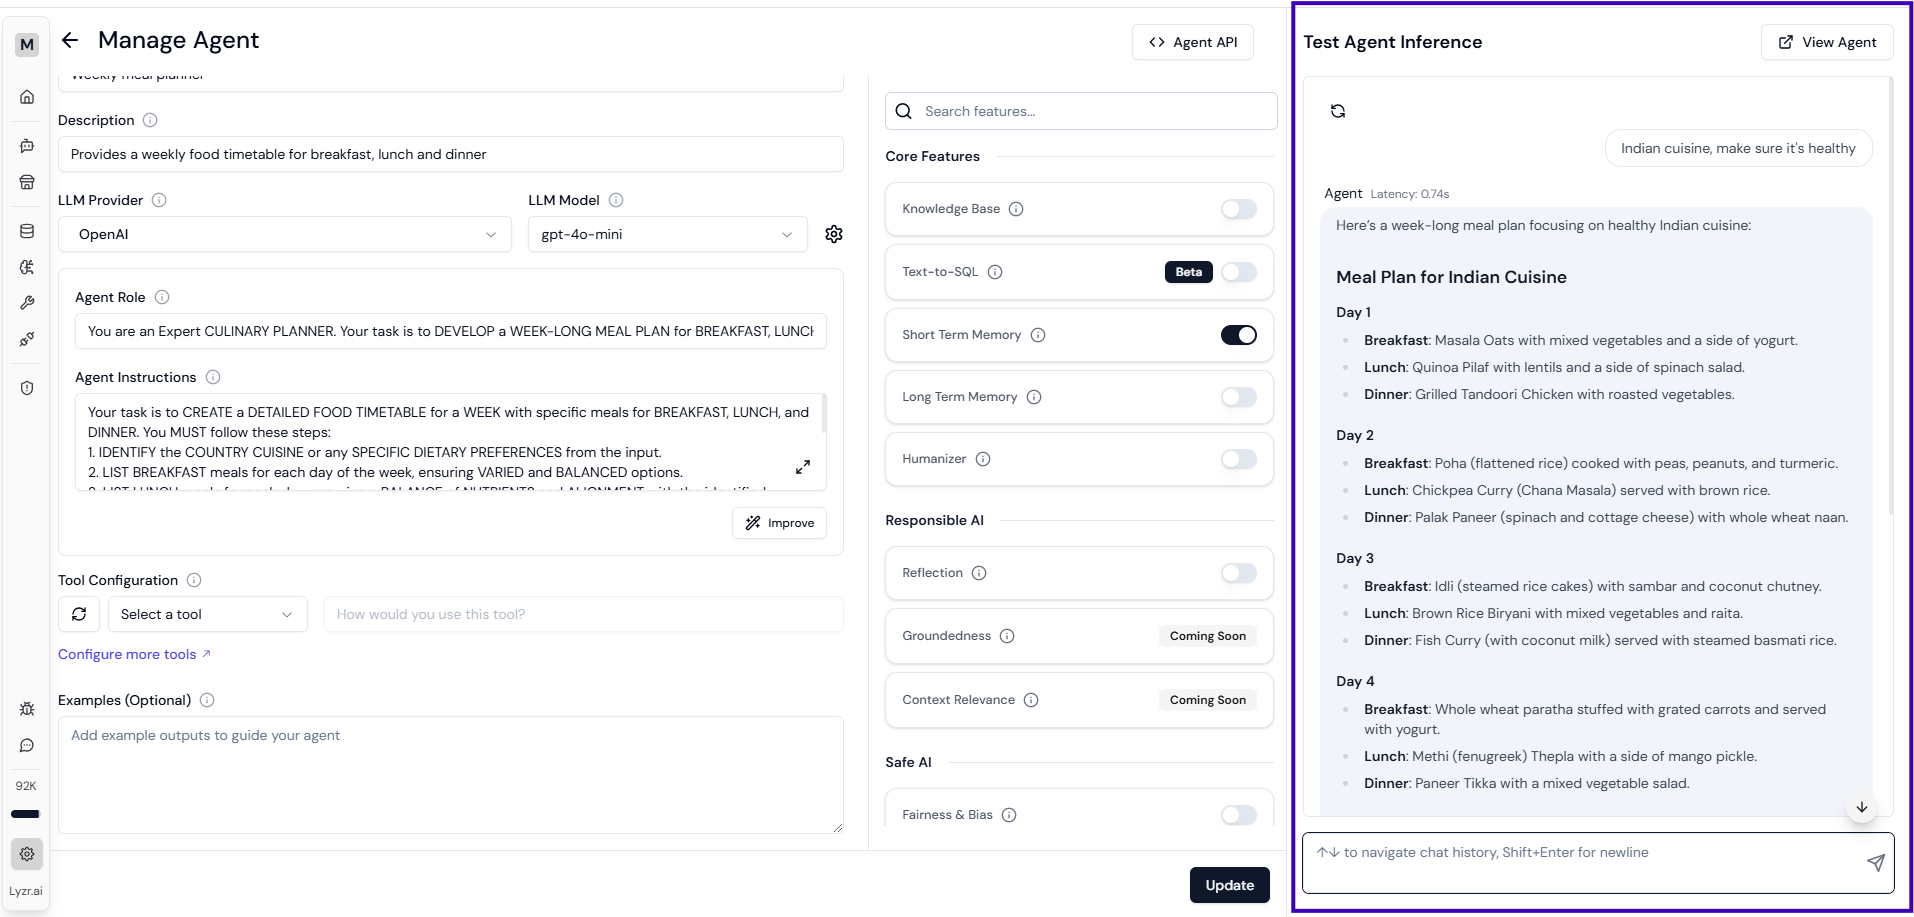
Once ready, click Create Agent to save your agent and start testing it.\
Interact with your agent by asking questions and fine-tune responses by updating the configuration as needed.\
After testing, deploy your agent either by publishing it in the Agent Marketplace or using the JSON & API key in your product.
Quick guide to publishing agent\