Let’s build a Product Support Chatbot that can read and answer questions from your entire documentation , — even if it spans over 100+ web pages. This chatbot can live inside your product or on your website and will automatically refer to your docs to answer user questions accurately.Documentation Index
Fetch the complete documentation index at: https://docs.lyzr.ai/llms.txt
Use this file to discover all available pages before exploring further.
Step 1: Build Your Agent
- Go to Agent Builder and create a new agent.
-
Define your Agent Role, Goal, and Instructions , — e.g.,
“You are a Product Support Chatbot that helps users answer queries about [Your Product]. Always refer to the documentation for accurate answers.”
- Once configured, your agent is ready. (You can refer to the sample Agent JSON provided for guidance.)
Step 2: Create a Knowledge Base
- From the sidebar, open Knowledge Base.
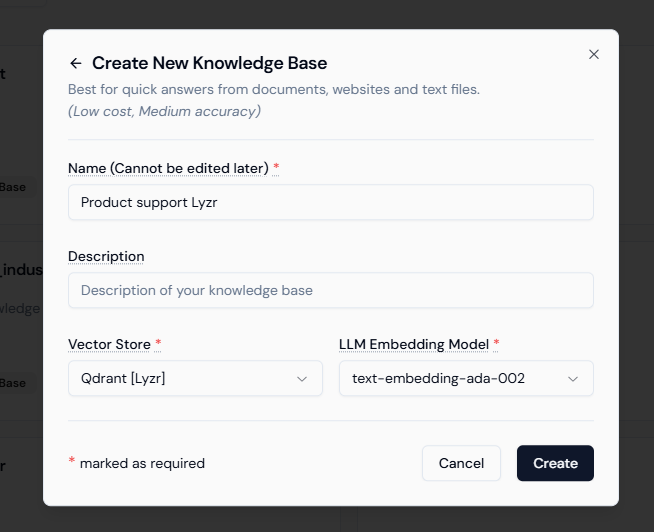
- Click Create New Knowledge Base.
- Choose Knowledge Base from the pop-up that gives you 3 options, give it a name, and click Create.
- (Optional) Update the Embedding Model and Vector Store settings if you need custom configurations.
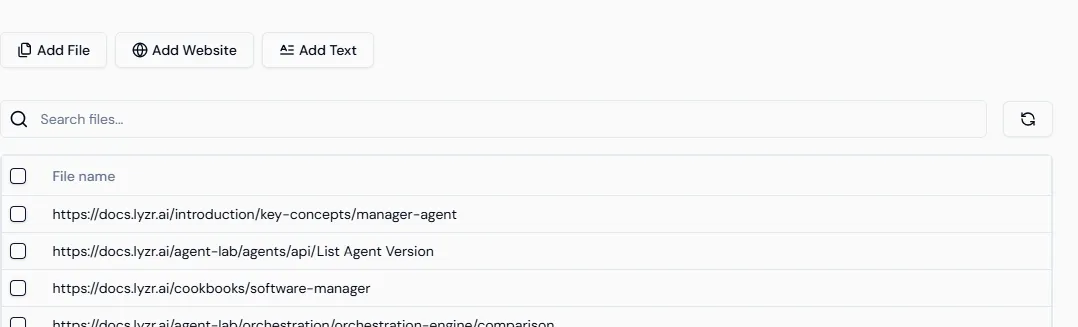
Step 3: Add Content Sources
Once your Knowledge Base is created, you’ll see options to add:- Files (PDF, DOCX) — Upload directly if you have internal guides or PDFs.
- Websites — Use this to connect your documentation site (e.g.,
docs.lyzr.ai). - Text — Add plain text or FAQs manually if needed.
Step 4: Crawl Your Documentation Website
- Under Website, enter your documentation URL (e.g.,
https://docs.lyzr.ai). - Click on Advanced Crawling Options to configure details:
- Depth – How many link levels to follow from the starting page
- Workers – Number of parallel crawlers (higher = faster, but heavier on resources)
- Delay – Time gap between requests to prevent server overload
- Headless Browser – Enable for JavaScript-heavy websites
- Sitemap Discovery – Uses
sitemap.xmlfor faster and more structured crawling - Wait for JavaScript – Ensures full content loads before extraction
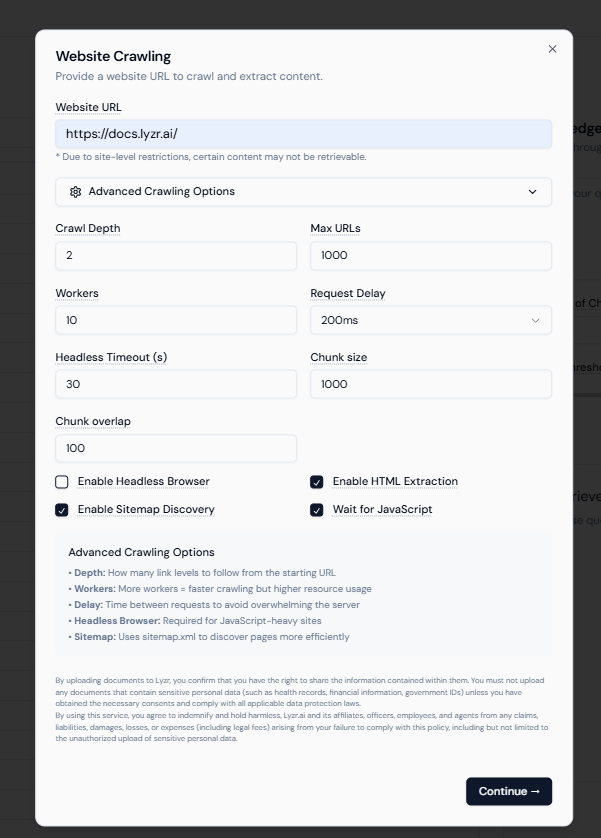
- Click Continue → review the summary → then click Crawl Website.
- The crawler will start discovering all web pages under your docs site.
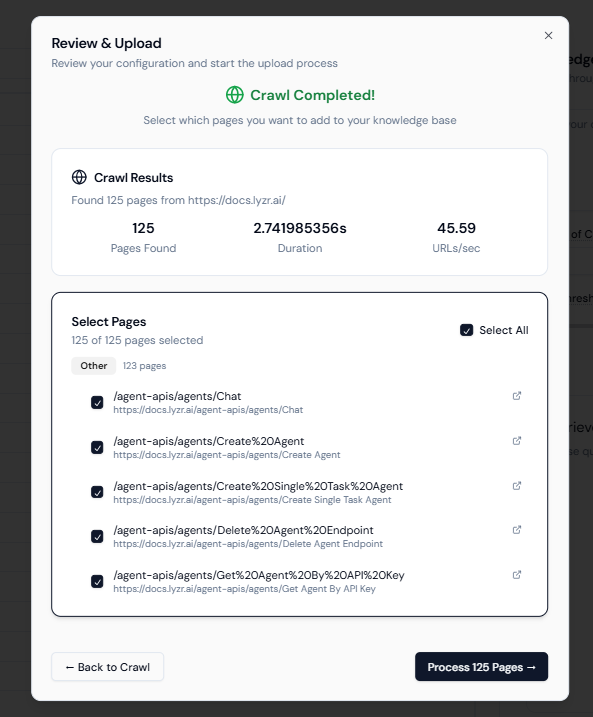 After processing, your documentation pages will be successfully added to your Knowledge Base.
You can upload files in additional to the websites to give your agent more context.
After processing, your documentation pages will be successfully added to your Knowledge Base.
You can upload files in additional to the websites to give your agent more context.
Step 5: Link the Knowledge Base to Your Agent
- Go back to your Agent.
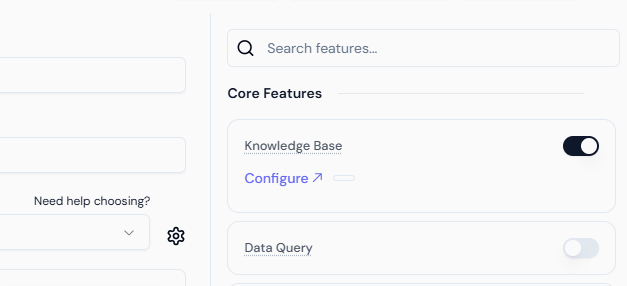
- In the Core Features section, enable Knowledge Base.
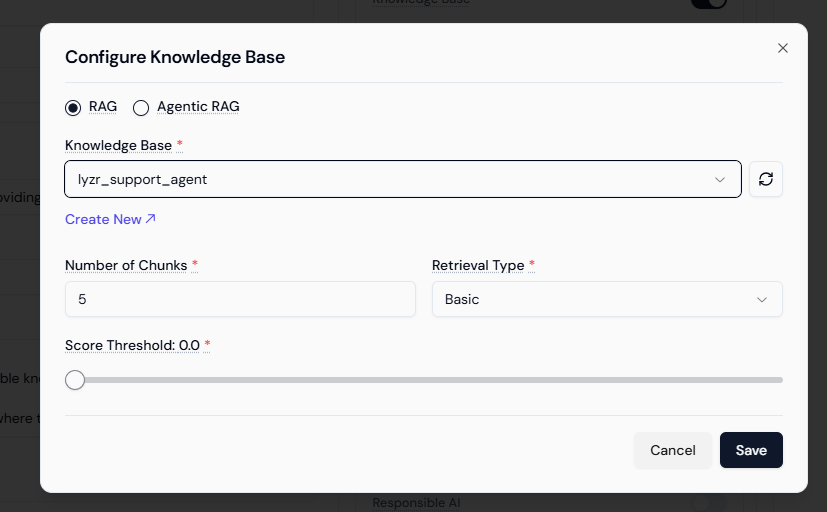
- Select the Knowledge Base you just created.
 You can test your agent in the inference screen and fine-tune its instructions based on responses before deployment.