> ## Documentation Index
> Fetch the complete documentation index at: https://docs.lyzr.ai/llms.txt
> Use this file to discover all available pages before exploring further.
# Agent Building
> How to build an agent on Lyzr Studio?
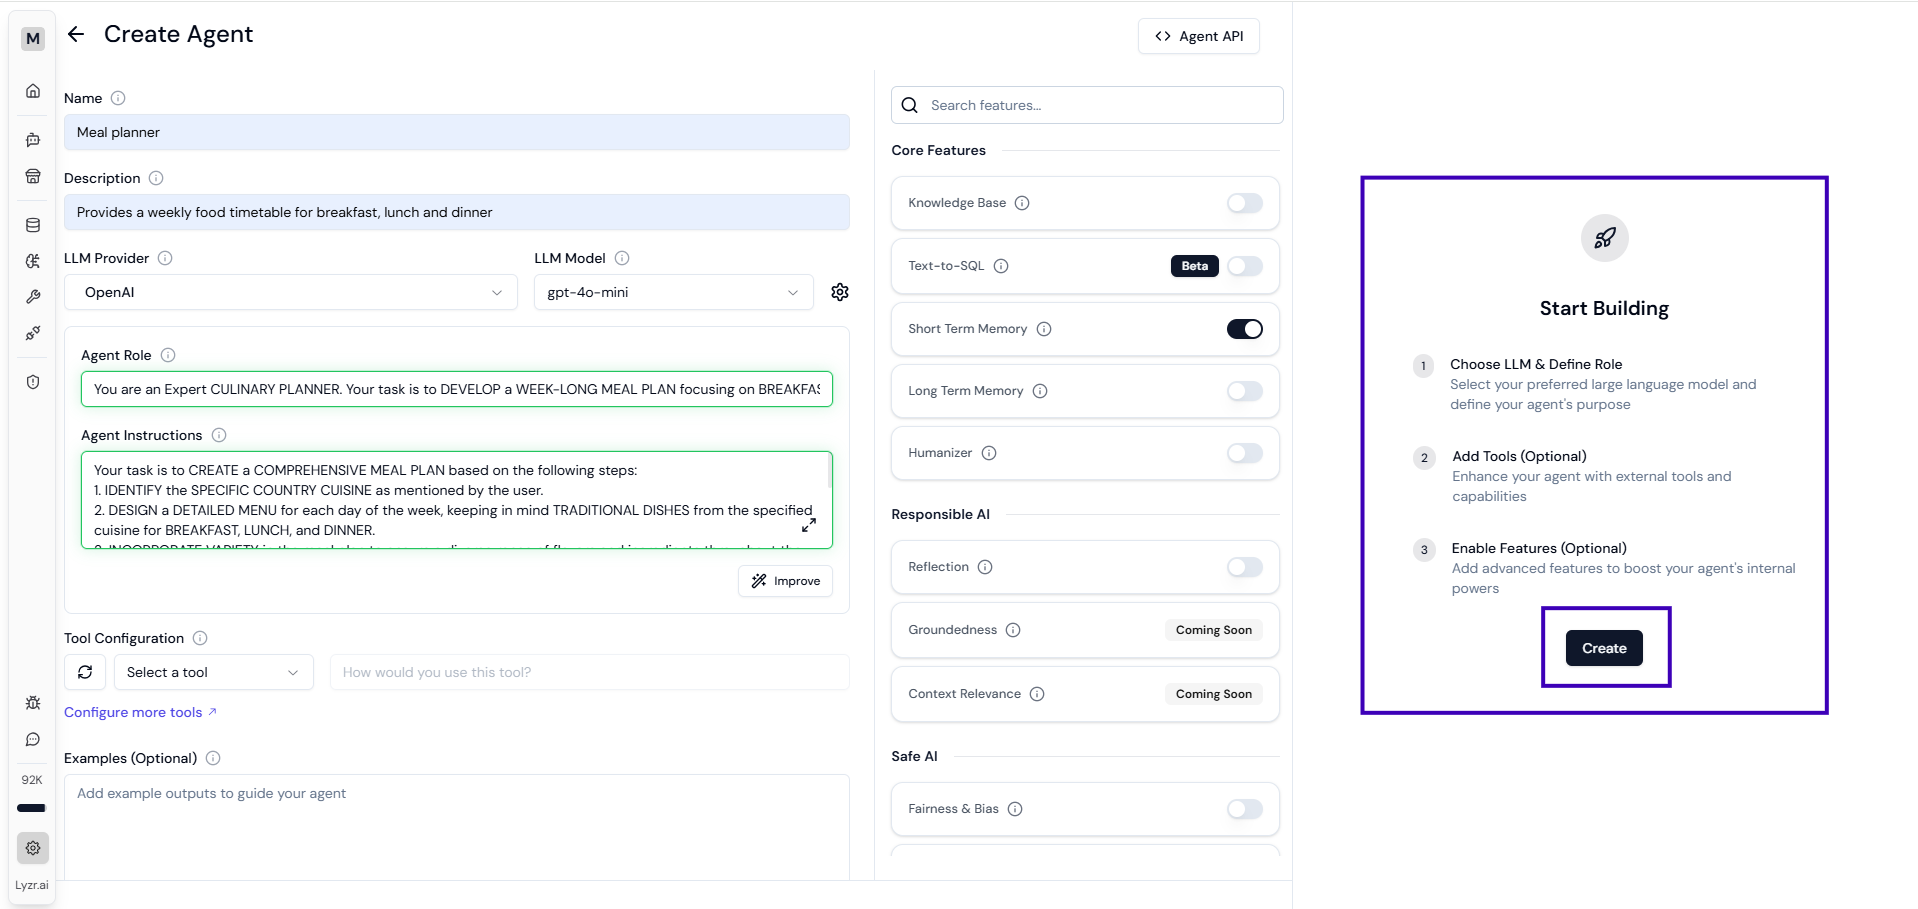
**Step 1:** **Create a new agent -** Navigate to Agent Builder from the sidebar menu and select Create New Agent.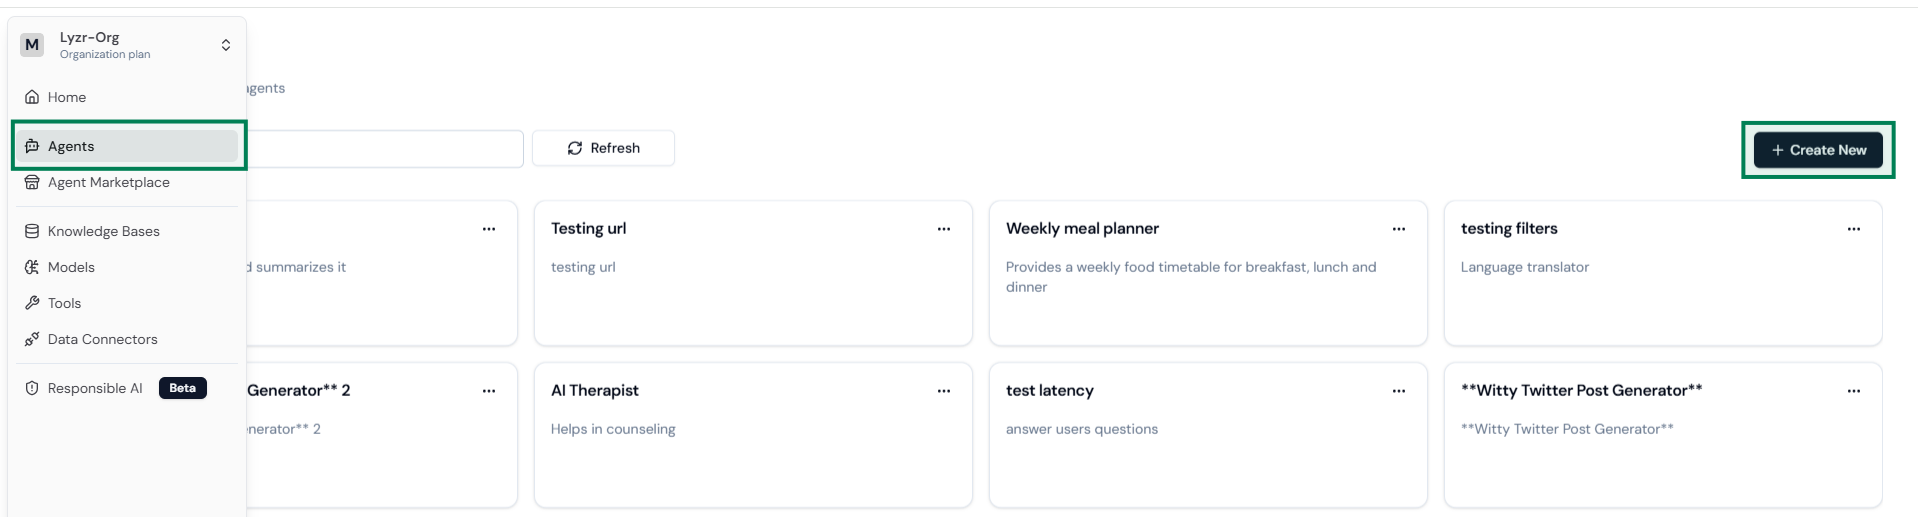 **Step 2:** **Provide Name & Description -** Enter a unique name and provide a detailed description of the agent’s purpose.
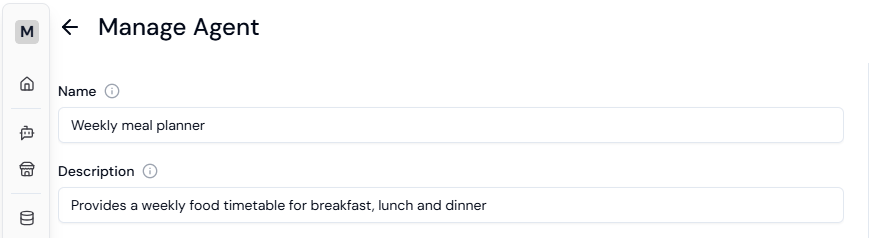 **Step 3:** **Choose the right LLM model -** Choose an LLM provider from the list and select a suitable model. You can click on "configure icon" to change temperature and Top P.
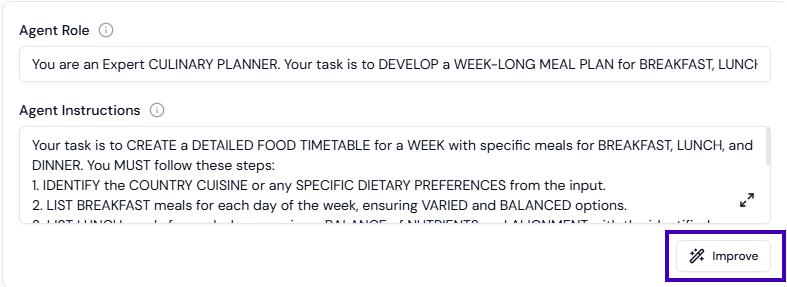
 **Step 4: Provide Agent role and instructions** - Define the Agent Role (e.g., Customer Support, Data Fetcher) and provide agent instructions to guide its behavior (e.g., Instructions: "Craft professional, personalized emails based on user input."). Use the Improve button to enhance the agent’s role and instructions, ensuring optimal performance with LLMs (Optional but recommended)
 **Step 5: Add Tools (Optional) -** Tools are functions that extend the agent’s capabilities by allowing it to perform specific actions, like sending an email. Adding tools to your agent makes it more actionable and useful. [*Quick guide to add Tools*](https://docs.lyzr.ai/agent-studio/tools)
 **Step 6: Provide Examples to guide your agent through a template (Optional)**
 **Step 7:** **Add Knowledge base to your agent if required (Optional) -** Knowledge bases are a comprehensive repository of information made up of several different kinds of content. All of this information allows agents to answer better. [*Quick guide to add Knowledge base*](https://docs.lyzr.ai/agent-studio/knowledge-base)
**Step 8:** **Select the right features for your agent. (Optional) -** There are plenty of features that are available on Agent Studio, and choosing the right features for your agent leads to better output. [***Quick guide to choose the right features.***](https://docs.lyzr.ai/agent-studio/features)
**Step 7:** **Add Knowledge base to your agent if required (Optional) -** Knowledge bases are a comprehensive repository of information made up of several different kinds of content. All of this information allows agents to answer better. [*Quick guide to add Knowledge base*](https://docs.lyzr.ai/agent-studio/knowledge-base)
**Step 8:** **Select the right features for your agent. (Optional) -** There are plenty of features that are available on Agent Studio, and choosing the right features for your agent leads to better output. [***Quick guide to choose the right features.***](https://docs.lyzr.ai/agent-studio/features)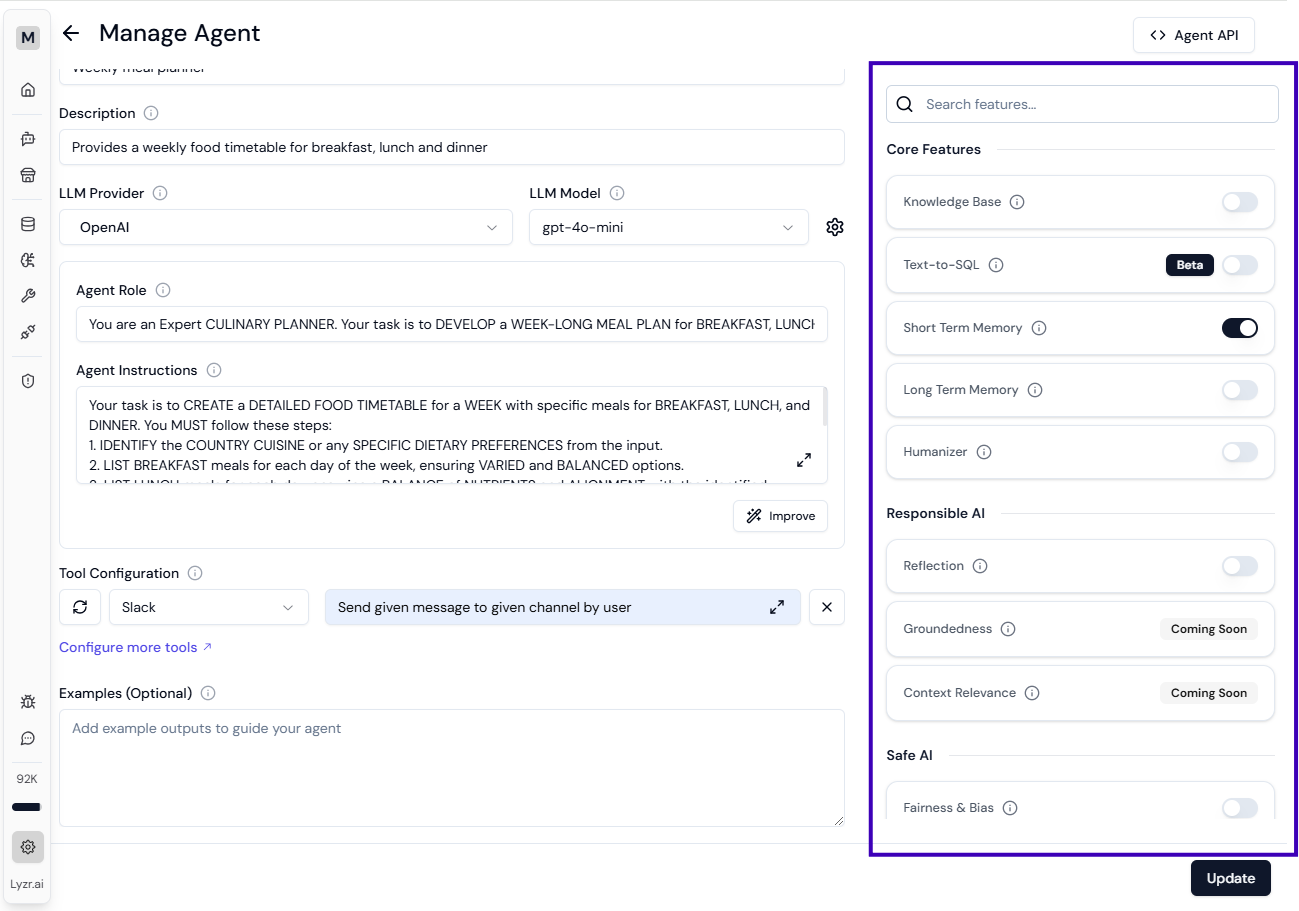 **Step 9**: **Create an agent** - Once you have all everything ready, you can click on Create Agent, which saves your agent & allows you to start testing your agent.
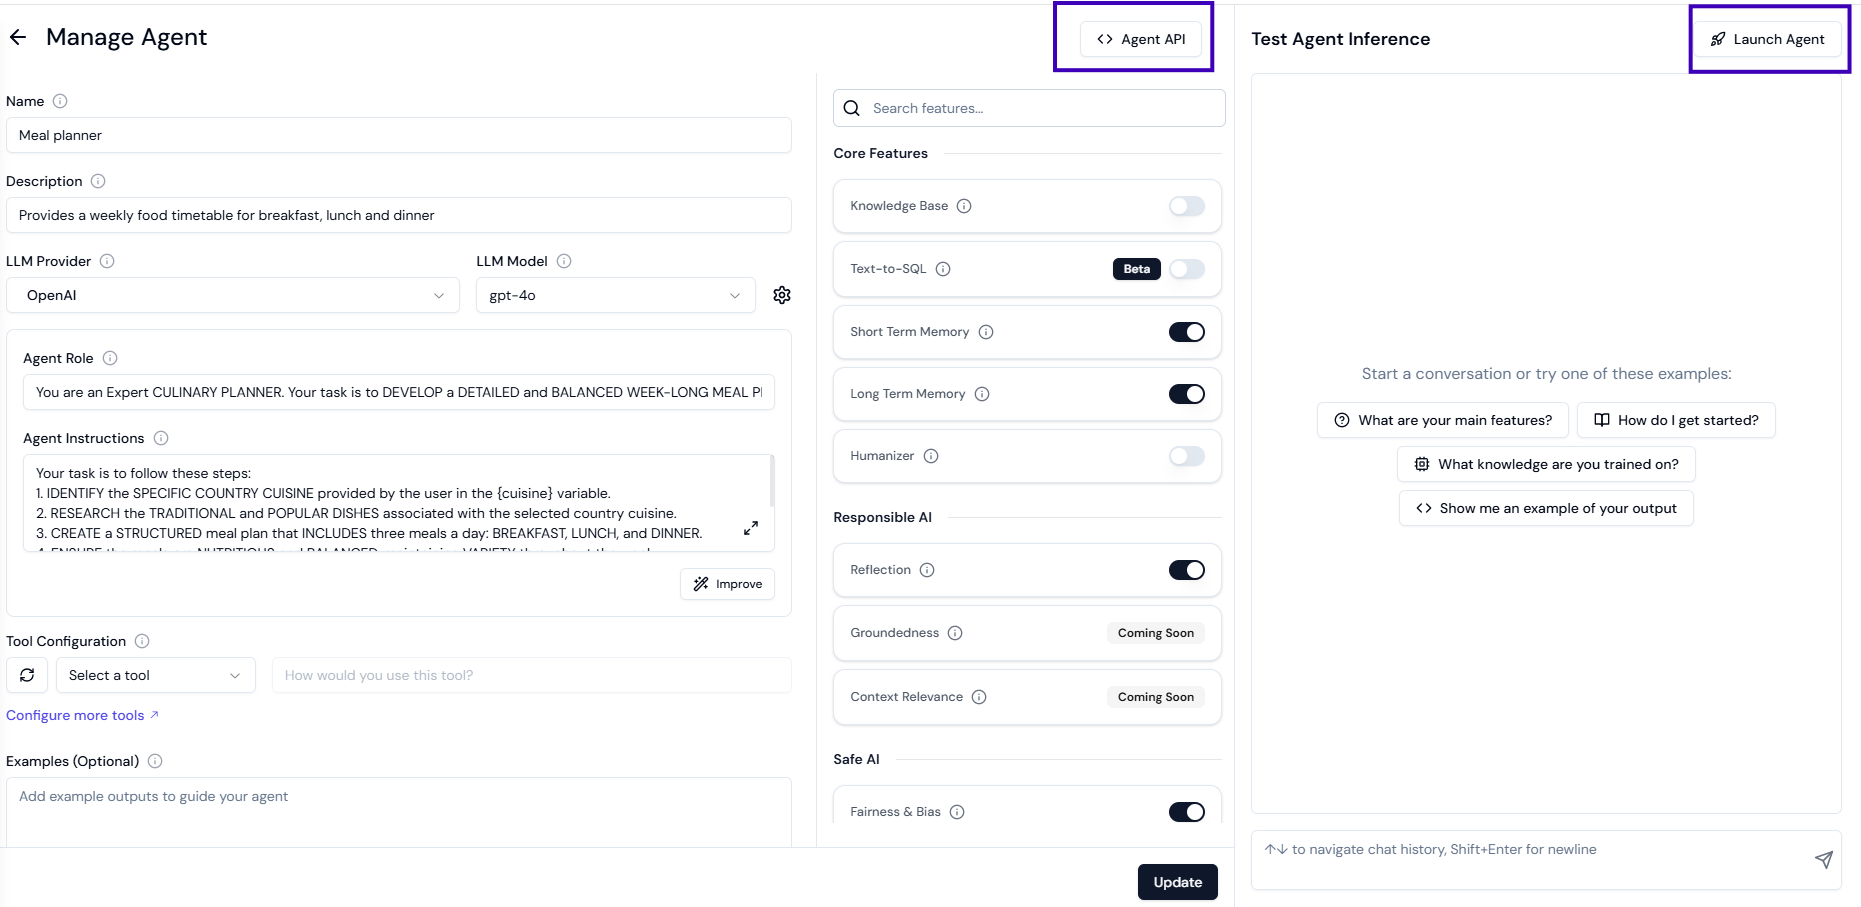
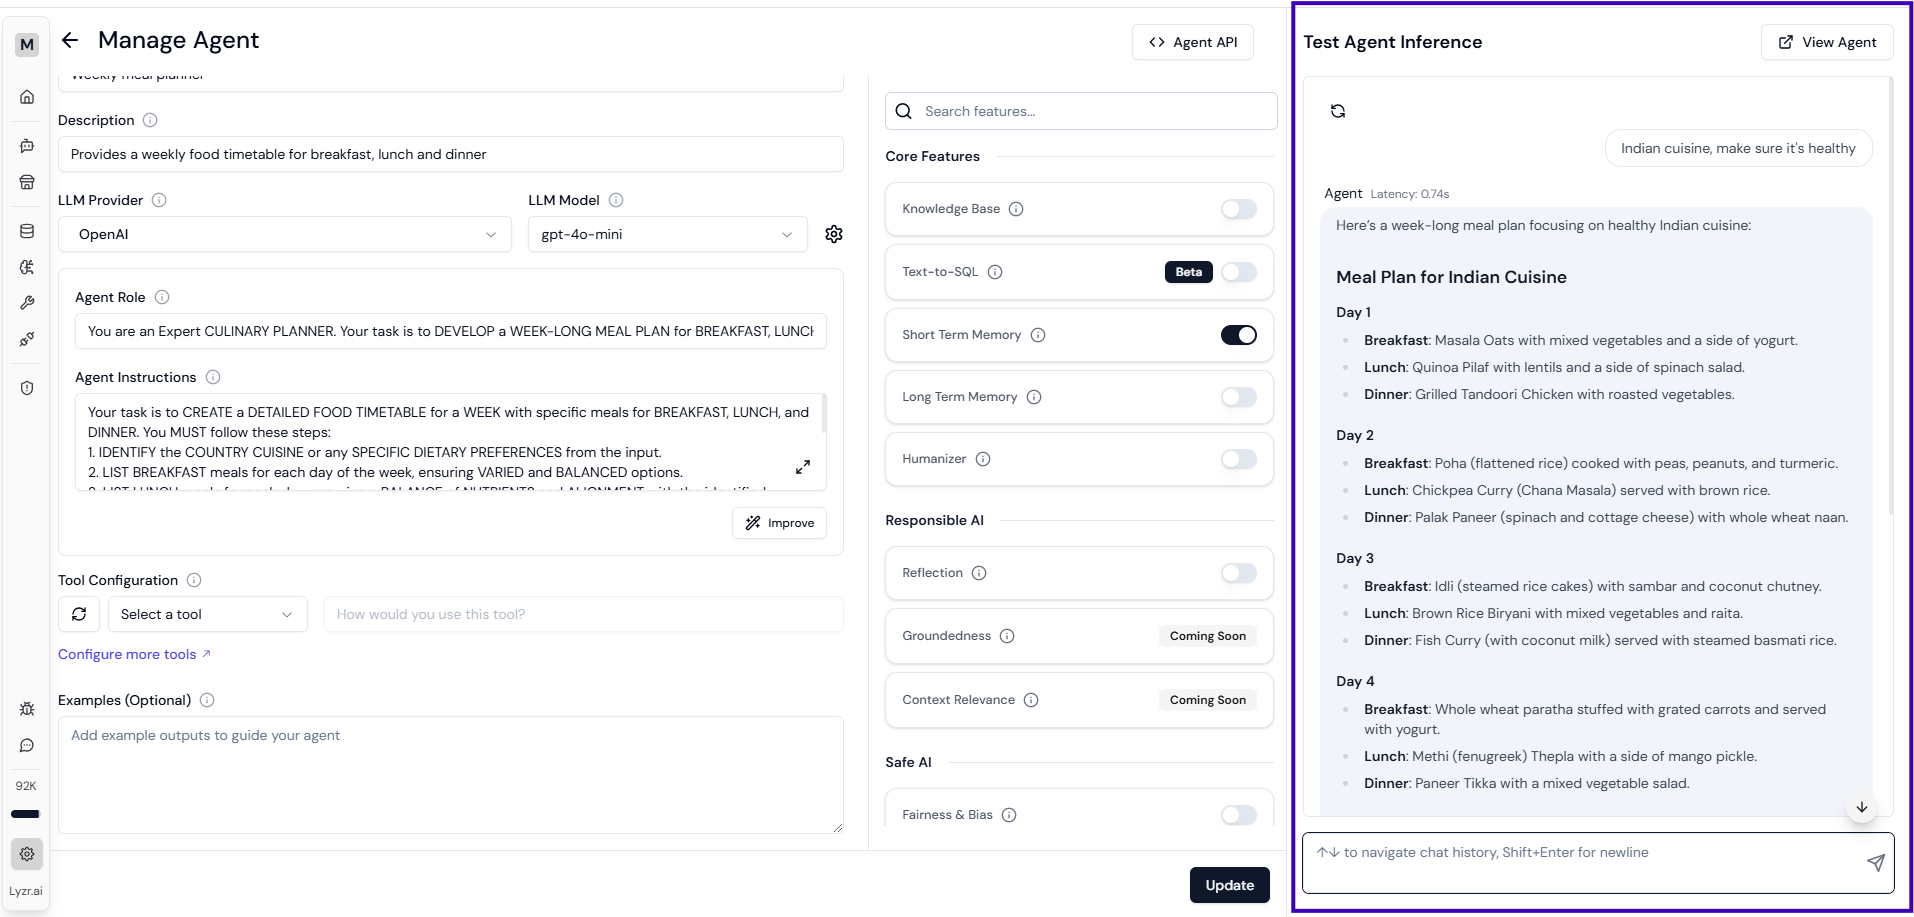
 **Step 10: Test your agent -** You can ask question to your agent, and play around with it. If you want to fine-tune the responses, feel free to change & configure the agent that has been set in the previous steps.
 **Step 11**: **Deploy agent (Optional)-** Once your testing is complete, you can deploy it in 2 ways. Either publish your agent as part of Agent Marketplace, or copy the JSON & API key and use it as part of your product. [Quick guide to publishing agent](https://docs.lyzr.ai/agent-studio/publishing_deployment)